It isn't actually 75 steps, but it will totally feel like it if you don't have the right tools and tricks up your sleeve!
Sometimes, your Blackstone griddle might get a little neglected. Griddles are powerful cooking tools, but since they are metal and used outside they can take some care and upkeep to keep from deteriorating.
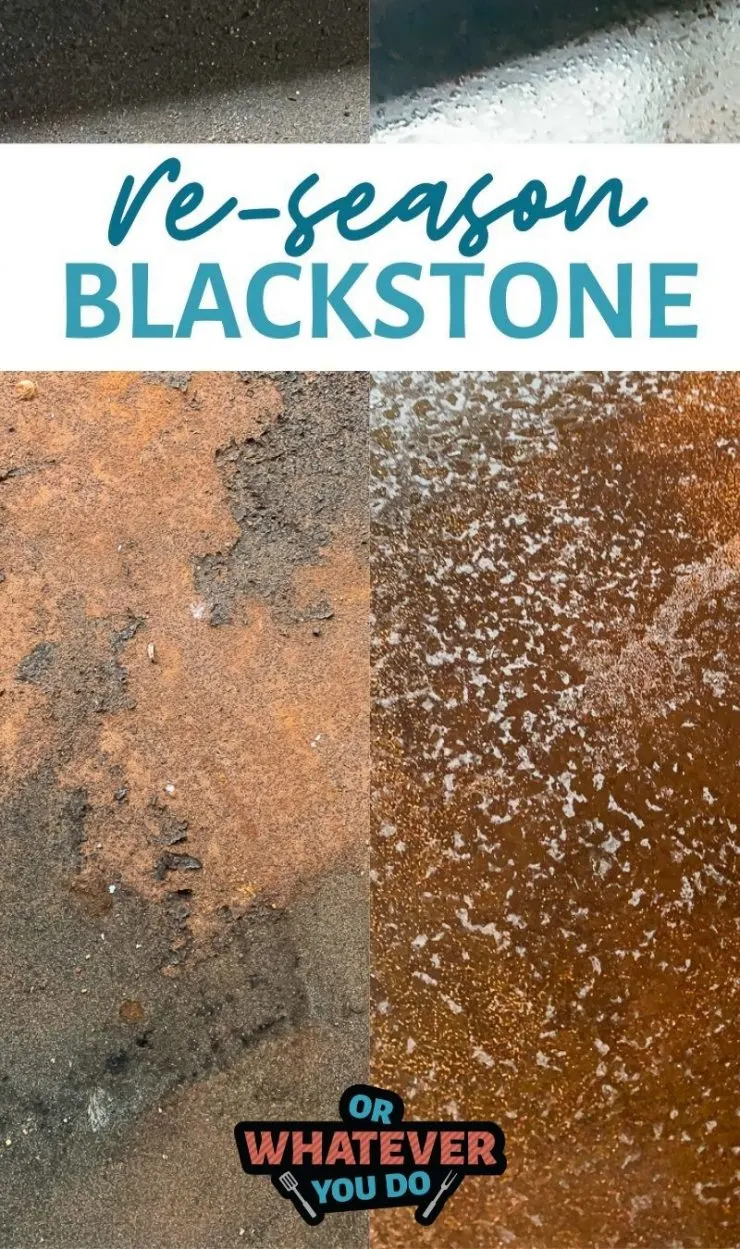
Why you should re-season a rusty Blackstone Griddle
I know. YOUR Blackstone would never get this rusty/dirty/neglected.
But mine did, and I avoided the re-seasoning process like the plague because I was afraid it was going to be super difficult and/or frustrating.

I'm in a bunch of the Blackstone Facebook Groups, and one thing they all have in common is people complaining about and having trouble seasoning the surface correctly.
My Blackstone got neglected for a while because it was on the front porch at our old house, and there just wasn't much room to maneuver over there.
We also had a few misadventures in seasoning and the first few times we fired up the flat top were uhhhh. Well, they were less than successful, to say the least.
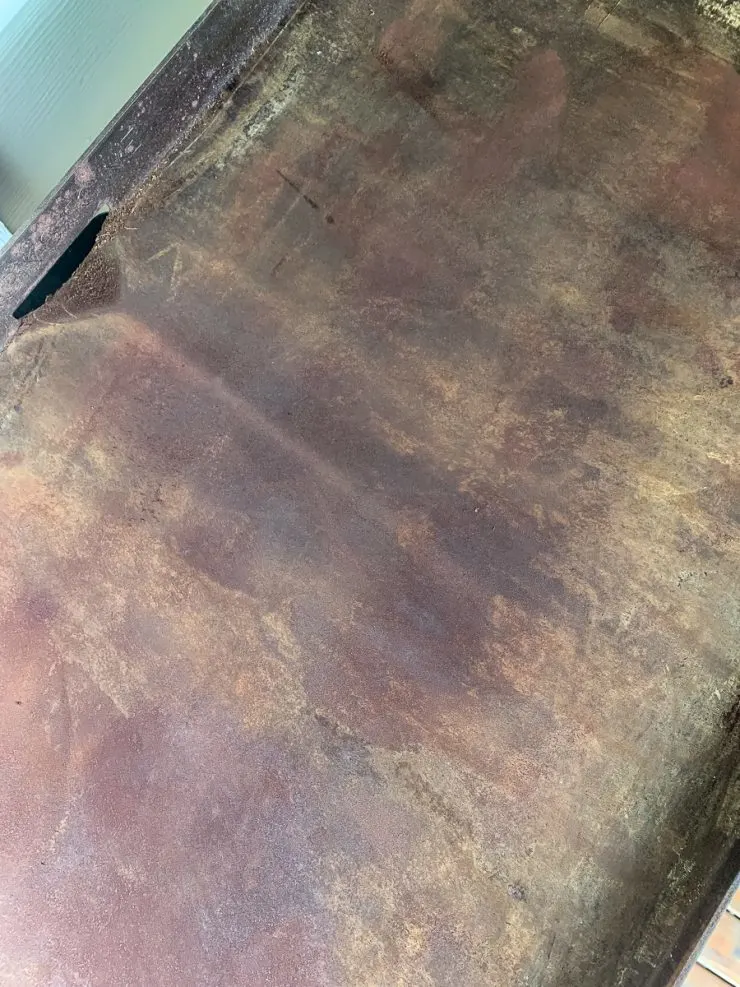
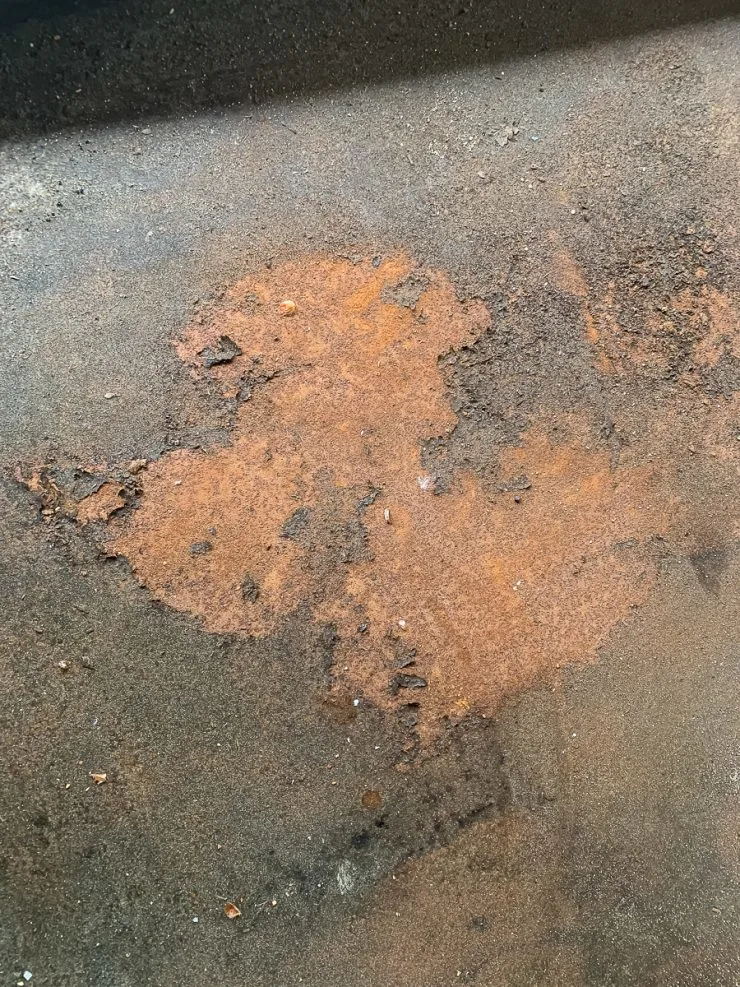
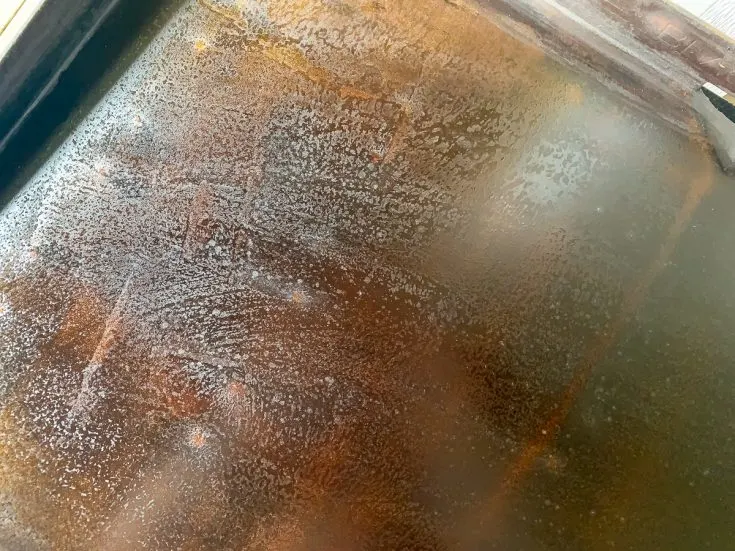
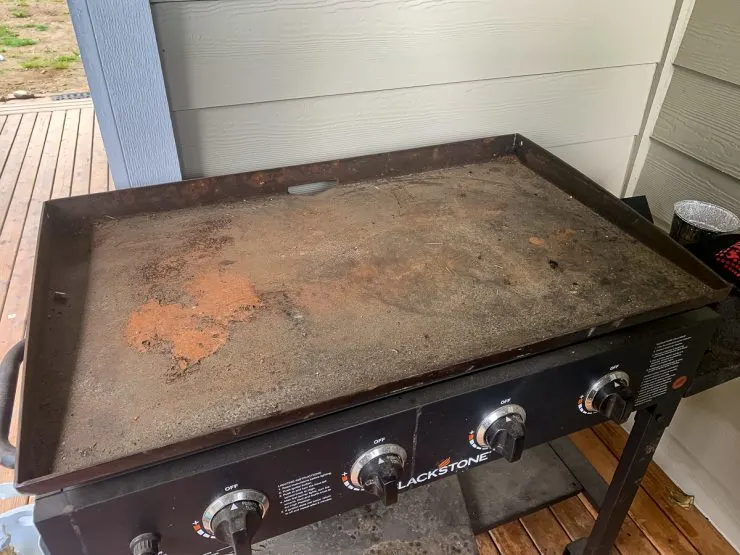
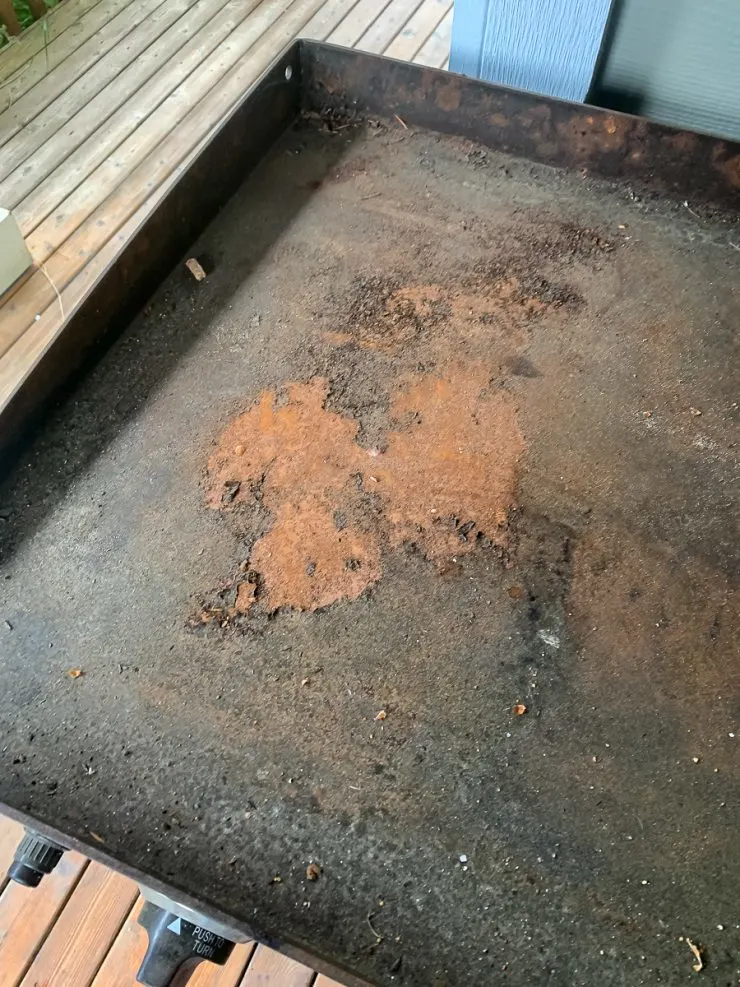
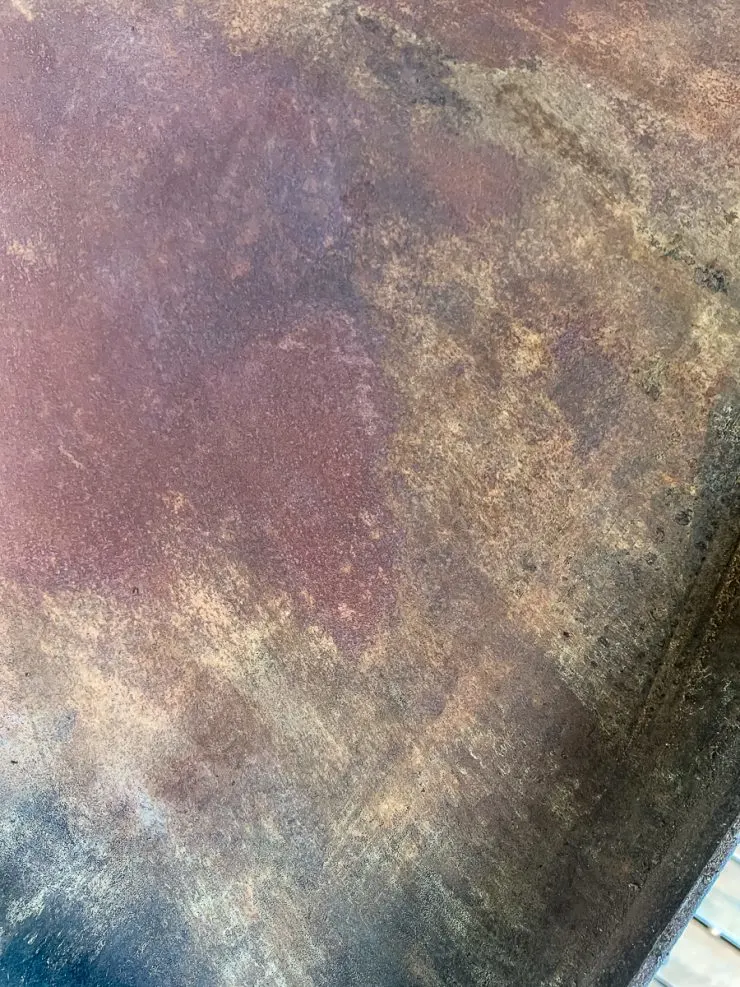
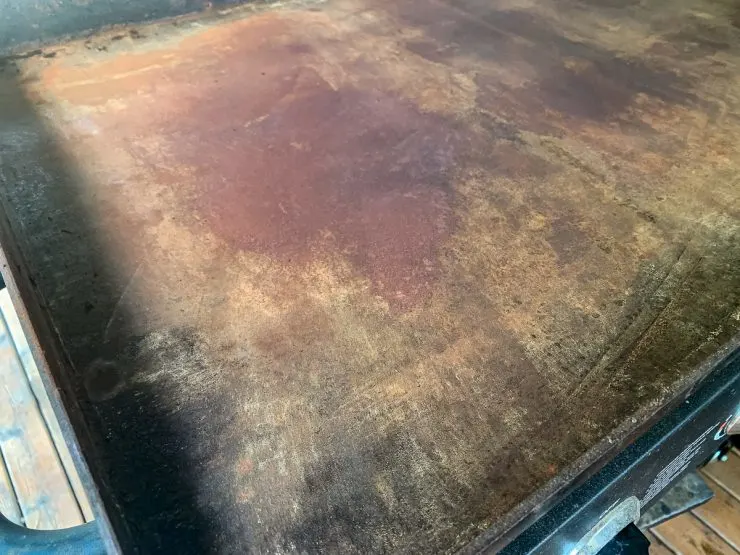
Then we moved, and while we have an awesome space for all of our outdoor cooking tools now, my poor Blackstone looked like this.
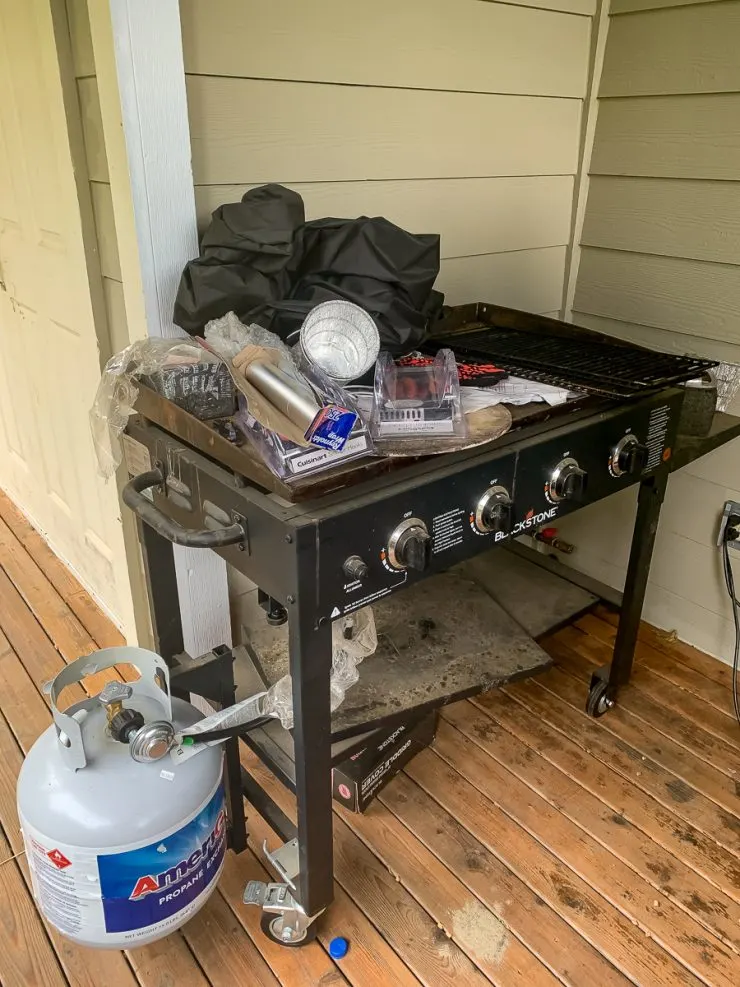
Not good.
It didn't look any better under the pile of junk either.
So it was time to clear my calendar and get to work.
More Blackstone Recipes here!
How to re-season a rusty Blackstone Griddle
The short version is down at the bottom of the post, but I wanted to expand on some of the key points here.
The biggest lesson in this is that there is no ONE right way to do this.
The goal of a re-season is to get rid of all the rust and junk on top of the metal. The paths to get there are many and varied, so feel free to ad lib a bit and use what you've got around if you don't want to Amazon Prime the tools I used.
Step 1: Scrape
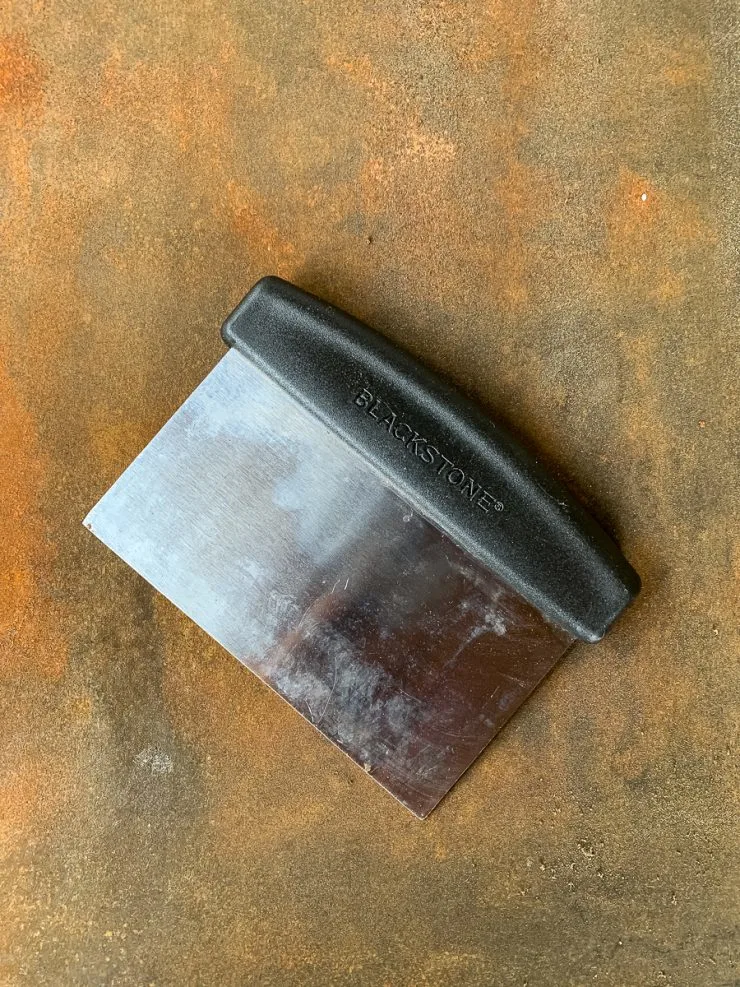
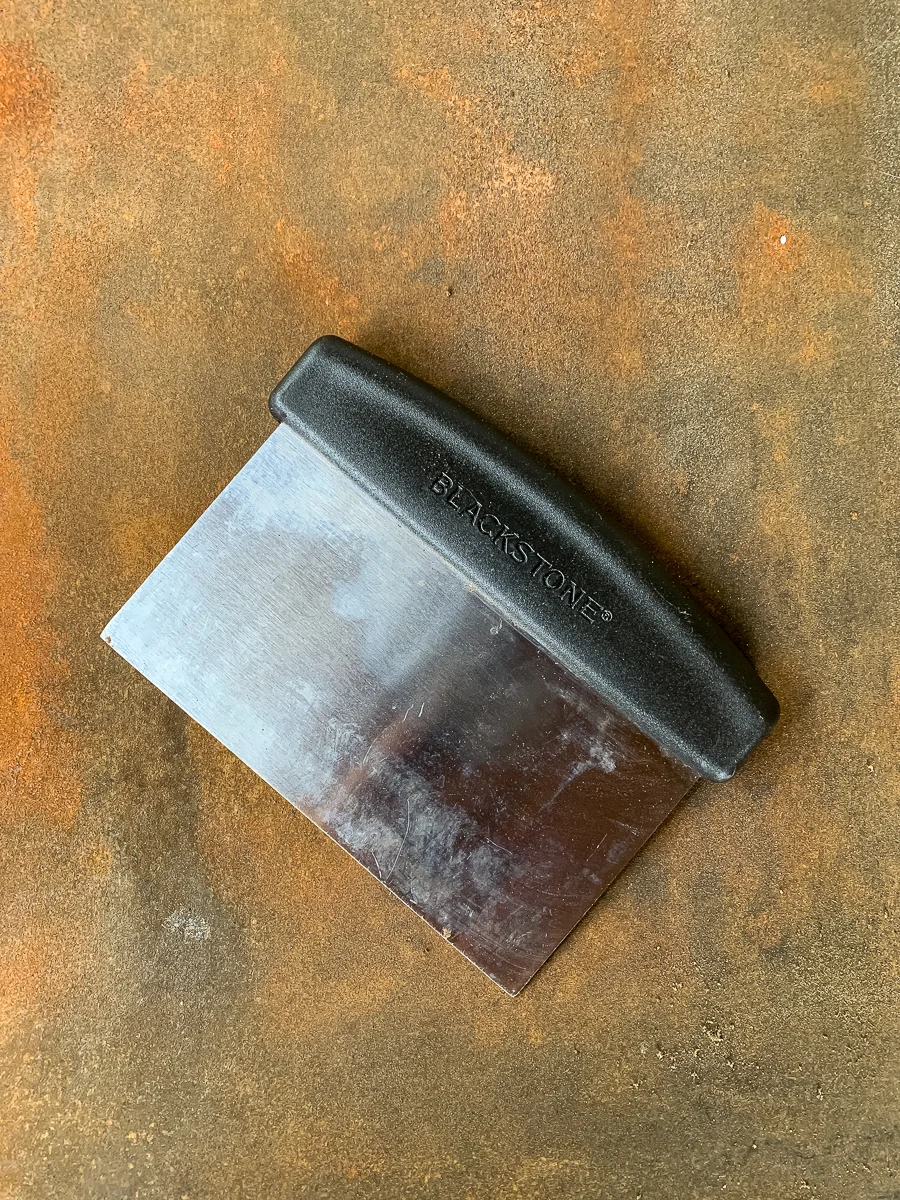
Grab your handy bench scraper and all of the excess stores of elbow grease you have available, and get scraping.
I used just a bench scraper for this task and it worked fine, but I'm definitely investing in this scraper below for future upkeep. The handle will give you much-needed leverage.
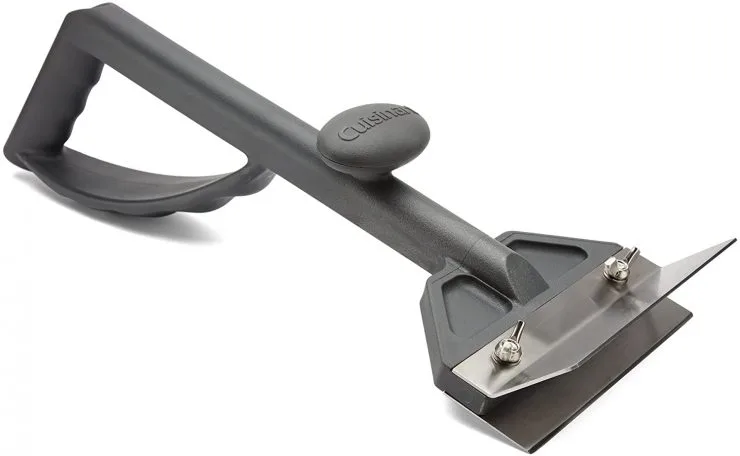
You're going to really have to put some work into this part, and you'll scrape for longer than you thought possible.
Step 2: Heat it up
Now it is time to fire up the griddle and let it get good and hot. Heating it will help loosen any additional debris that wasn't being cooperative during your first go-round.
Let it get HOT and let it stay HOT for about 15 minutes. Then get your heat-proof gloves on and keep scraping.
Step 3: Reduce the heat to medium / medium-low and rub down with some oil and steel wool
Confession time! I didn't have any steel wool, and MAN was I wishing for some. Be smarter than I was, and get some before you tackle this. Just DON'T get the ones with the cleaner in them. No cleaner, no way.
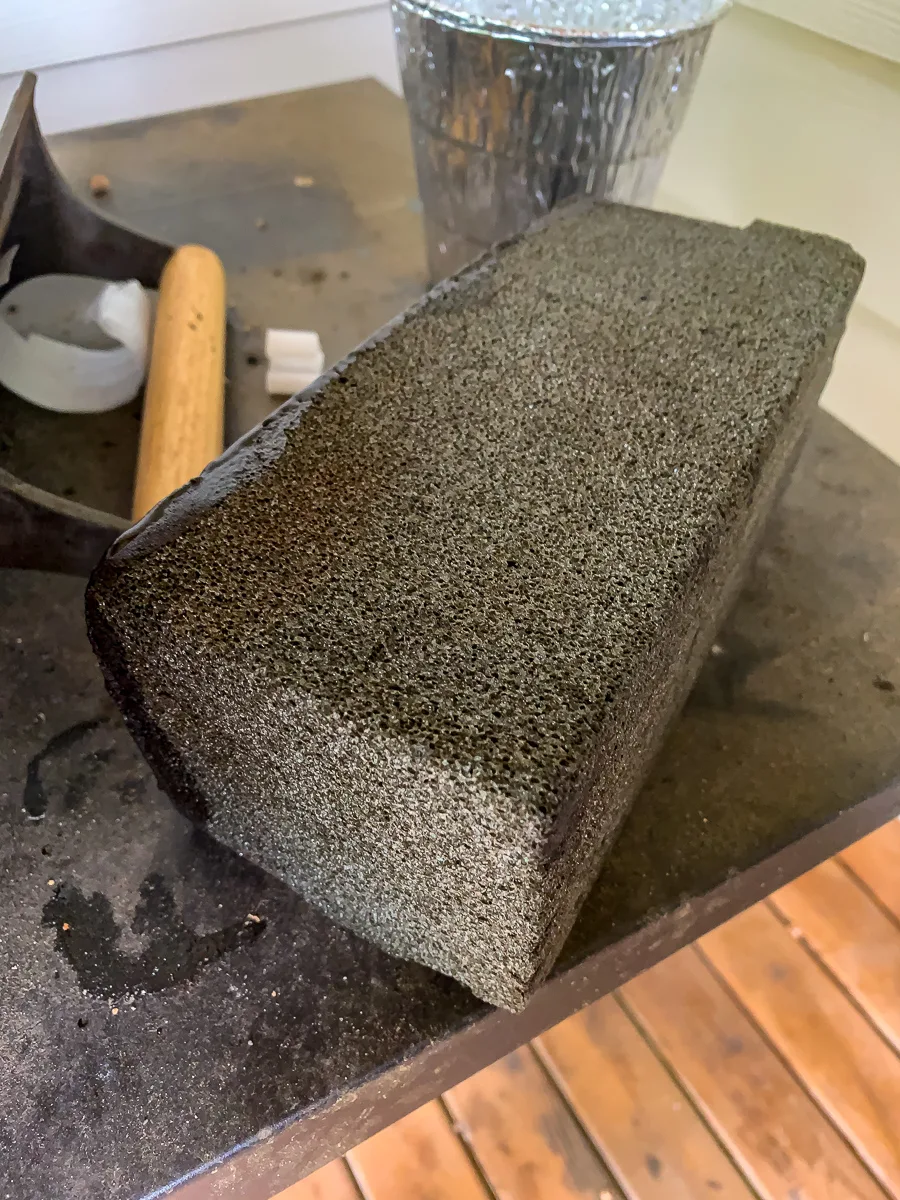
If you just have a grill brick though, break that out here. It'll do!
Also, I hope you didn't put away those heat-proof gloves because you're going to need them here too.
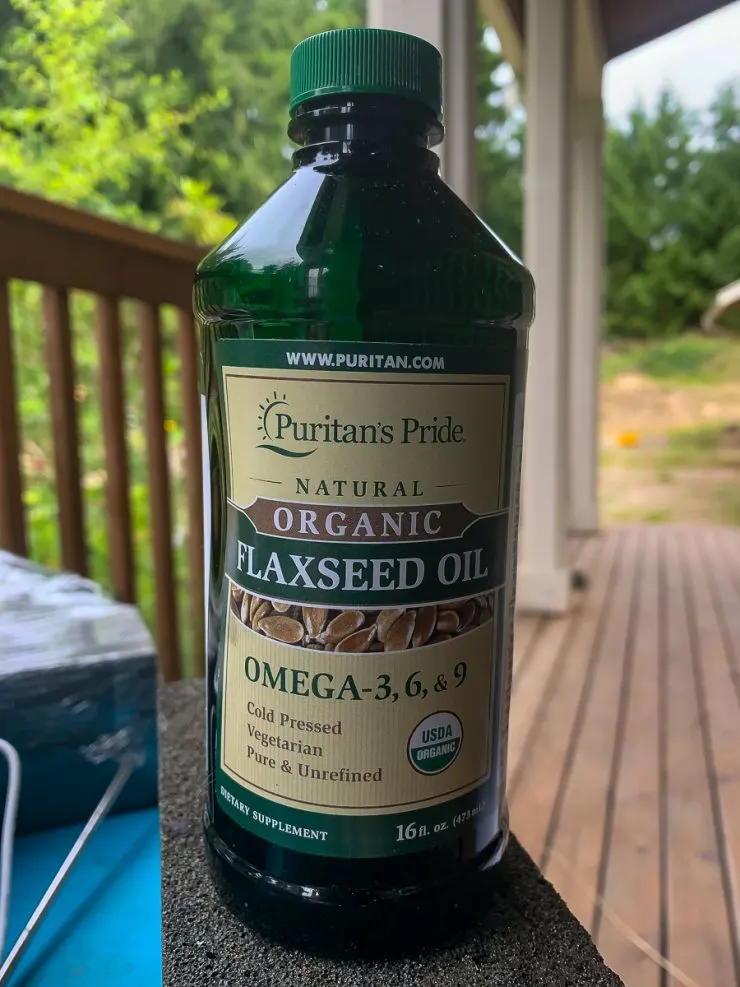
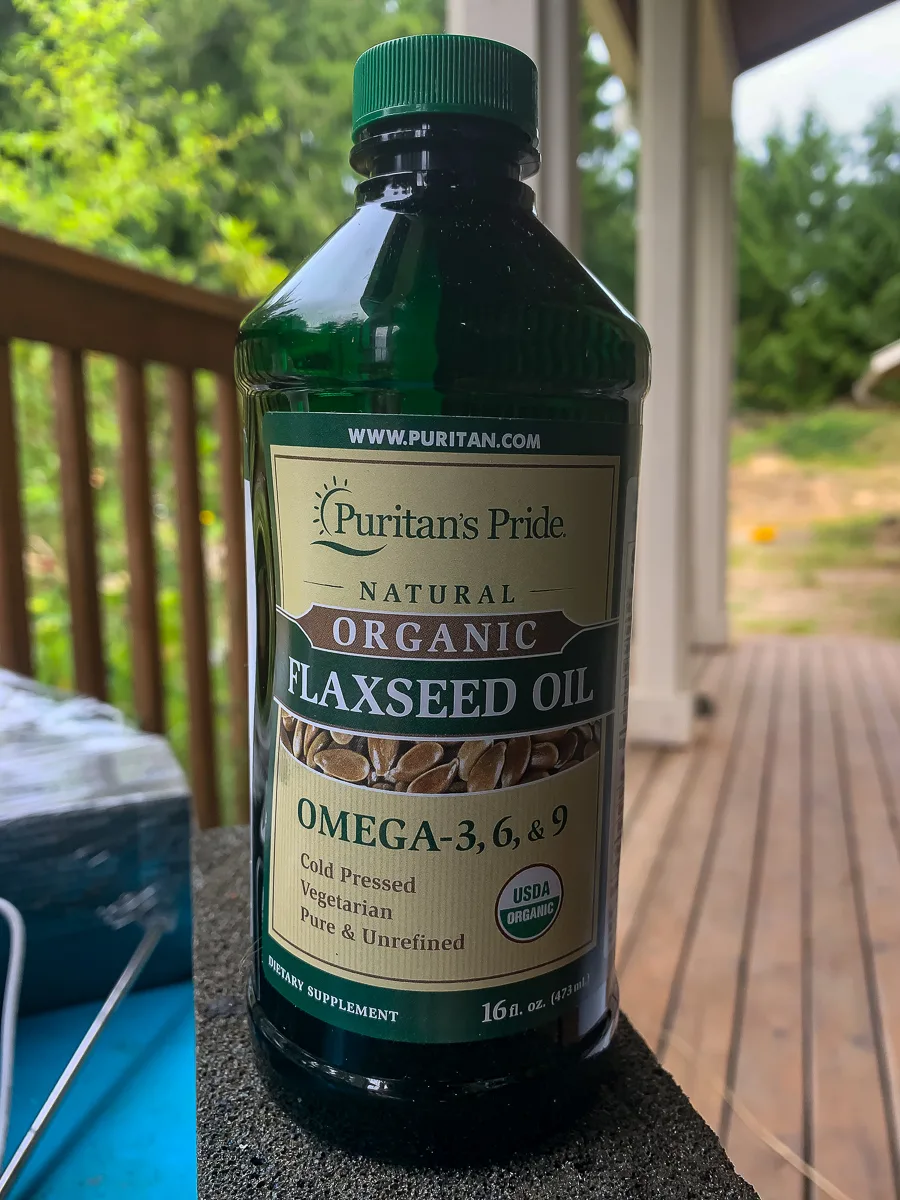
Rub some flaxseed oil onto the griddle and using the steel wool, get to scrubbing. You're trying to loosen up additional gunk and leave behind that clean metal surface.
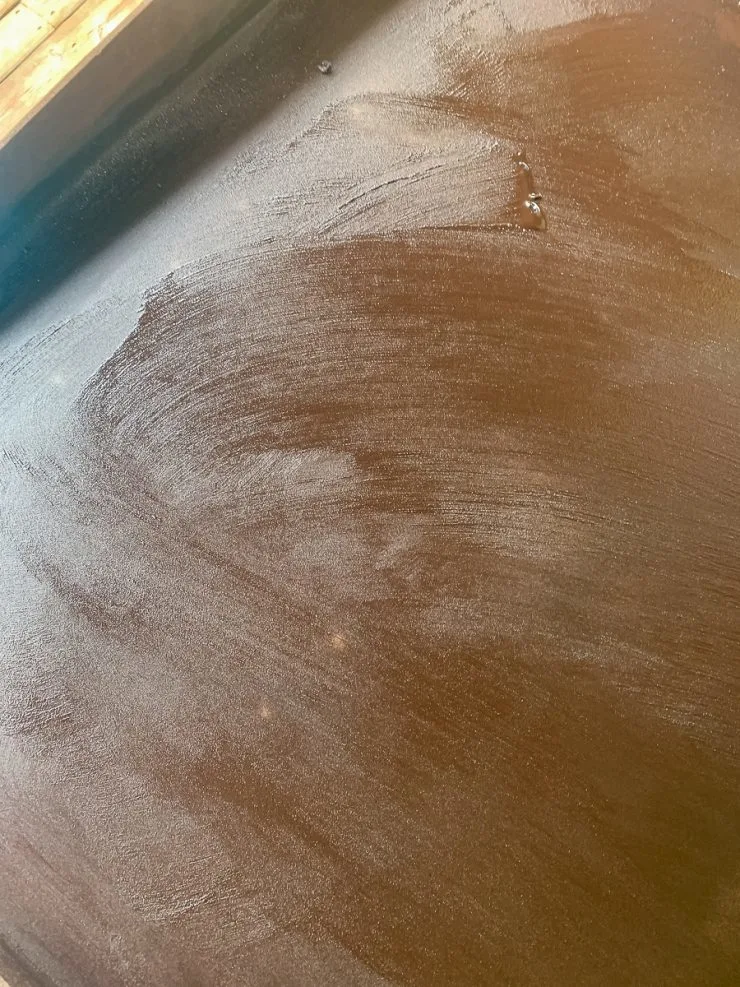
Step 4: More scraping
I know! You are probably sick of all of the scraping and also really glad you have a nice bench scraper. But still, scrape all of the stuff off that the steel wool + oil just loosened up.
You're giving your griddle a little exfoliating treatment. Embrace the inner beautician in you.
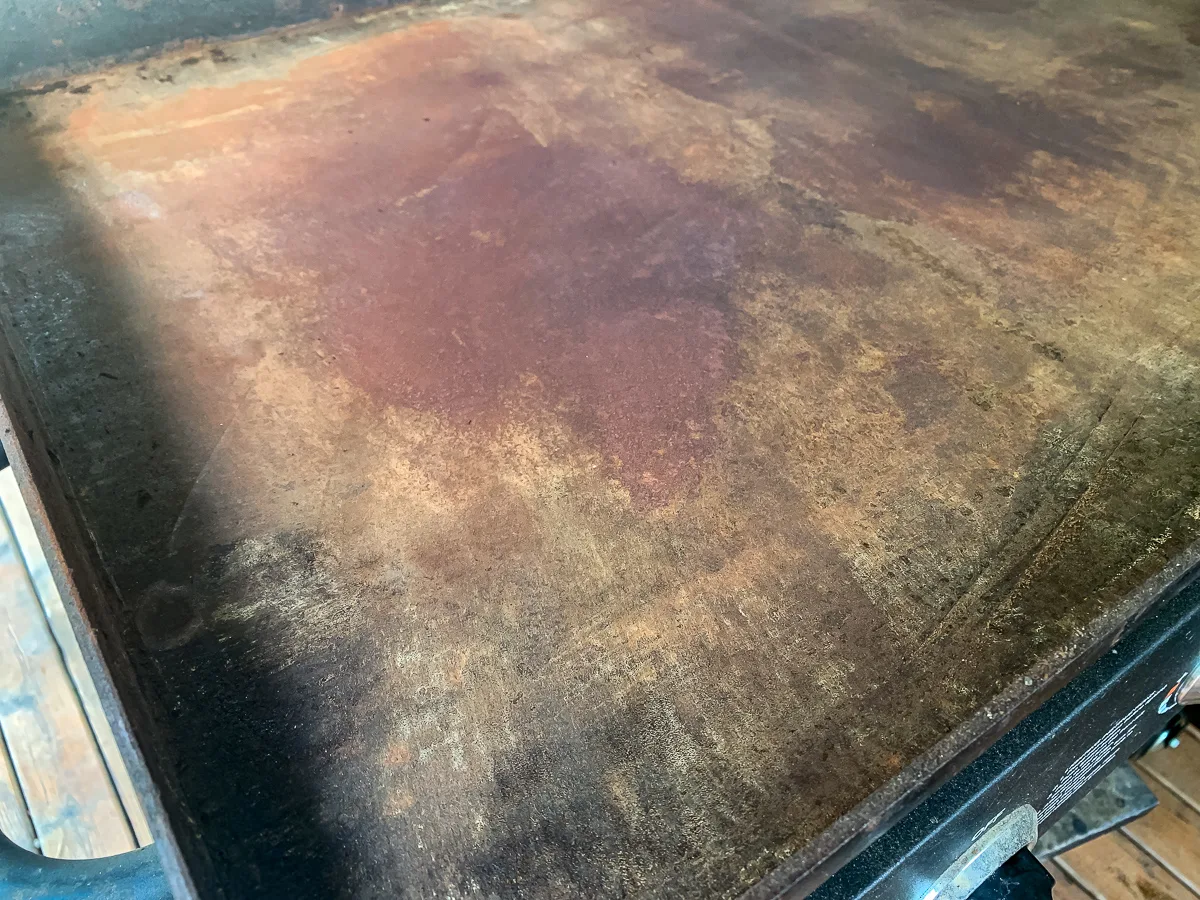
Once you scrap it, it's going to look ugly again. That's okay. Just go with it.
Eventually, after the scrubbing and scraping, you'll start to see some actual METAL!
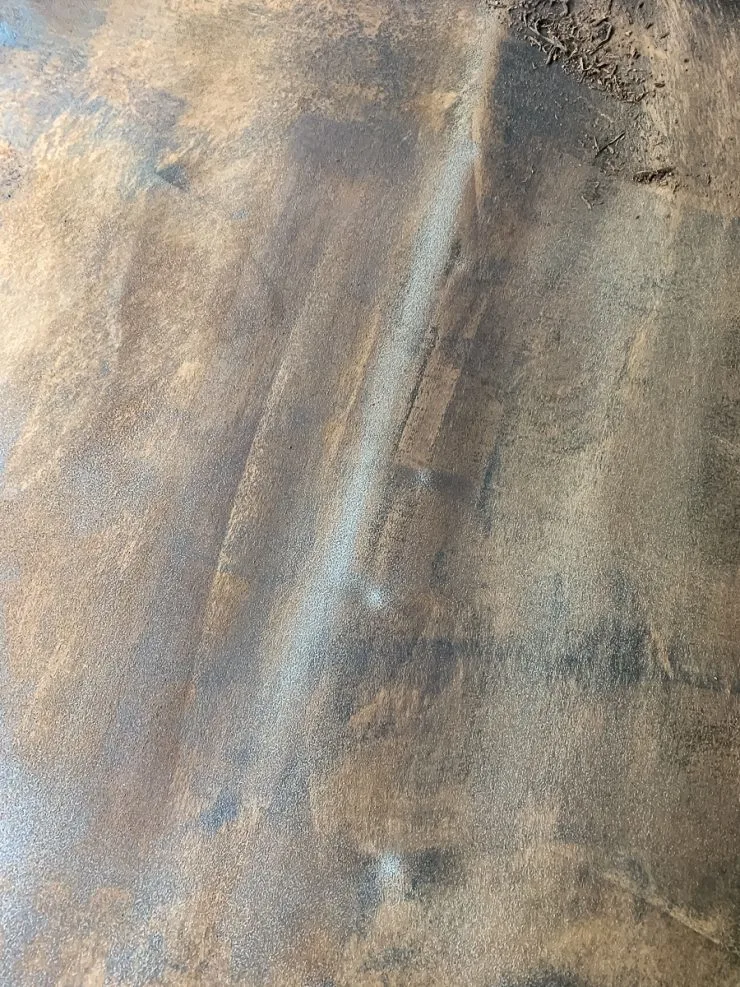
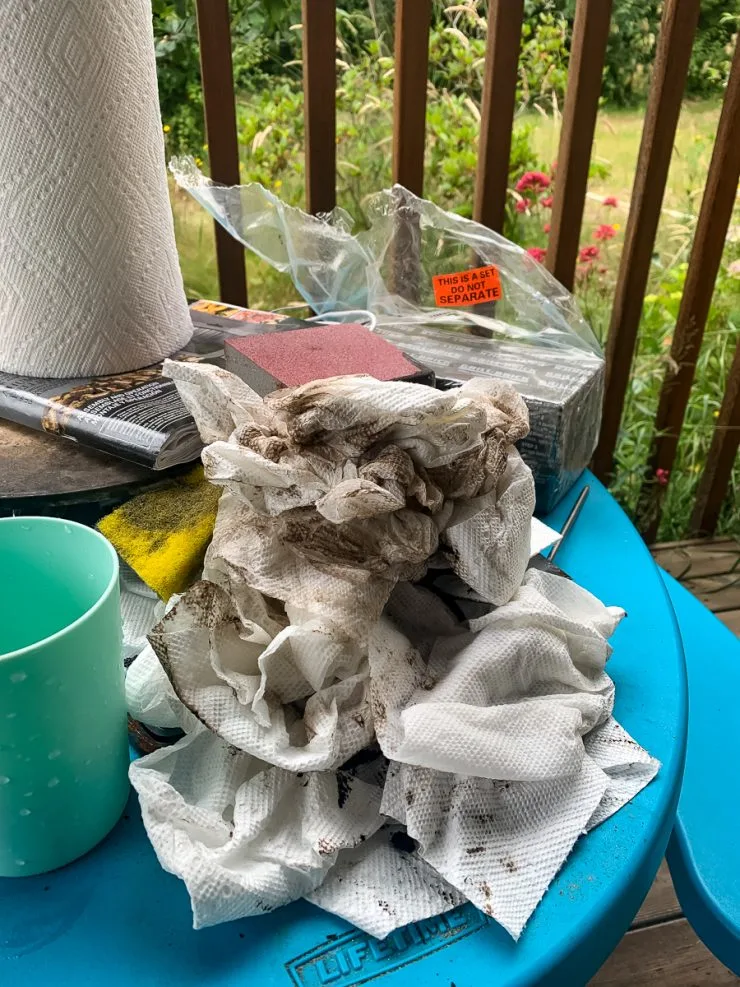
Step 5: Paper towels are your new BFF. Don't be stingy.
After you scrape up as much of the stuff as you can, a little more oil and some paper towels are in order. We're trying to clean away as much as the dirt and grime and stuff that leaves things on paper towels.
So, keep oiling and wiping and scraping and wiping and just buy some stock in Bounty already because you own a griddle now and paper towels are a part of the deal.
This is just a SMALL amount of the towels that I used.
Step 6: GRILL STONE time!
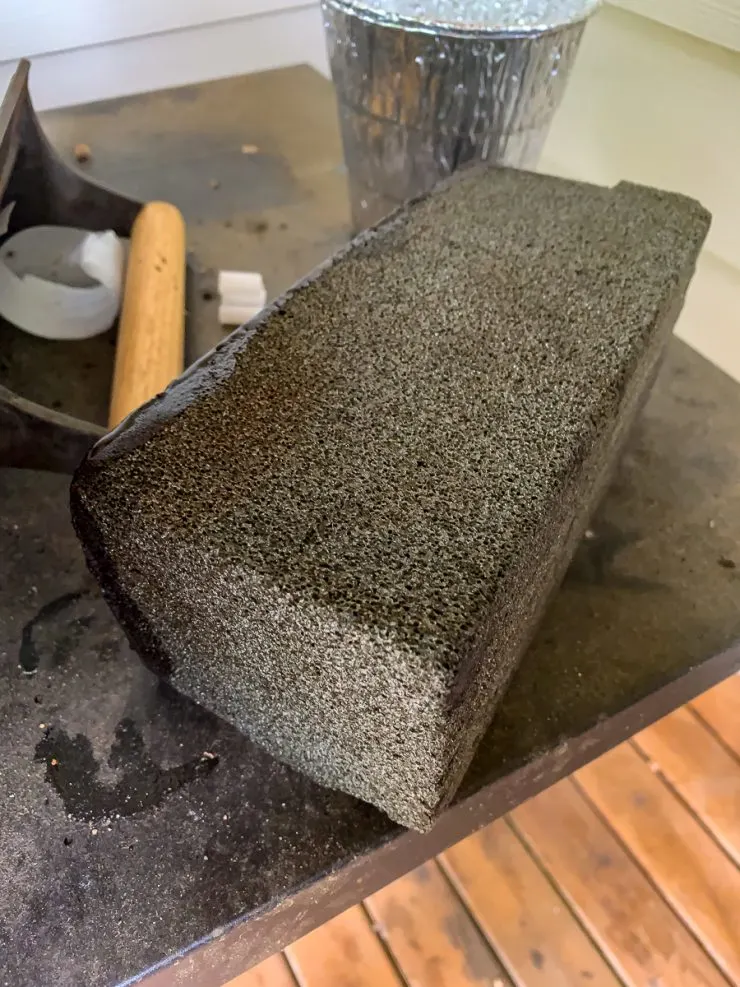
It is finally time to break out the grill stone, if you were smart and had steel wool before.
The grill stone is like a big pumice stone, so it need some oil to glide over the griddle and it is going to leave some stuff behind. That's okay. We want that because it is polishing the griddle and continuing to take away layers of the crud that's built up while you were busy doing things other than taking care of your griddle.
Step 7: Just keep swimming
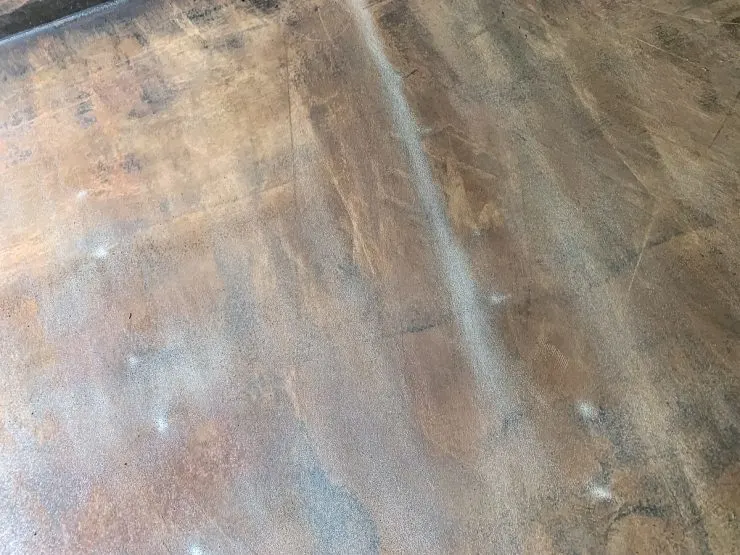
AKA – you might need a few more go-rounds with the steel wool and/or grill stone. Just keep on going until it is looking better.
Some signs you might be done?
- Nothing else is scraping off
- Your paper towels are starting to come away clean
- You ran out of your beverage
- You are considering throwing your griddle off of the nearest cliff
Step 8: Crank the heat back up!
Heat is your friend now along with the paper towels. Crank it up and make sure your gloves are still on.
Step 9: Rub the griddle with a THIN layer of oil
The biggest mistake people make when seasoning their griddle, which is what we're doing now, in case you didn't realize, is that they put on WAY too much oil.
For this, you want a THIN even layer of oil. Use paper towels and use the oil sparingly.
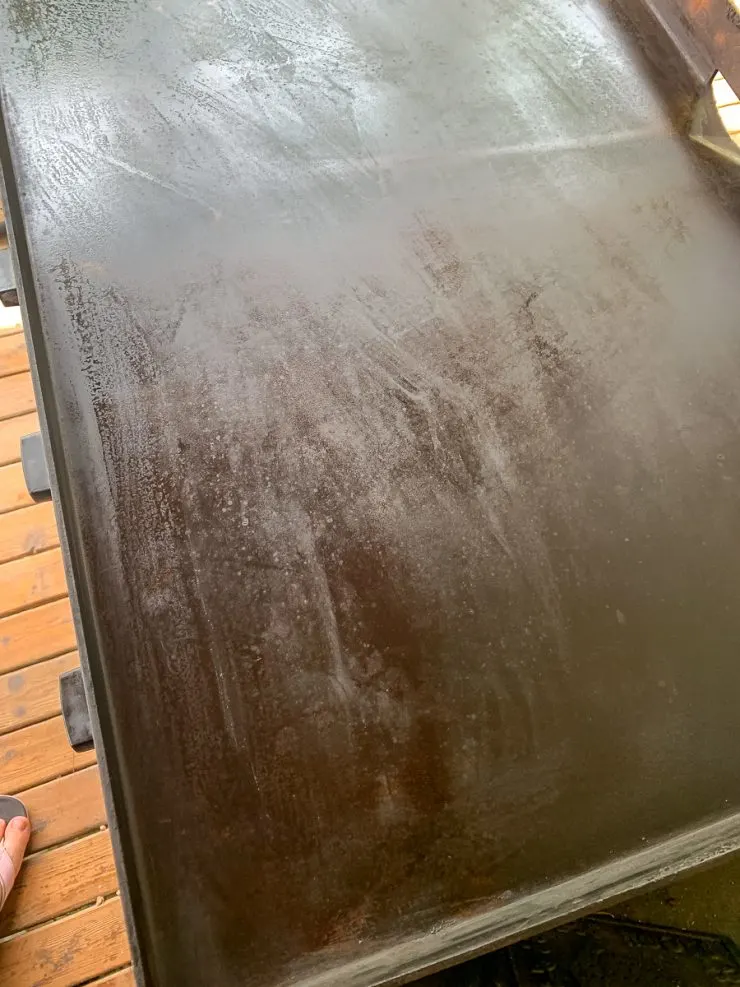
Once the oil is on, let the griddle stay on high heat. The oil will eventually start to smoke. That's a good thing. It is adhering to the griddle and that's what you want.
It is also starting to look better.
Step 10: Turn the griddle off and let it cool completely.
This is a hurry-up-and-wait kind of situation now. Rest your weary arms, grab another cocktail, and let that griddle cool completely.
Step 11: Repeat the oil/high heat/smoke fest 3 more times
And cool completely between each.
This is a really important part of the process, so don't quit now! Do those 3 more layers of oil that you're baking onto the surface of the metal. You can DOOOOO it!
And look what you'll end up with!
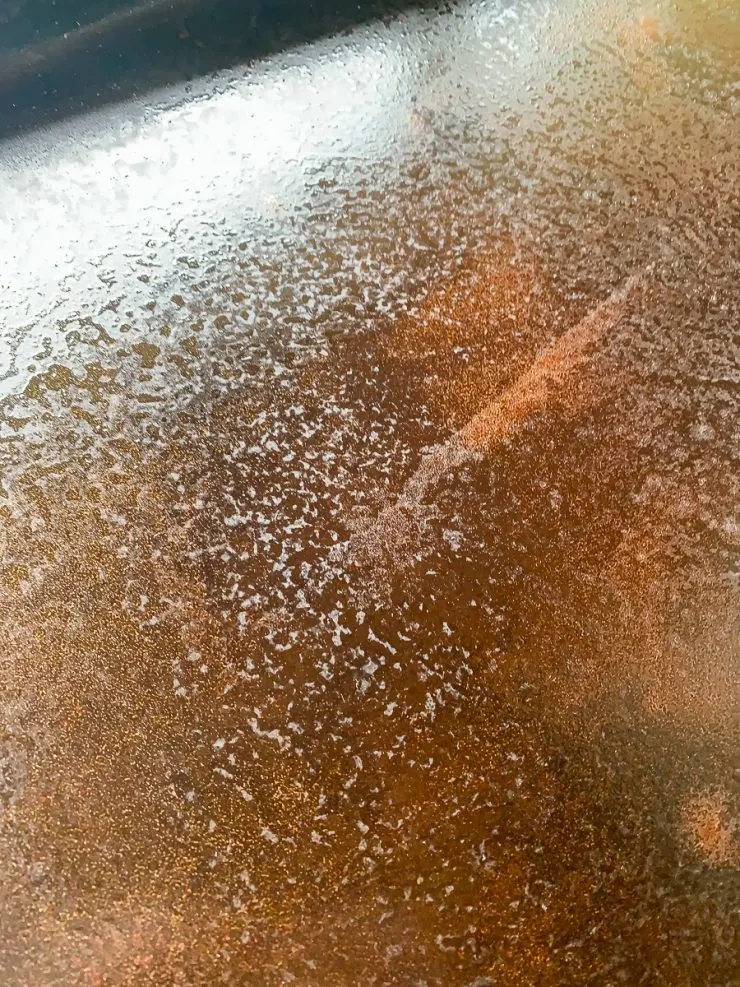
Pat yourself on the back! You now have a seasoned griddle!
Mine still has some work left on it to really get it properly seasoned, but the change is pretty incredible!
BEFORE 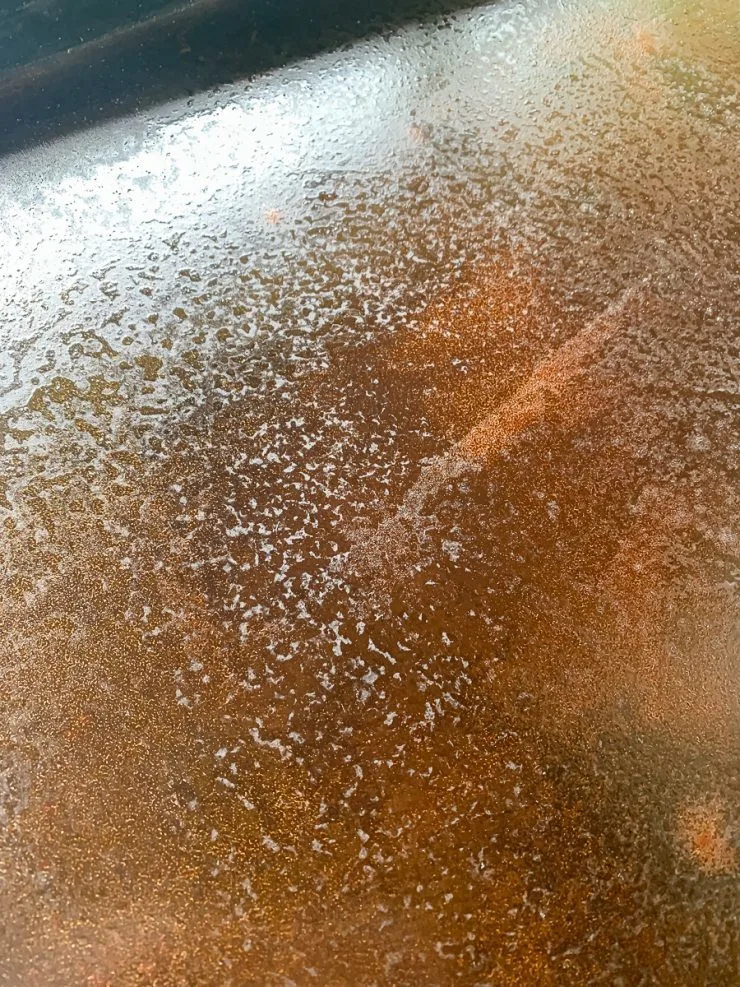
AFTER
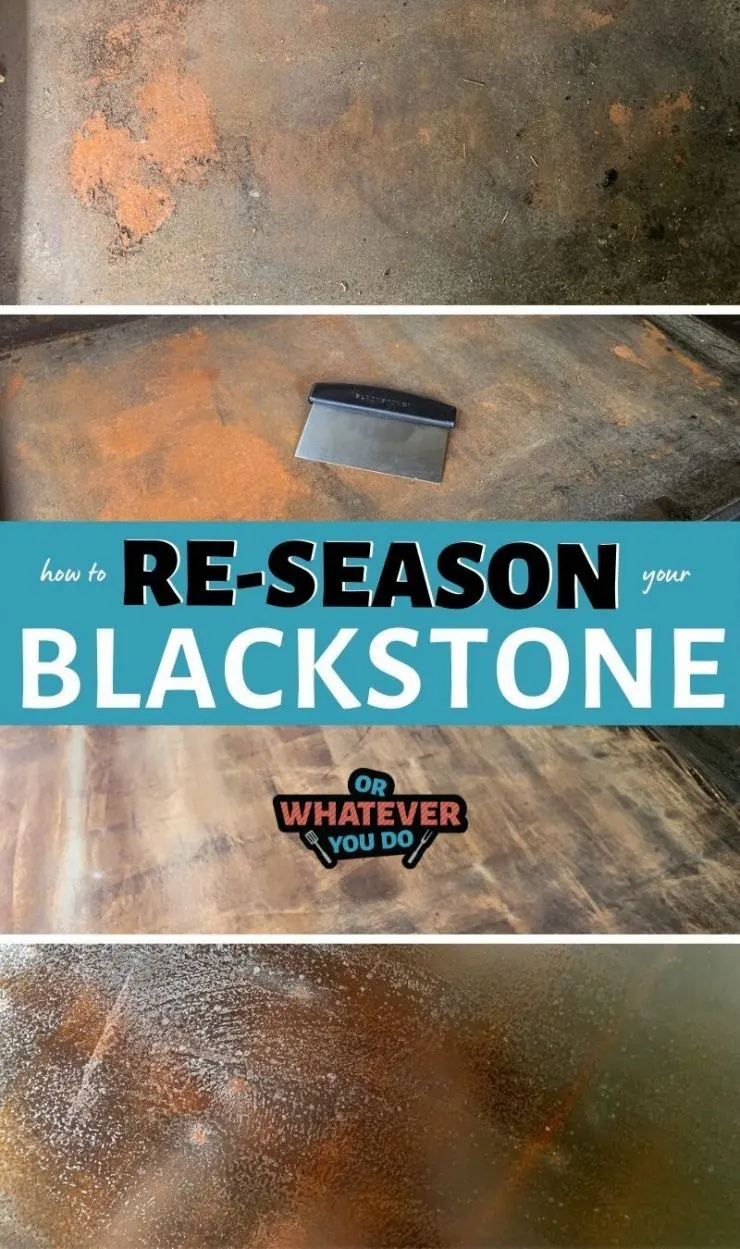
How to re-season a Blackstone Griddle
If your grill gets rusty, don't throw in the towel! A little elbow grease and a few tools will have your griddle cooking again in no time!
Materials
- Flaxseed oil
- Paper towels
Tools
- Metal scraper
- Grill stone
- Heat-resistant gloves
- Steel wool (optional)
Instructions
- Scrape all of the debris that you can off of the surface with your steel bench scraper.
- Turn on the griddle and heat over high heat for 15-20 minutes. Turn the heat down to medium to medium-low, put on the heat-proof gloves, and continue scraping until all of the rust and debris is gone.
- Drizzle a couple of tablespoons of oil onto the grill, and hit it with the steel wool pads to continue removing discoloration and rust that couldn't be scraped off. If you don't have steel wool and went with just grill bricks, you can use that here.
- Use the bench scraper and scrape off as much of the gunk that's left there as you can.
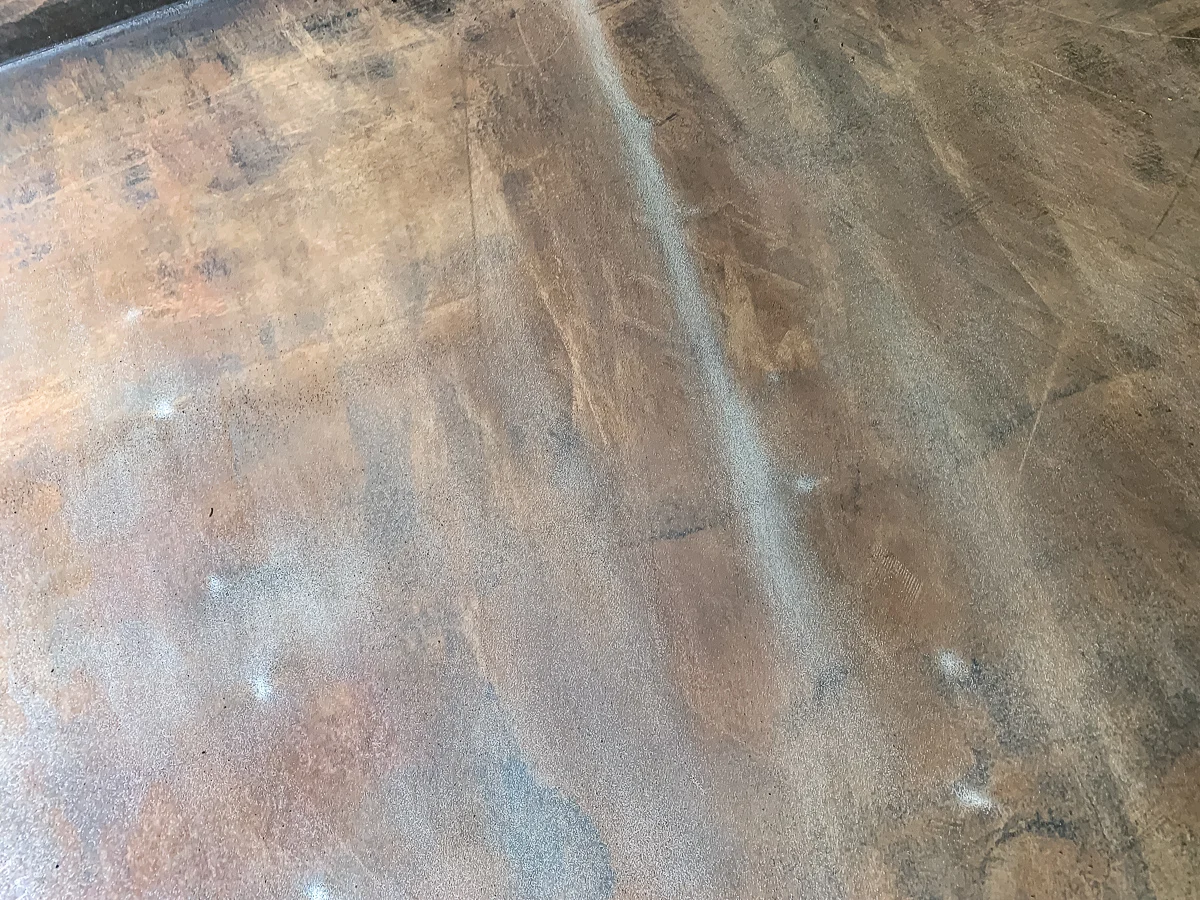
- Wipe the griddle clean with the paper towels. You're going to be using a lot of them. Don't be shy.
- Next, some more oil to the griddle and hit it hard with your grill stone. This is going to continue removing layers of junk off of the surface of the griddle. The idea is for the paper towels to eventually wipe away clean and have the surface be clean as well.
- Repeat with the steel wool and grill stone and scraper routine until nothing else will come up.
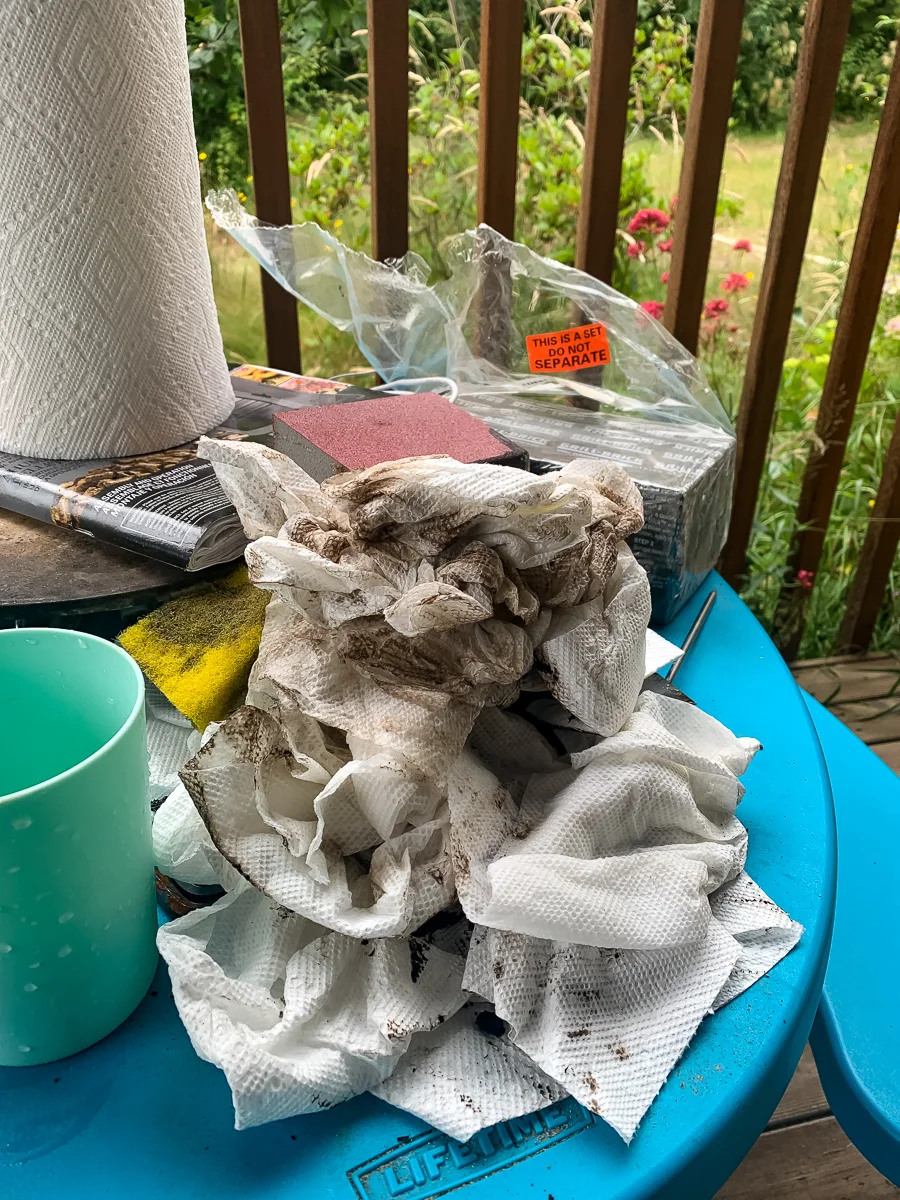
- Once the paper towels wipe away clean, turn the griddle back on to high heat.
- While the griddle is heating, pour some more oil on the surface and carefully smooth it around evenly on the griddle. You want only a VERY thin layer.
- Let the griddle heat over high heat for 15-20 minutes, or until the smoking stops.
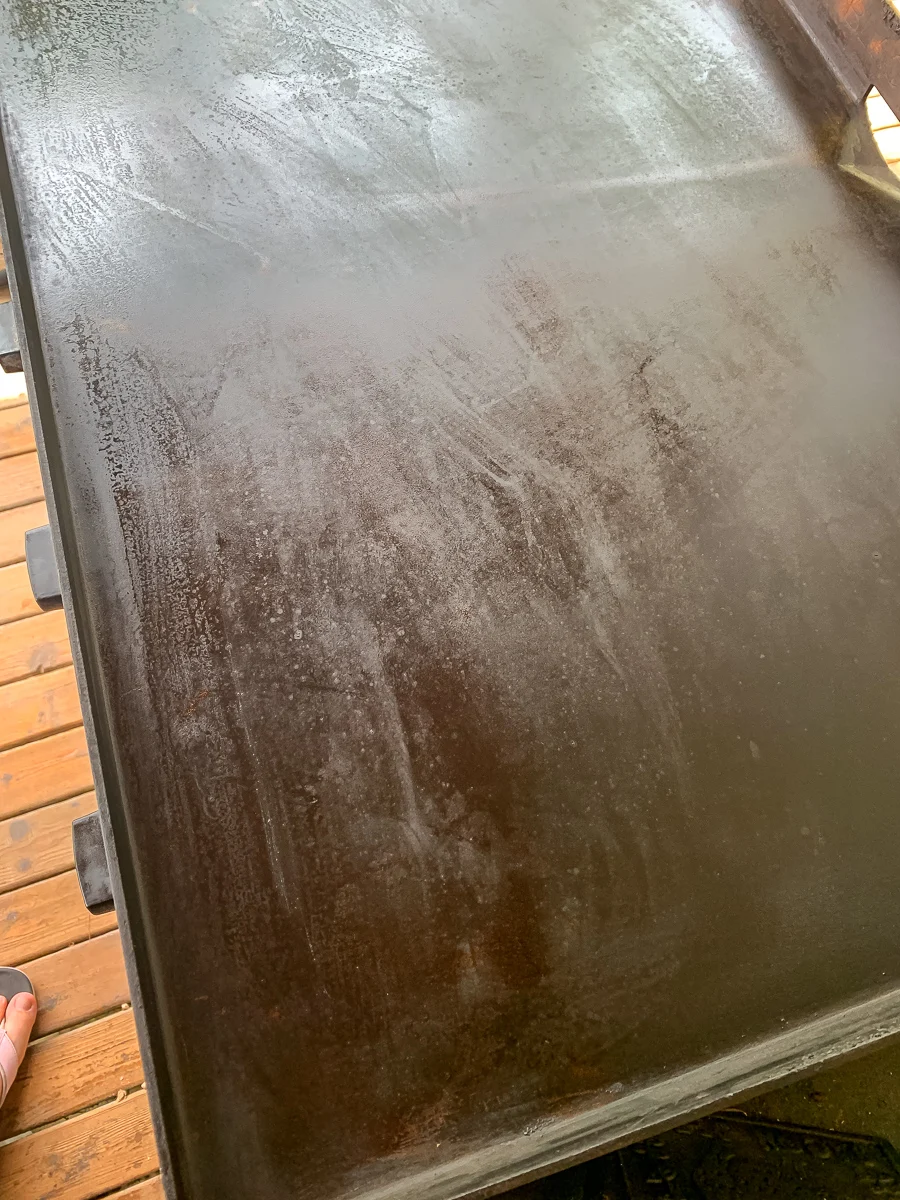
- Turn the griddle off and let it cool completely.
- Once it is cool, place another layer of oil on, crank up the heat to high, and repeat the smoke-off/cool down/re-oil process until you've been through it 4 times.
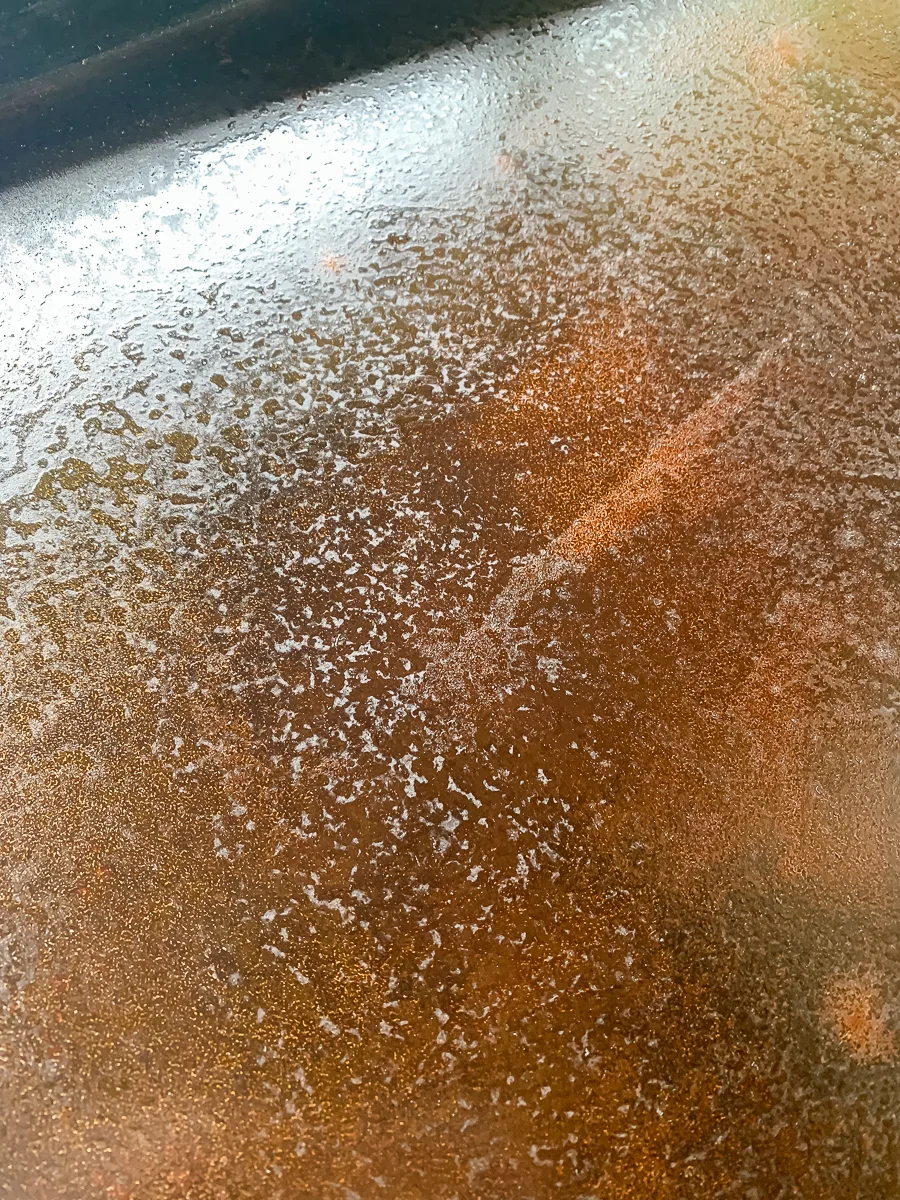
- Pat yourself on the back! You now have a seasoned griddle!
Recommended Products
As an Amazon Associate and member of other affiliate programs, I earn from qualifying purchases.
Get all of my Blackstone Griddle Recipes
These recipes are all created to be cooked on our Blackstone Gas Griddle! Everything under the sun from steak, hashbrowns, and fried rice. Come back often and check out my ever-expanding collection of Blackstone Recipes as we fall more in love with this versatile, much-loved piece of grilling equipment.
Blackstone Steak Quesadilla
Quesadillas are best cooked on a flat top griddle! My Blackstone Steak Quesadillas use leftover steak and turns it into something amazing. Easy, filling, and kid-approved dinner idea!
Blackstone Vegetable Yakisoba
This delicious vegetable yakisoba is a stir fry with tons of broccoli, zucchini, green beans, peppers, and onions. Keep it vegetarian or add in some protein of your choice!
Ham & Pineapple Fried Rice
Blackstone Hibachi Ham & Pineapple Fried Rice is authentic hibachi-style fried rice at home, for a fraction of the cost. Make a meal out of this great meal!
Blackstone Sausage-Stuffed Hash Browns
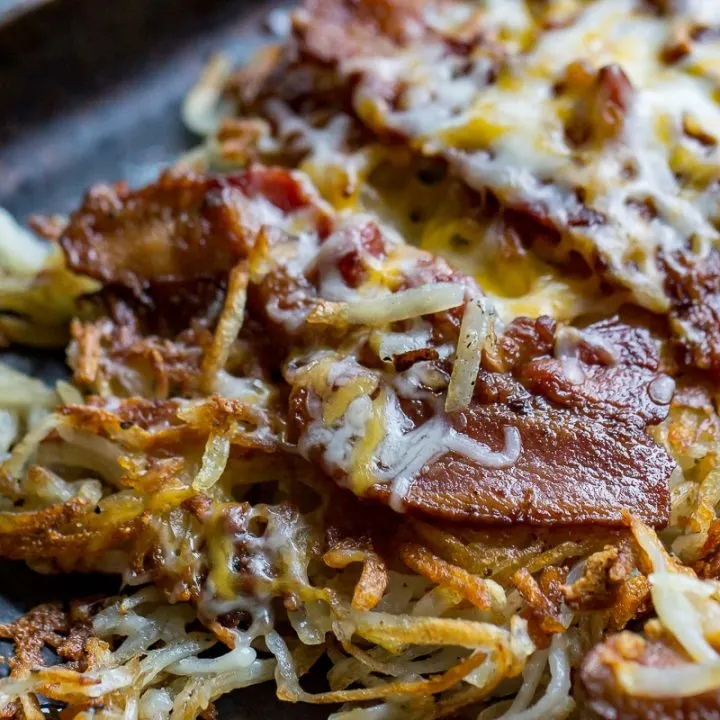
Blackstone Stuffed Hash Browns are cooked until crisp on a gas griddle, stuffed with sausage and cheese, and topped with bacon, cheese, and a fried egg.
Blackstone Steak Tacos
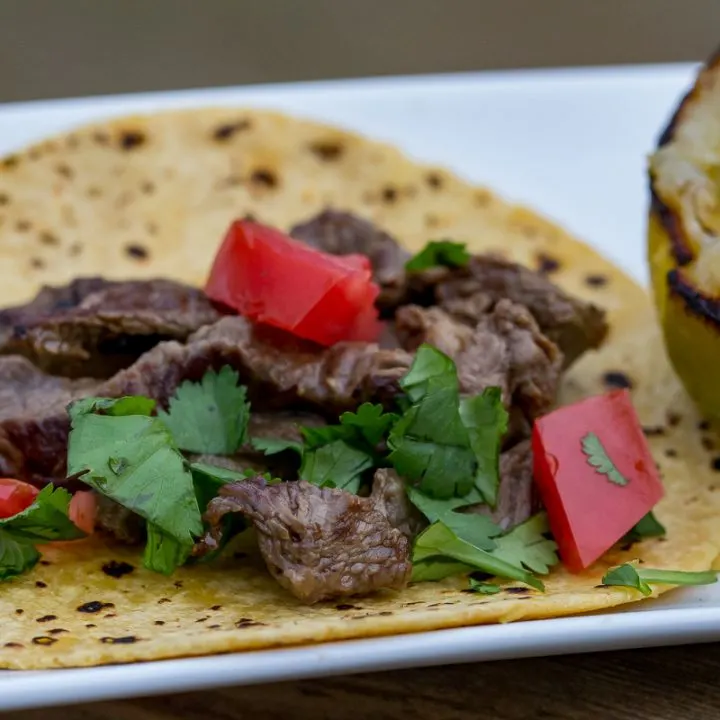
These Blackstone Steak Tacos are a quick, easy, and delicious way to do street tacos at home!
Blackstone Griddle Steak
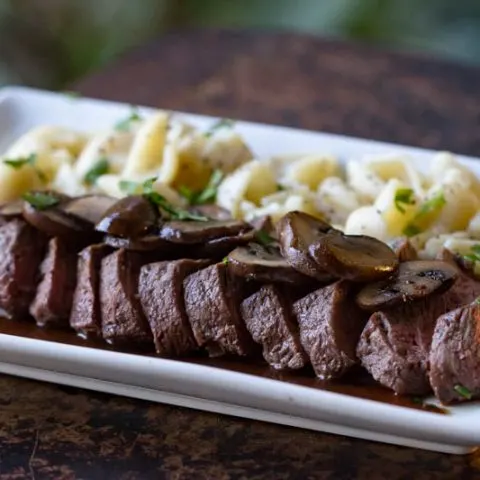
Blackstone Griddle Steak is a super simple main course that is done is less than 15 minutes, and anyone can master.
Bacon Cheese Omelet
This bacon cheddar omelet is cooked on our Blackstone Griddle and is one of my favorite breakfasts. The Blackstone Griddle will bring a taste of Country Kitchen right to your home. You can definitely just cook this Cheesy cheddar bacon omelet on the stove if you don't have one of these handy portable griddles, just use a non-stick pan.
Shrimp Fried Rice
Shrimp Fried Rice just like take-out, but made at home on your gas griddle! The Blackstone (or similar) will give you that Hibachi-style fried rice you love, without even leaving your house.
Griddle Patty Melt
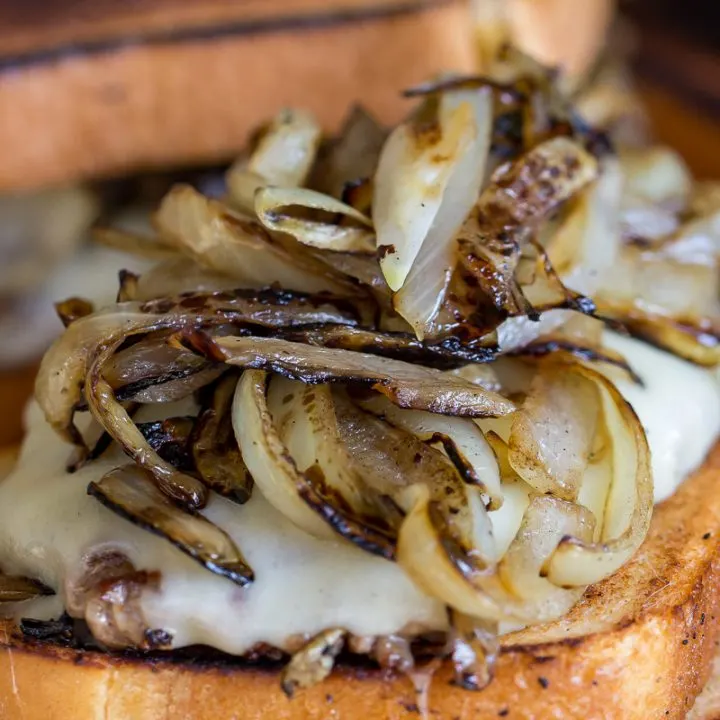
Homemade Patty Melts that are just as good as your local diner's are not only possible, but pretty simple too thanks to a gas griddle!
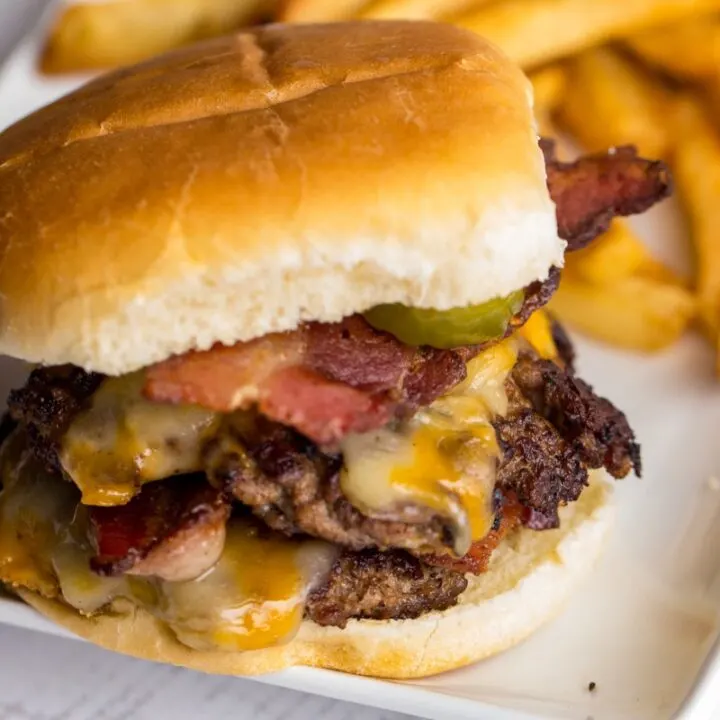
Smash Burgers
These easy flat top grilled smash burgers will be the hit of your dinner rotation. Skip the drive-thru and make restaurant-quality burgers right at home.
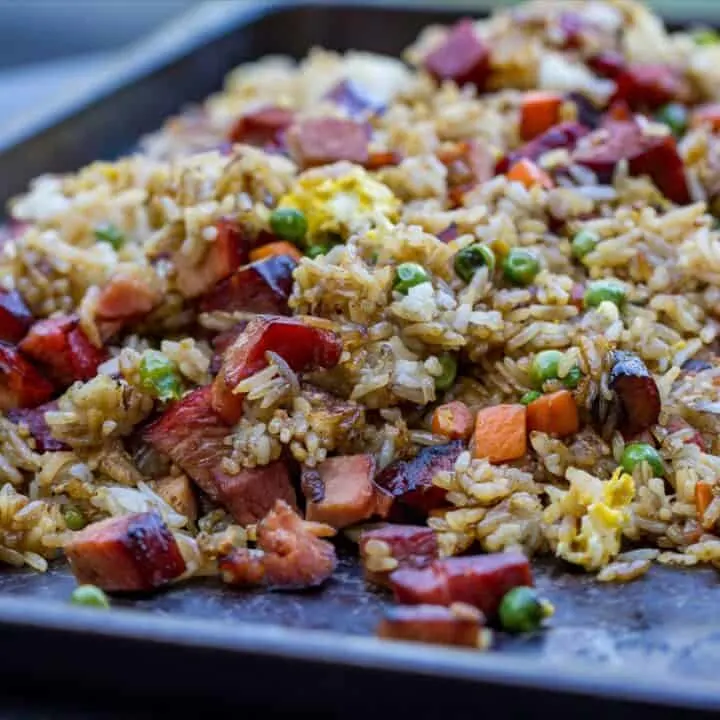
Griddle Pork Fried Rice
Home-cooked Pork Fried Rice made easy right on the propane griddle. Get authentic hibachi-style fried rice at home, for a fraction of the cost.
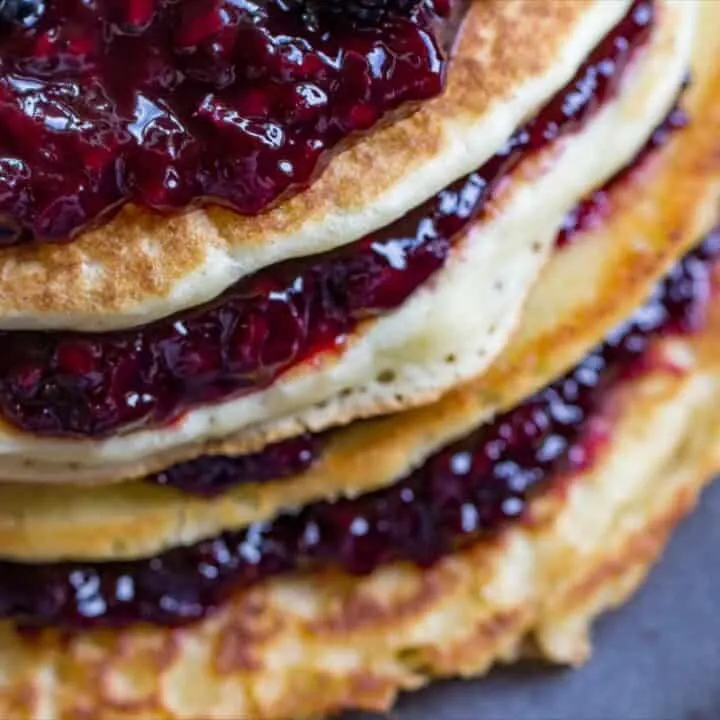
Fisher Fair Scone Pancakes
These delicious pancakes are made with Fair Scone mix and topped with homemade raspberry jam! Bring the flavor of the Puyallup Fair home with you and eat it at every meal.
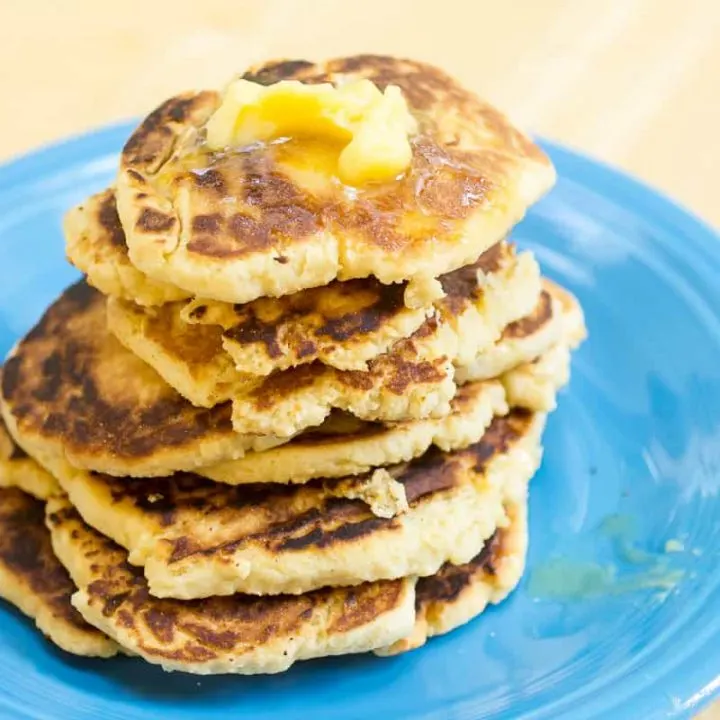
Griddle Corn Cakes with Honey Butter
My favorite kind of cornbread isn't actually bread at all, it is actually these easy grilled-cooked corn cakes with honey butter.






David
Wednesday 15th of September 2021
Your after photo still isn't seasoned. You should have a glossy, deep black look to the steel. The oil polymerizes, which is what gives you the sort of non-stick quality that cast iron pans have. You should let that oil cook off longer.
Also, a piece of advice that's only good for those with the space - a cheap gravity fed sand blaster from Harbor Freight or some other discount store (doesn't need to be quality, since you won't use it much) will make tearing that rust and old seasoning a lot easier. You could also use a flapper wheel and an angle grinder, but it takes a little more skill. Just be careful you use progressively higher grit. You don't want to leave big gouges in the steal.
Nicole Johnson
Wednesday 15th of September 2021
I've had a Blackstone for quite a while now, and I promise this was, indeed, seasoned. Seasoning also builds as you cook, so starting off with 3-4 coats (which is what was pictured here in the final result) is usually very adequate, especially if you are meticulous going forward about oiling and cleaning.
I understand there are faster ways to completely strip the surface, but I don't want to buy special power tools just for griddle maintenance, and the ones I listed here are also good for maintenance as well. Appreciate your input! Like good bbq, there are a lot of different paths to get to the non-stick Blackstone, and many of them are "right".
Happy griddling! ;)