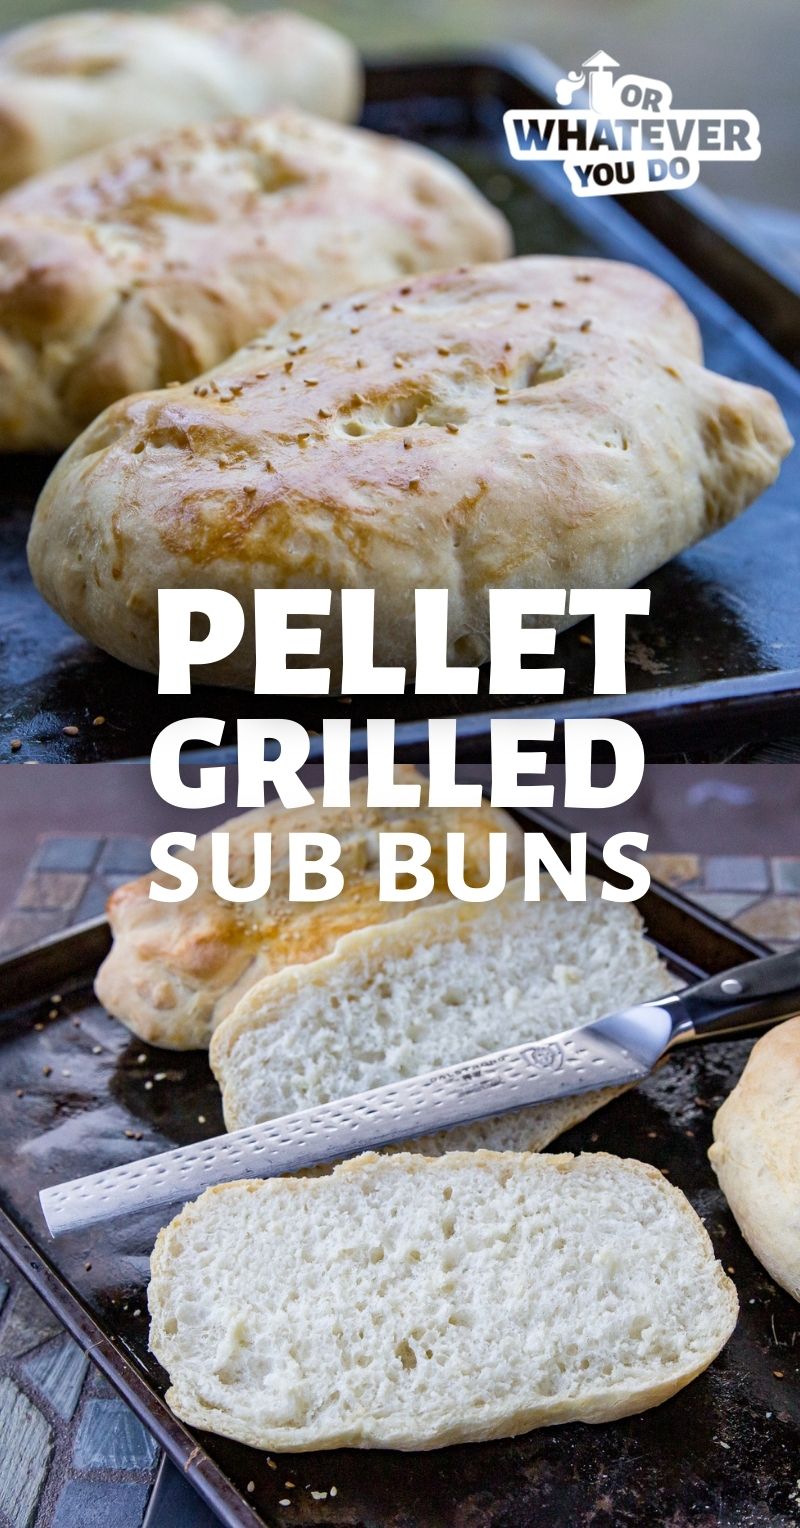
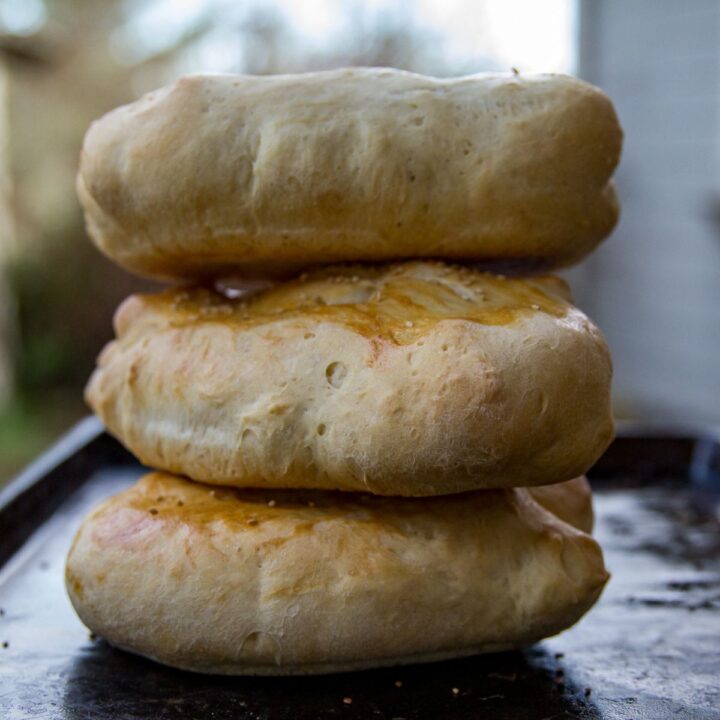
Pellet Grill Sub Buns
Using the pellet grill for baking bread is one of my favorite ways to utilize my grill. Our Pellet Grill Sub Buns are a great base for your next sub sandwich, or anytime you need a hearty, tender roll.
Grilled Sub Buns
We often utilize our Traeger and other pellet grills in ways that can surprise some people. Since they are essentially a large, outdoor, wood-fired convection oven, you can really utilize them in a similar way.
If you've ever had wood-fired pizza before, you know the magical things that real fire can do to bread, and this is no different.
This is a real bread recipe. If you don't have a stand mixer, you might hate on me a little because this dough needs a good, solid knead. By hand, it can take 20-30 minutes of kneading. With a stand mixer and dough hook, this can be reduced to around 5-7 minutes.
More Easy Traeger Recipes here!
Recipe Shopping List
Wondering if you have to hit the store? Here's the list of items you'll need to make this recipe. For specific amounts, please refer to the printable recipe card at the bottom of the post.
- Yeast
- Salt
- Honey
- Bread Flour
- Kosher Salt
- Butter
- Eggs
- Milk
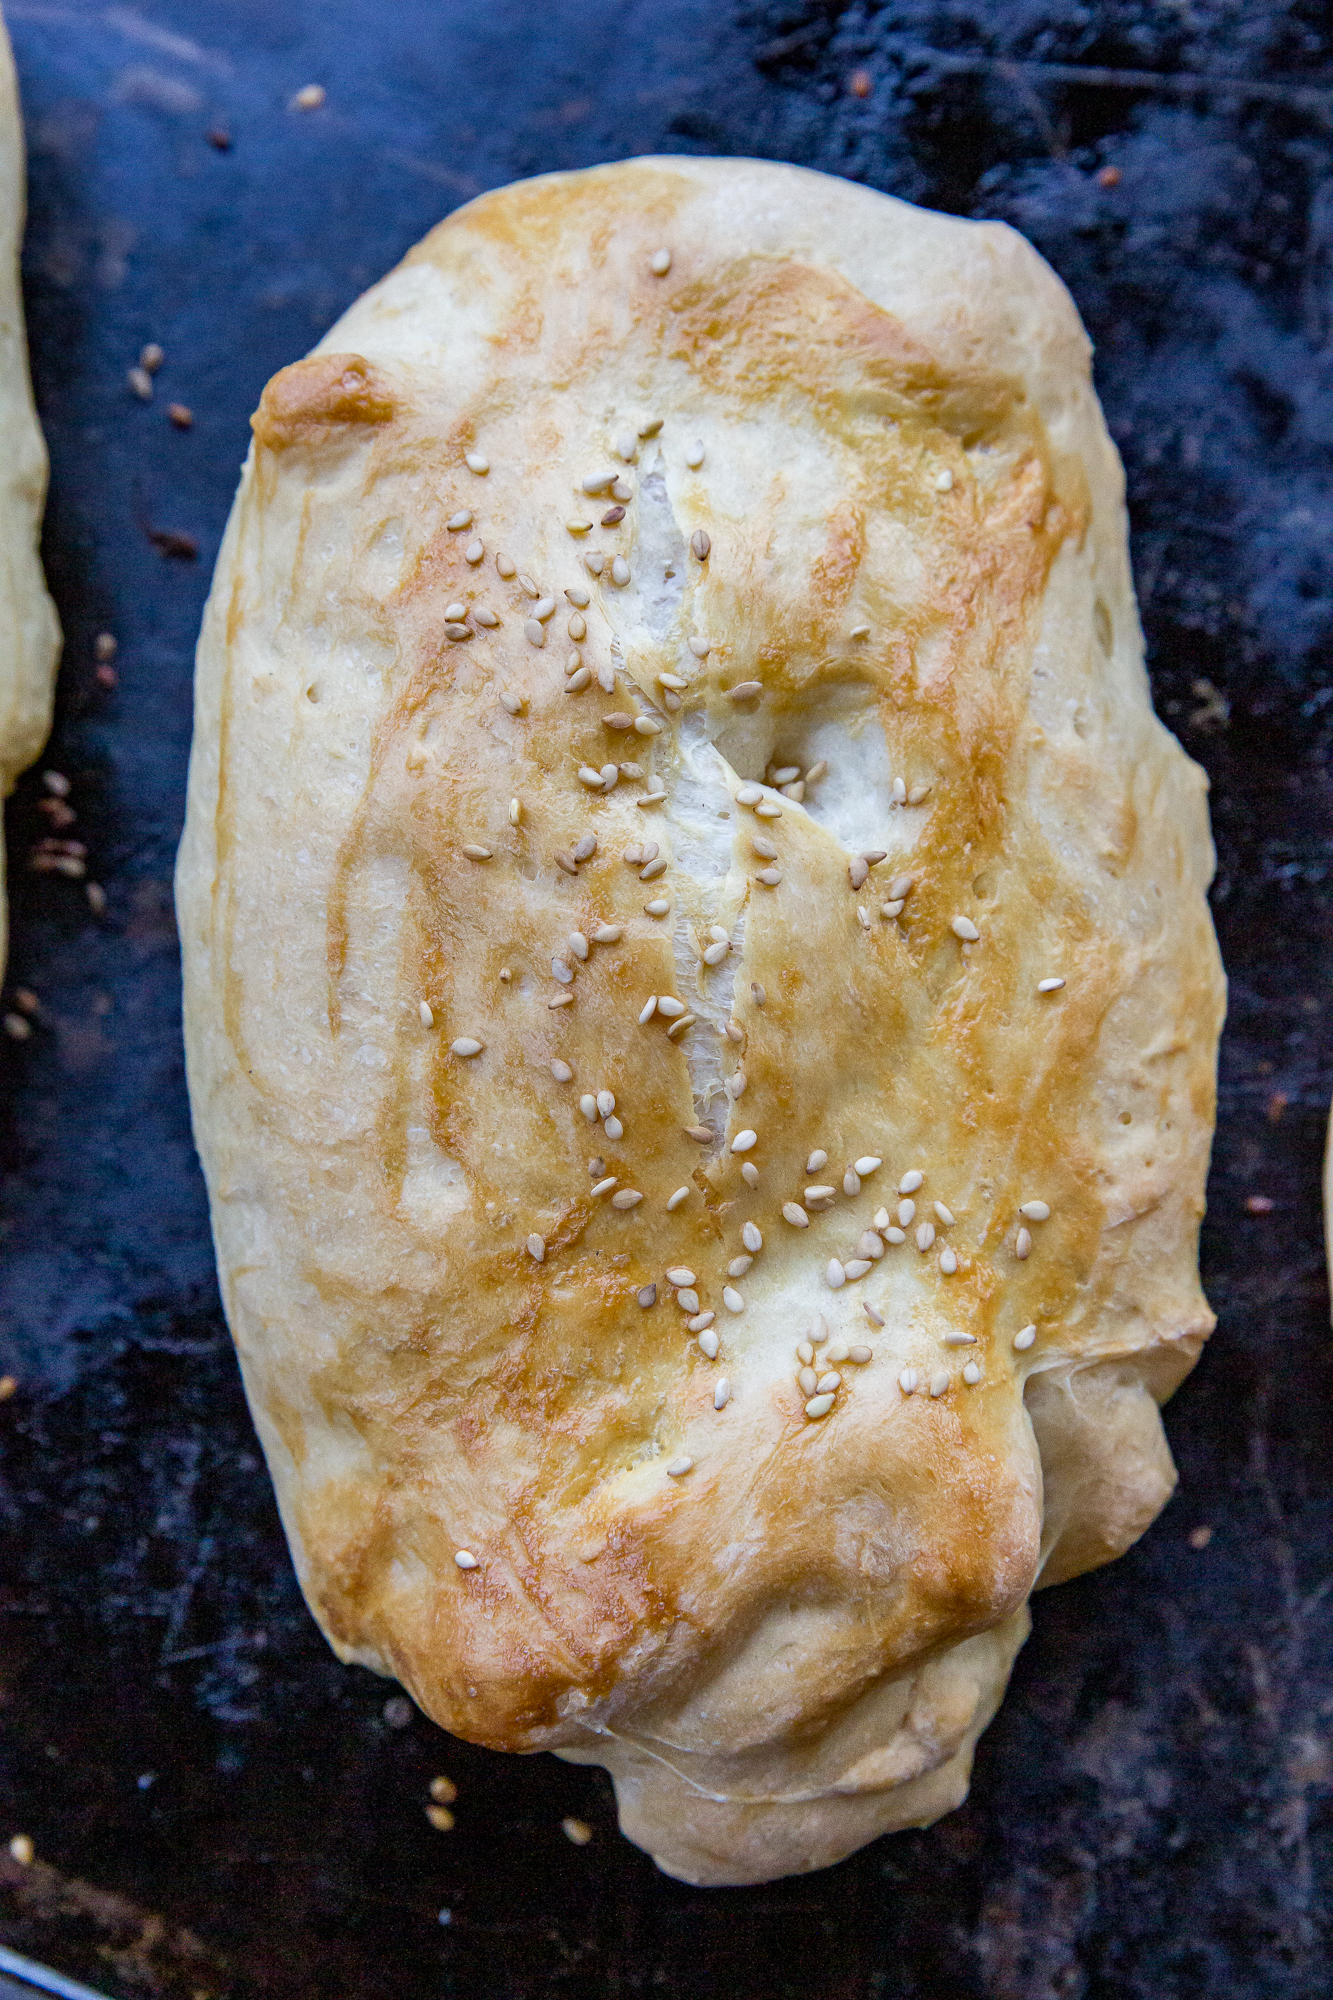
- Sesame Seeds
How To Make This Recipe
This is just the overview so you can see what you're actually getting into here. When you are cooking, you'll want to use the full recipe at the bottom of the page.
- Proof your yeast - Start with the water, yeast, and sugar in the bottom of your mixing bowl. Mix it up and let it sit for 5-10 minutes.
- Knead it - You want to wind up with slightly tacky, smooth dough that passes the "windowpane" test. Emma Christensen (Editor in Chief for Simply Recipes) wrote this article for TheKitchn that explains how to tell when bread dough has been kneaded enough, that's super helpful!
- Let it rise - Put the dough into a buttered bowl, cover, and let it rise in a warm draft-free spot. (An oven that's off is perfect!) About an hour is good. You want the dough to be doubled, roughly, in size.
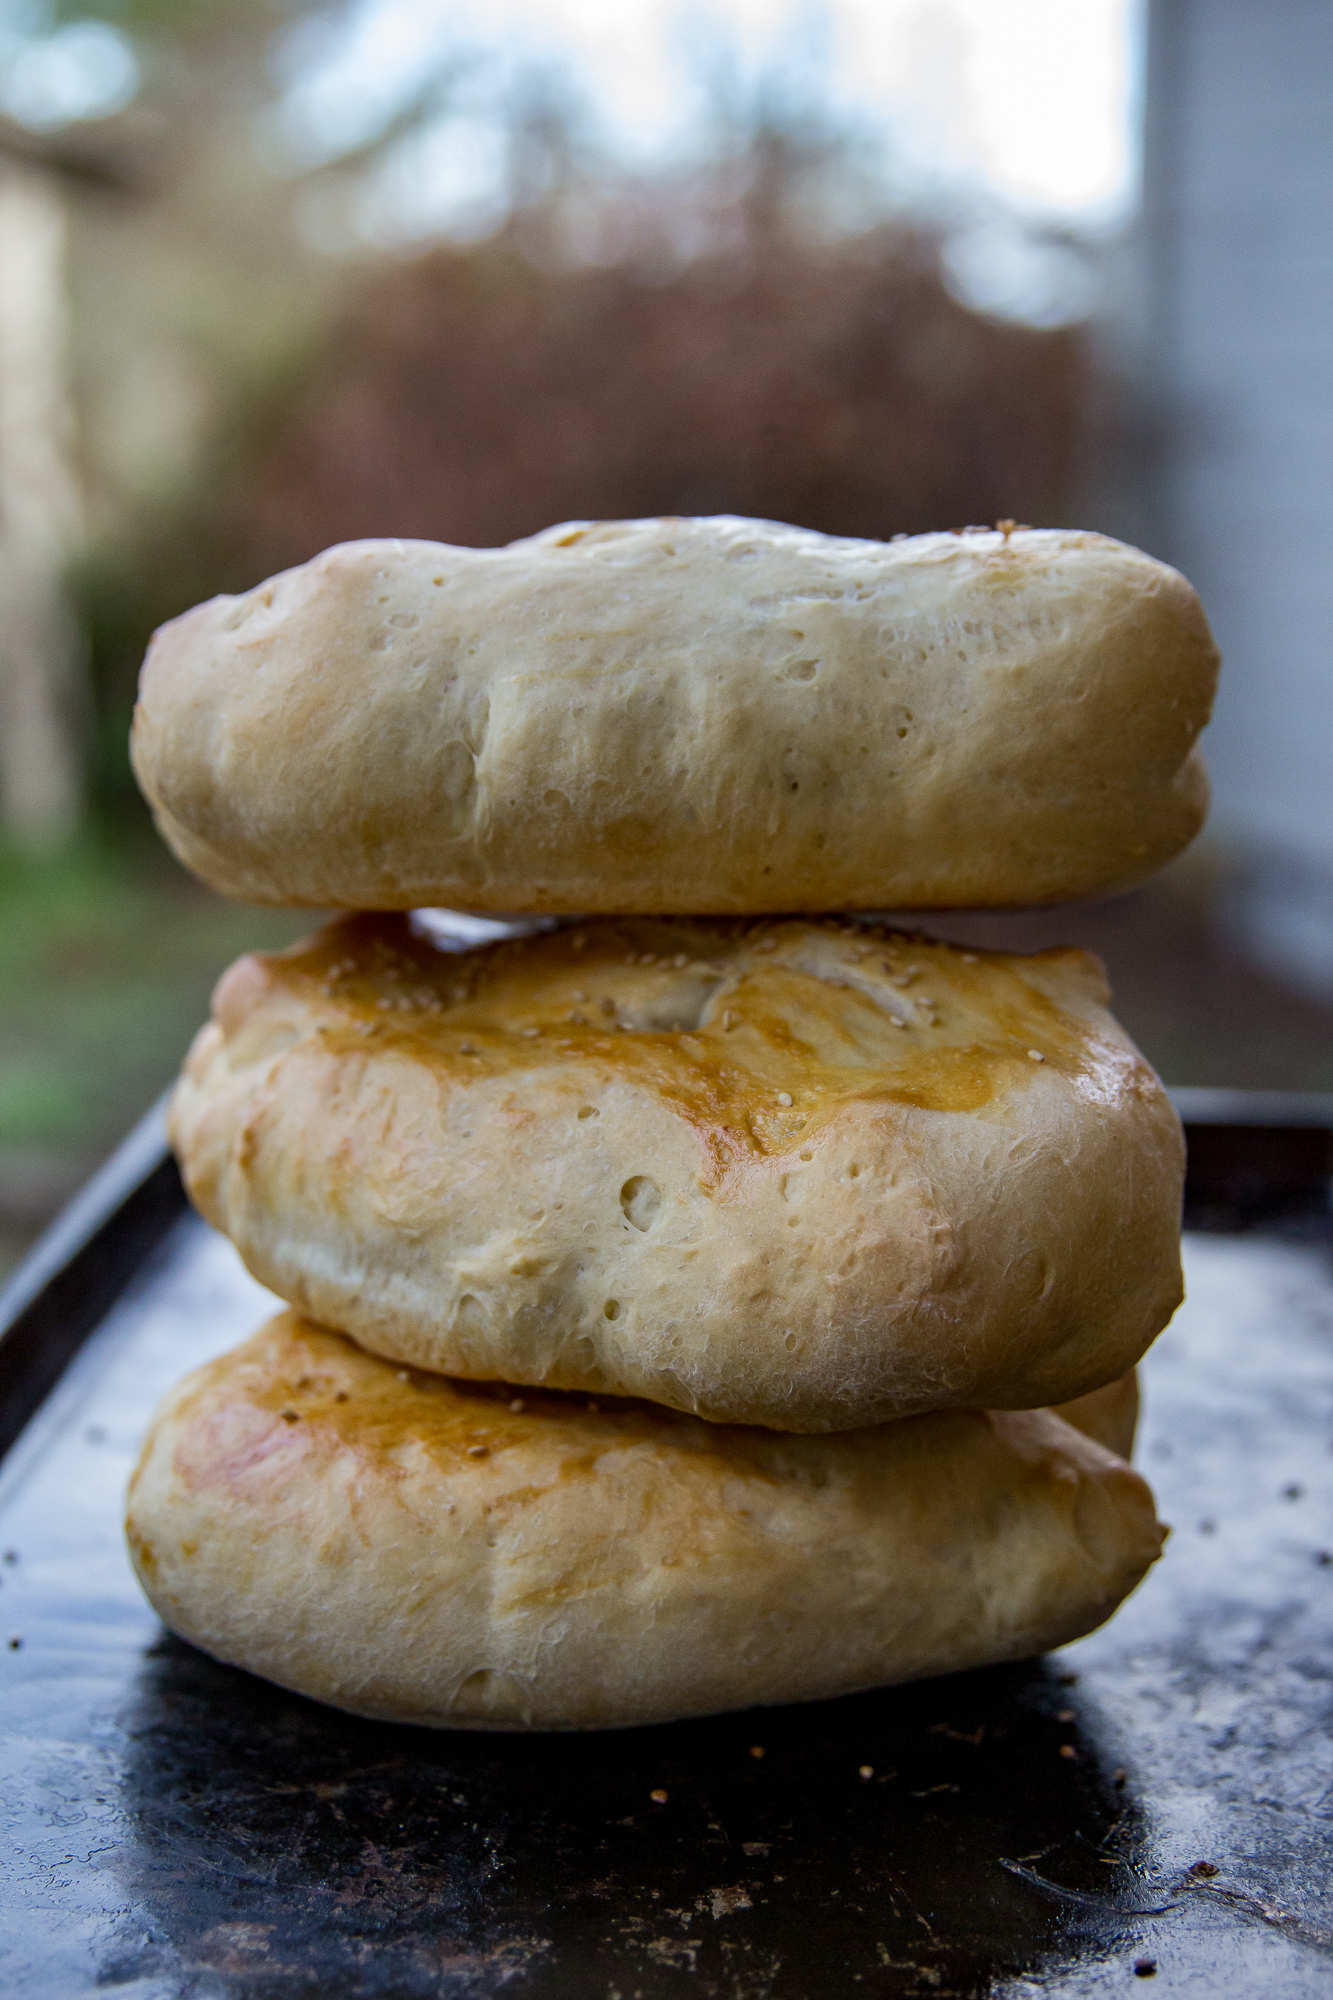
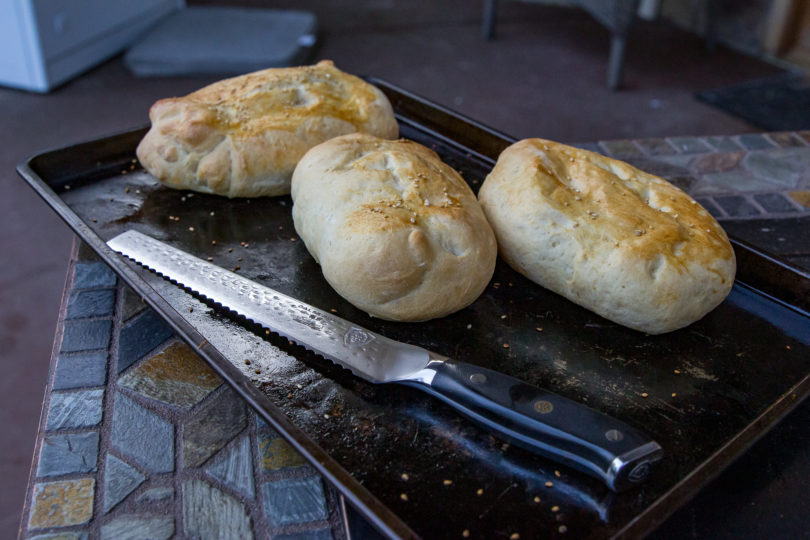
- Form the rolls - Aim for hot-dog-bun shape and size here. You can make them pretty or make them rough, either way they'll be delicious. Let them rise for about 45 minutes. After the rise, gently brush them with the egg wash.
- Bake them - We used our pellet grill for this, on my "middle rack hack" that I use for baked goods and casseroles in the pellet grill. (Spoiler alert, it is an inverted high-sided rectangular cake pan.) Just put the sheet pan of rolls on top and it creates a middle rack.

Serve These With
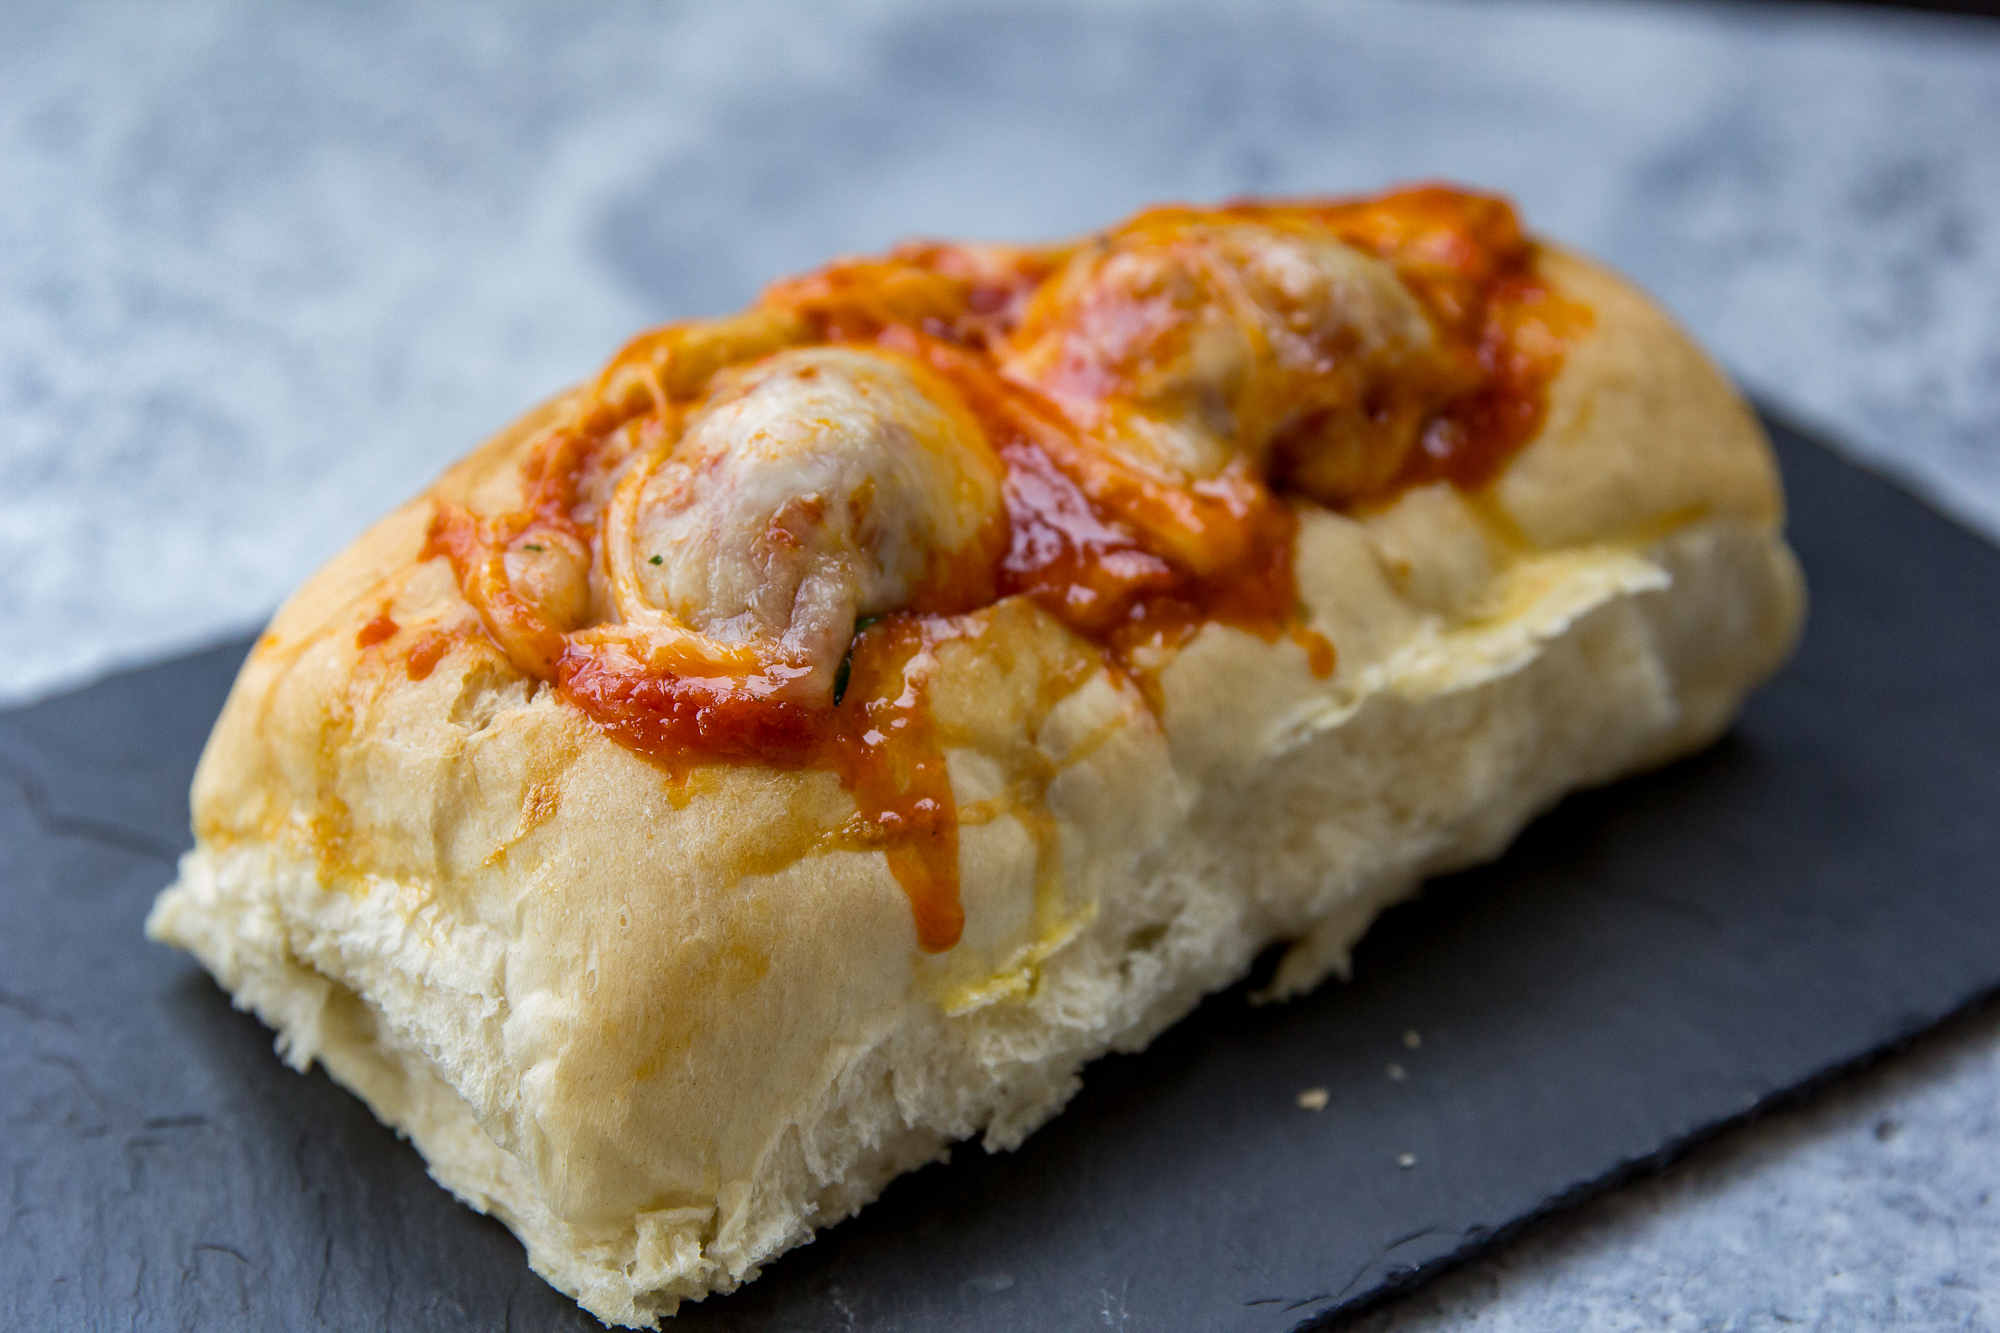
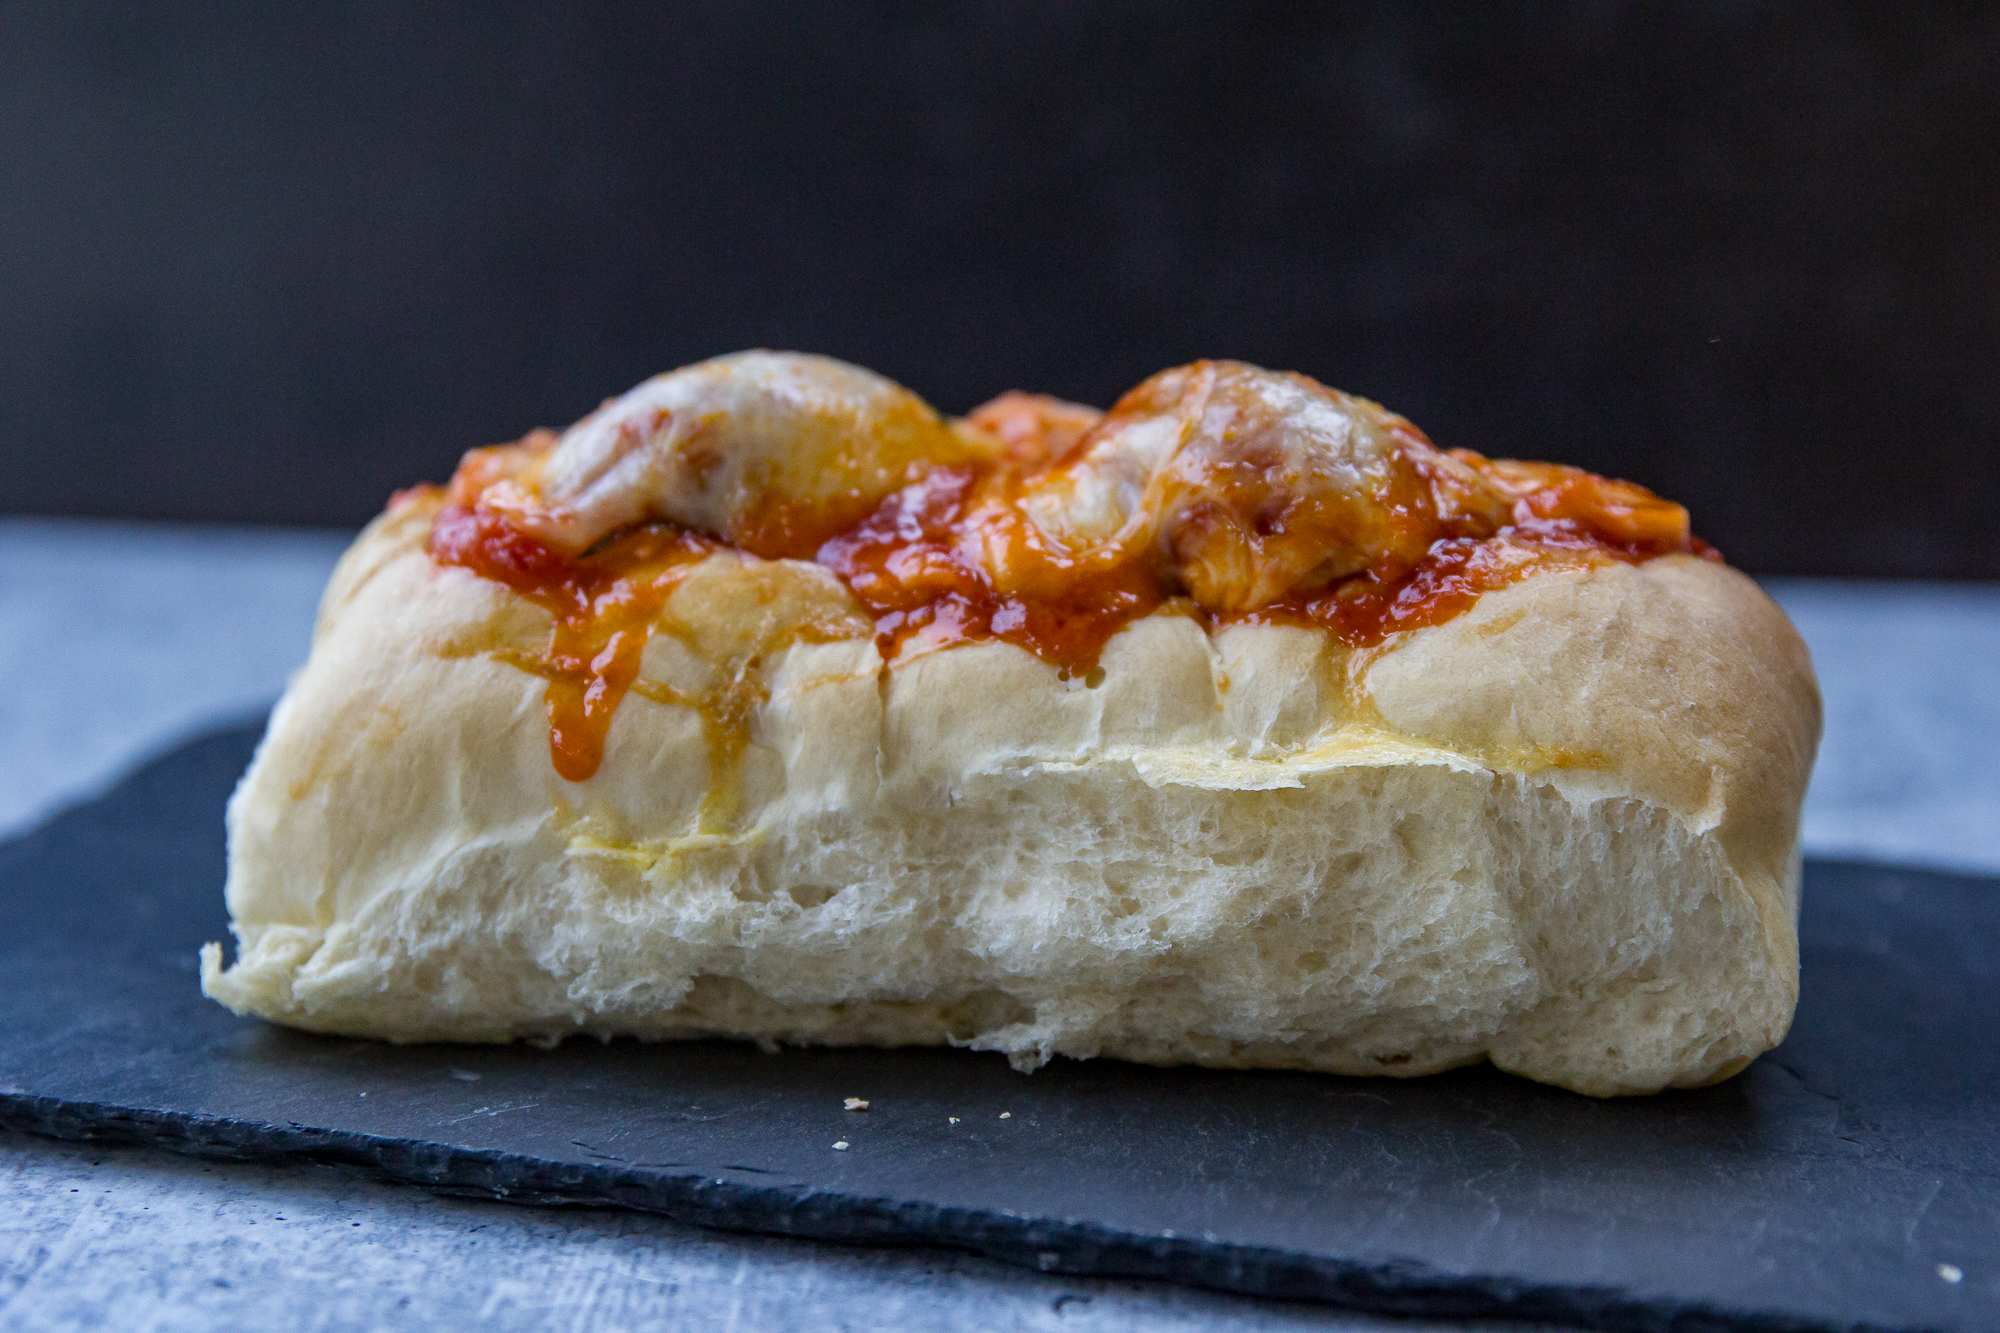
We love these for homemade submarine sandwiches, but they'd also be great to use with our Meatball Subs, Traeger French Dips, or even as a base for the biggest, baddest pulled pork sandwich you've ever had.
Along with those sandwiches, don't forget the coleslaw, baked beans, potato salad, and a fresh homemade Caesar salad too.
Recipe FAQ
You can, but the end results may be different, so proceed with caution. I haven't tested this recipe with any other type of flour.
Fresh bread doesn't have any preservatives, so it is best eaten as quickly after baking as possible. The day after would also be acceptable. Much later than that, and you may want to just make yourself some grilled croutons.
Yup! You sure can. Right in the middle rack, preferably.
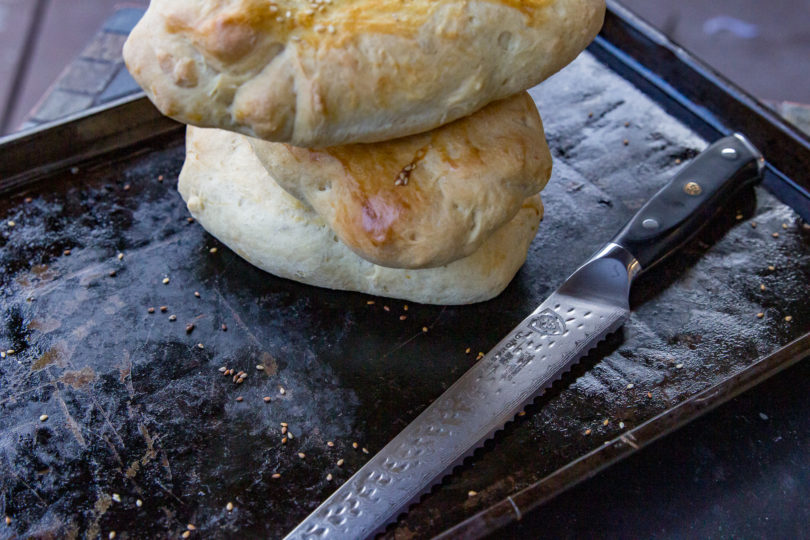
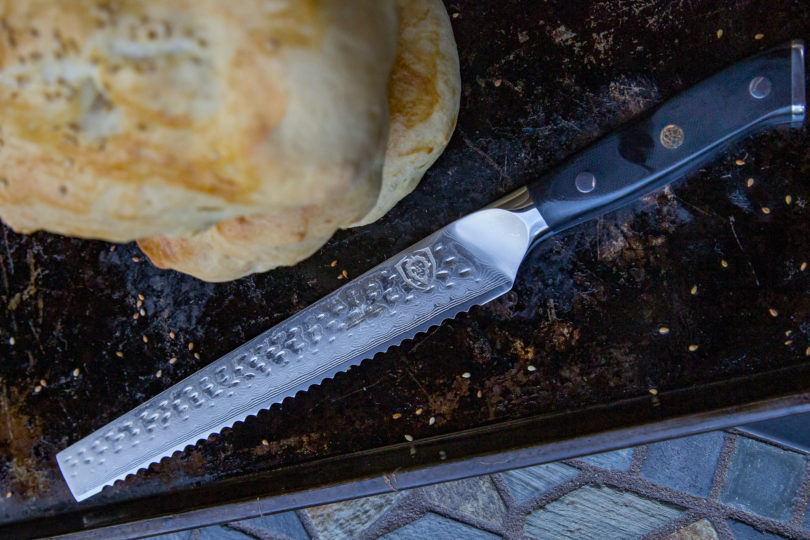
Need a great bread knife?
I LOVE our Dalstrong bread knife! We have the Shogun series, and in the Dalstrong Shogun Knife Block Set, it comes with this fabulous bread knife. This makes a GREAT gift for the serious cook in your life, or for a wedding present!
More Easy Recipes
Pin For Later
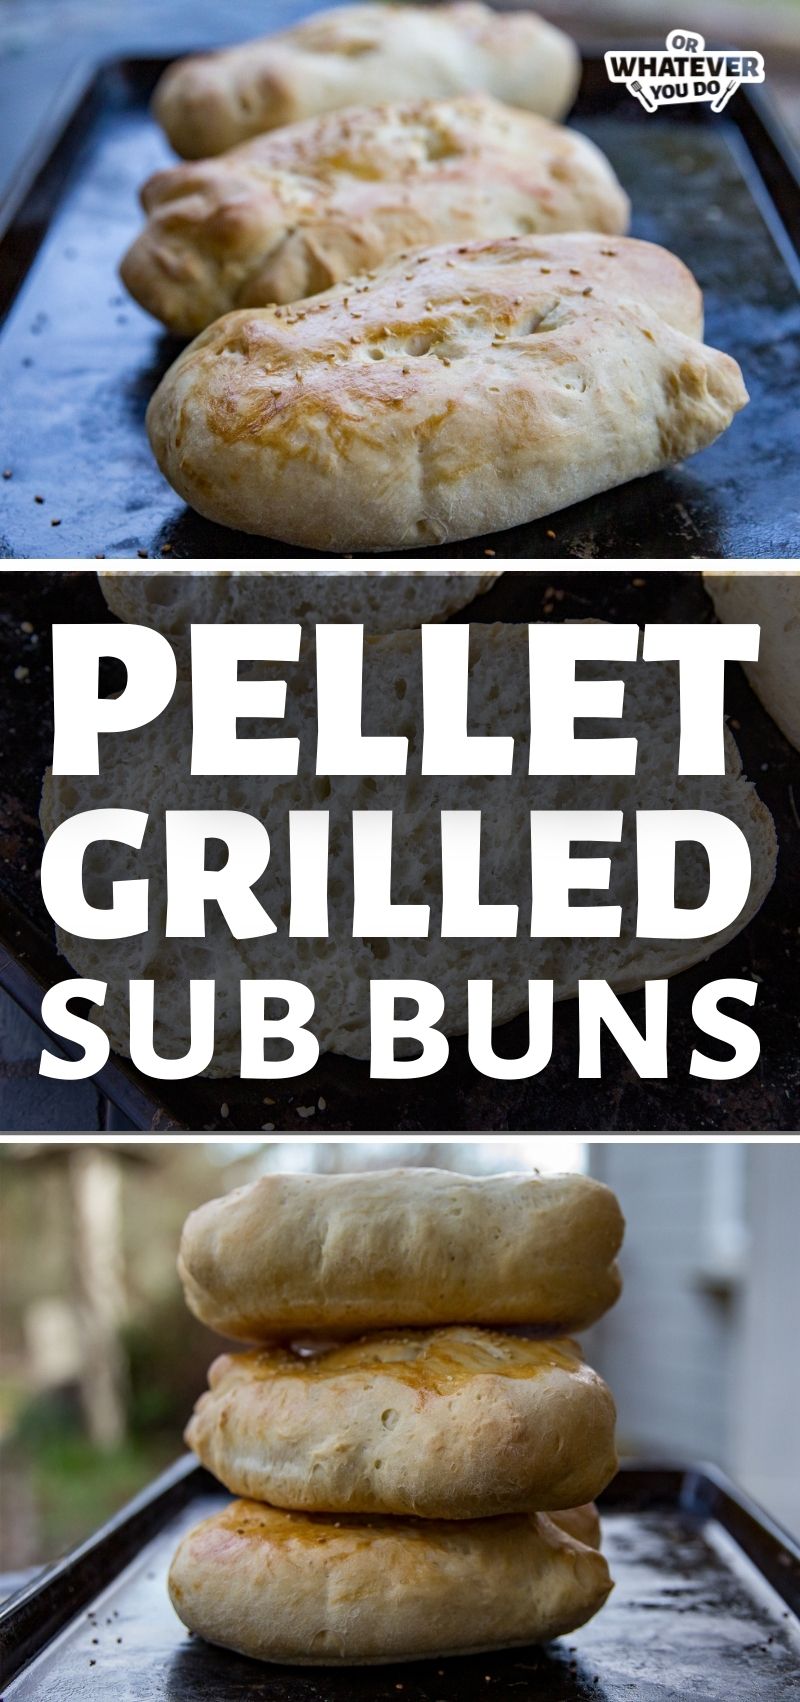
Pellet Grill Sub Buns
Homemade sub buns, aka hoagie rolls, aka French rolls, or whatever you want to call them, are such a treat! This recipe makes about a dozen buns, depending on how big you make them.
Ingredients
- 2 cups warm water
- 2 teaspoons yeast
- ¼ cup honey
- 4-6 cups bread flour (go by dough look/feel and not by measurements for the best results)
- 2 teaspoons red, pink, or kosher salt
- ½ cup softened butter
- 2 egg yolks
- 2 tablespoons milk
- sesame seeds (optional
Recommended Products
As an Amazon Associate and member of other affiliate programs, I earn from qualifying purchases.

Instructions
- Start with the warm water, yeast, and honey in the bottom of your mixing bowl. Mix it up and let it sit for 5-10 minutes. It should look foamy at this point. If it doesn't, you probably have bad yeast.
- Add 3 cups of bread flour, and mix until well combined. (If you are using a mixer, use the dough hook.)
- Add in the salt and the softened butter, and mix until fully incorporated.
- Continue adding flour, ¼ cup at a time, until the dough is slightly tacky still, but able to be worked with greased hands without too much trouble. It should still stick to un-buttered hands.
- Knead until the dough can be easily stretched into a "windowpane" without breaking.
- Place the dough into a large buttered bowl, cover with a clean kitchen towel, and let it rise in a warm, draft-free place for about an hour. You want the dough to roughly double in size, so make sure you are choosing your container with that in mind or you'll come back to a mess.
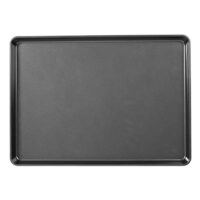
- Punch down the dough, place it onto a flowered countertop, and pat it down into a large rectangle. Divide it into 12 equal portions (you can do another number, based on how big you want your buns to be. You want to shape each piece of dough into a long, skinny shape that's about hot-dog-bun size. (It'll double by the time it has risen and baked.) Place these pieces on a parchment-lined baking sheet, about 3 inches apart. You'll likely have to do two pans to fit them all if you use a regular cookie-sheet-sized pan. If you use a full sheet pan you'll likely be able to fit them all.
- Cover and let rise for 30-45 minutes.
- Preheat your pellet grill to 375°. Place a large rectangle high-sided cake pan, inverted, directly on the grates of the grill in the center. Place the pan of buns on top of the inverted cake pan. This creates some additional space between the fire and the bottom of your bread. Think of it as putting your bread on the middle "rack" of your oven instead of the bottom rack.
- Whisk together the egg yolks and milk, and gently brush on the tops of the buns.
- Bake on the pellet grill until the outsides are golden brown, and the bread sounds a little hollow when you gently tap on the top.
- Remove, let cool for 15-20 minutes before slicing. Eat within a day or two for the best results.
Nutrition Information:
Yield: 12 Serving Size: 1 Amounts Per Serving: Calories: 1104Total Fat: 14gSaturated Fat: 6gTrans Fat: 0gUnsaturated Fat: 6gCholesterol: 51mgSodium: 176mgCarbohydrates: 206gFiber: 7gSugar: 7gProtein: 34gNutrition data provided here is only an estimate.