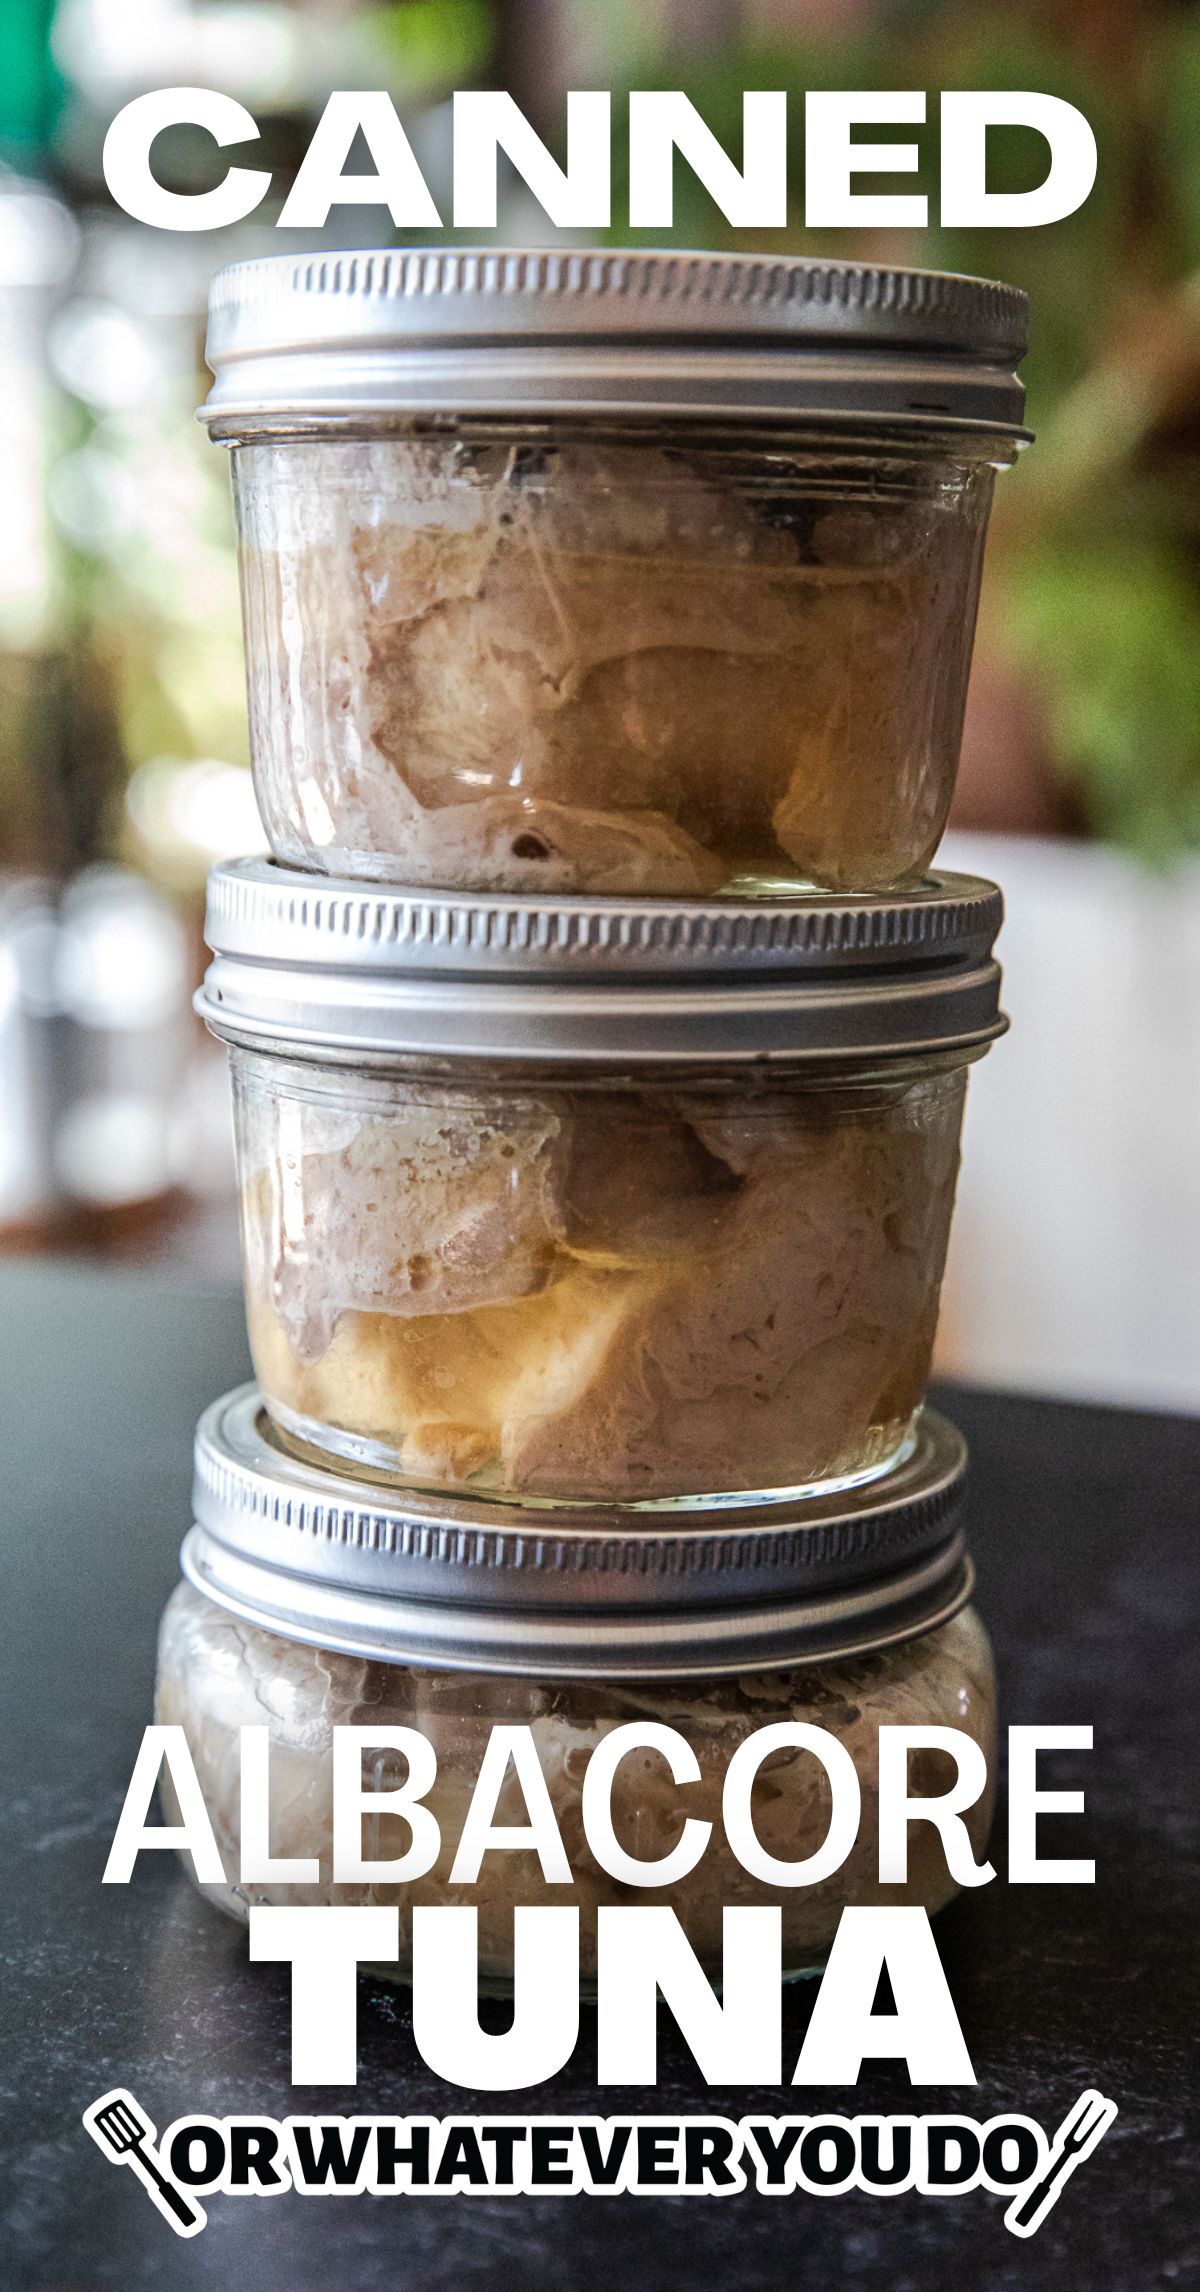
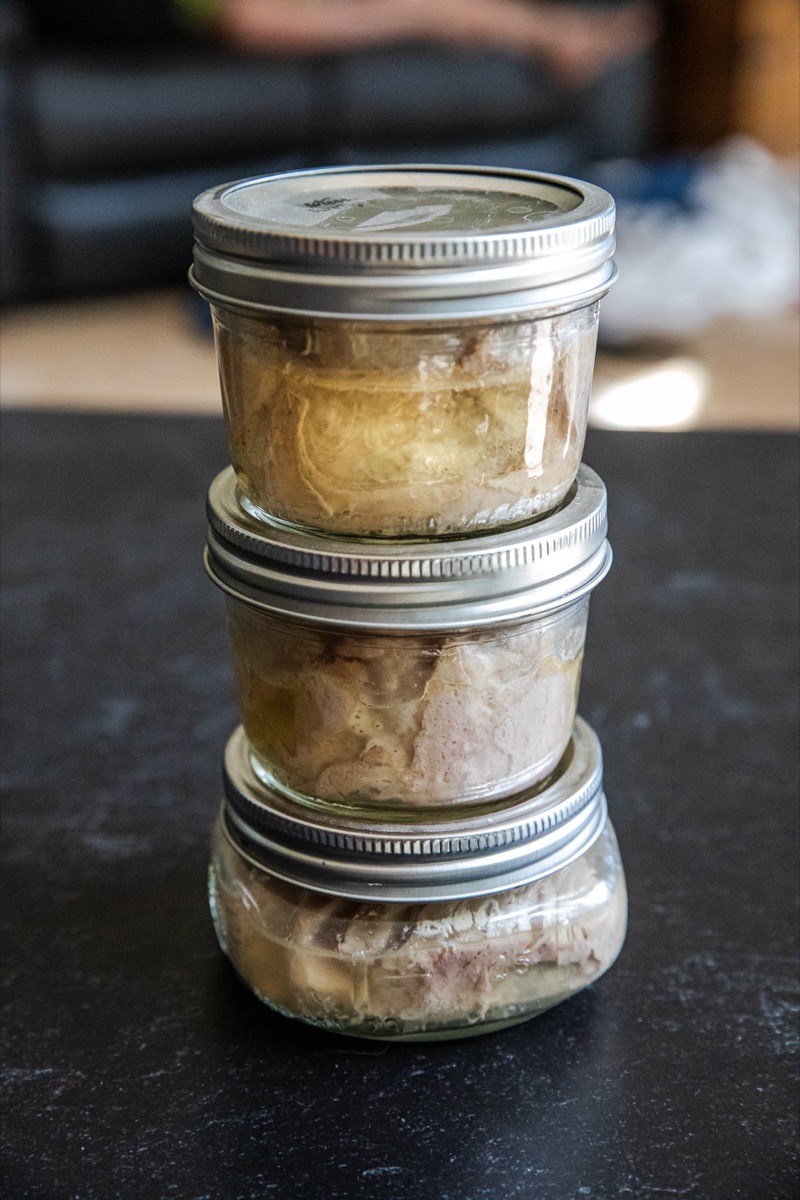
Pressure Canned Albacore Tuna
Pressure Canned Albacore Tuna offers rich flavor, long shelf life, and full control over the preservation process. This method uses a pressure canner to safely seal tuna in its own juices, creating a ready-to-use pantry staple. The process requires careful preparation, but the result is far superior to store-bought options: clean flavor, meaty texture, and no added fillers or oil. If you're working with fresh-caught albacore or bulk-buying tuna loins, this is a practical and rewarding way to preserve them for months to come.
Pressure Canned Albacore Tuna
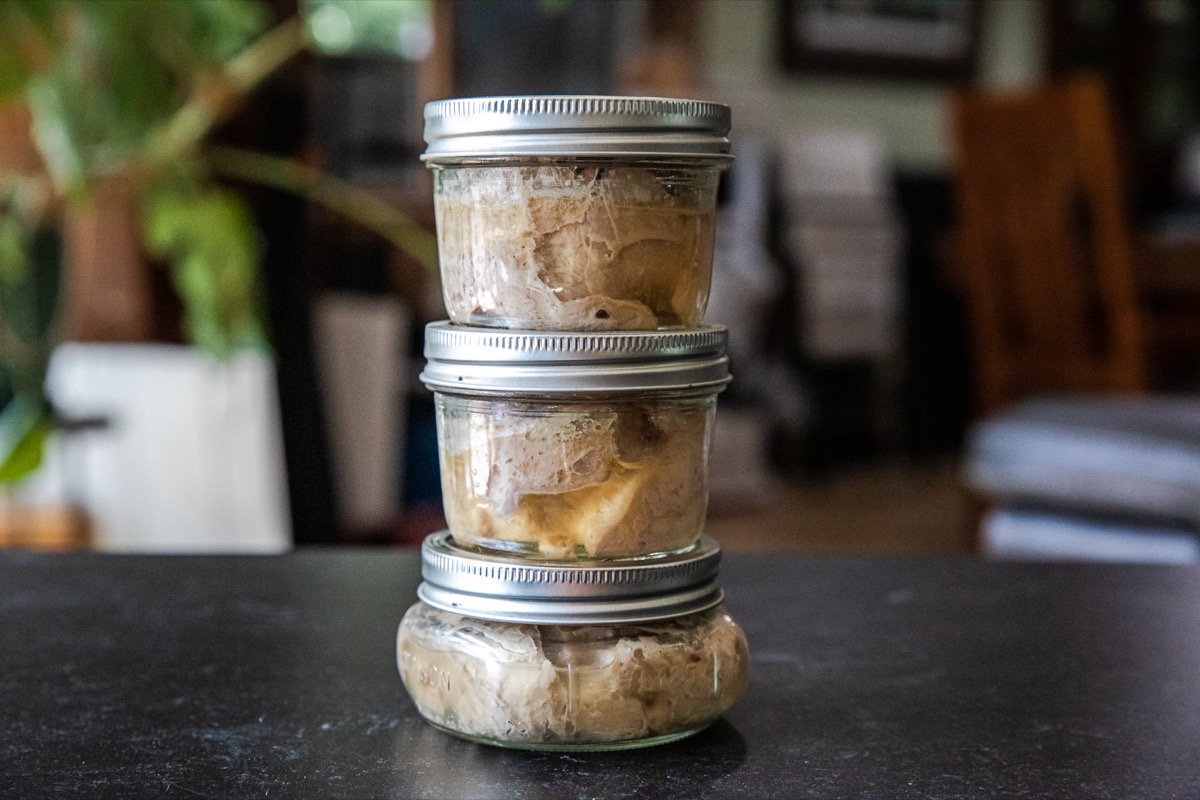
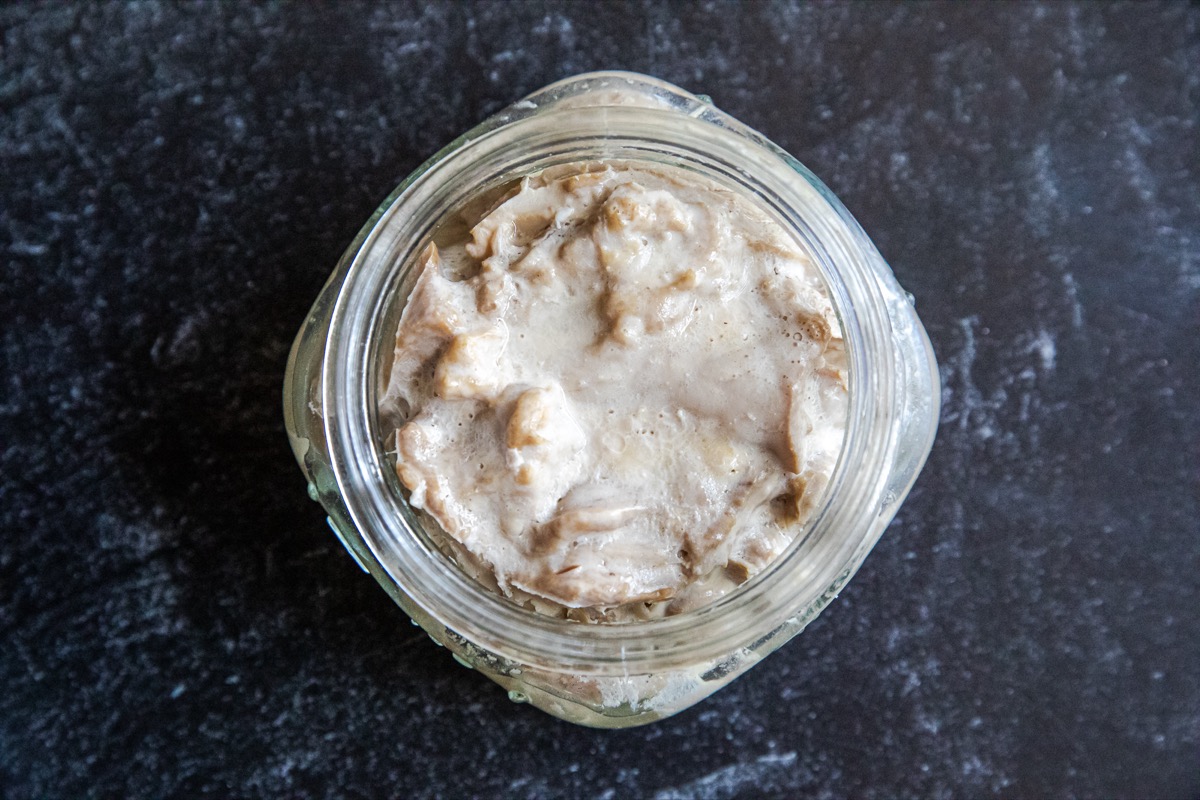
Canning tuna at home lets you preserve the natural taste and firm bite of the fish without anny additives. Unlike commercially canned versions, this method packs the tuna raw, then pressure cooks it until tender. No liquid is added, just the fish itself, which releases flavorful juices as it cooks under pressure. The result is clean, rich tuna perfect for sandwiches, salads, or pasta dishes.
This recipe is tailored for small-batch preservation, using pint jars for manageable portions. The pressure canning method is essential for safety when preserving low-acid foods like tuna. Electric pressure cookers, including models labeled for canning, are not safe for pressure canning and should never be used.
Likewise, water bath canning is not a safe method for preserving tuna or any meat products. Only a tested, stove-top pressure canner rated for home food preservation should be used.
Sanitizing equipment, maintaining steady pressure, and ensuring proper sealing are key steps. It's a hands-on process that yields a shelf-stable protein source ideal for quick meals. Once cooled and sealed, the jars keep well in a cool, dark place for up to a year or more.
Why You'll Love This Dish
- Pure Flavor: No oils, broths, or fillers, just the natural taste of tuna in its own juices.
- Shelf-Stable Protein: Keeps for over a year when stored properly, perfect for emergency or everyday use.
- Customizable Portions: Pack in half-pint or pint jars depending on your needs.
- Superior Texture: Firm, meaty tuna that's great in cold or hot dishes.
- Economical: A great use of fresh-caught or bulk-purchased albacore. If you live on the coast, you can often go down to the docks and purchase fresh tuna loins directly from the boats.
Try our Grilled King Salmon!
Recipe Shopping List
Wondering if you have to hit the store? Here's the list of items you'll need to make this recipe. For specific amounts, please refer to the printable recipe card at the bottom of the post.
- Fresh albacore tuna loins - Firm, mild-flavored fish ideal for canning; remove skin and dark bloodlines for best results.
- White vinegar - Helps prevent mineral deposits on jars during processing.
- Water - Used in the pressure canner base, not added to jars.
Try our Hot Honey Salmon Bites!
How To Make This Recipe
This is just the overview so you can see what you're actually getting into here. When you are cooking, you'll want to use the full recipe at the bottom of the page.
Equipment
- 6 pint jars, standard size for home canning, holding a good amount of tuna per jar
- 6 lids and rings, new lids required for a proper seal; rings can be reused if undamaged
- Pressure canner, essential for safe processing of low-acid foods like tuna
- Prep the Tuna: Keep tuna cold until processing. Trim skin, dark bloodlines, and bones. Cut into pieces that fit your jars, leaving ½-1 inch of headspace.
- Sanitize Jars: Wash jars, lids, and rings in hot soapy water. Keep jars warm to prevent cracking when fill…
- Pack the Tuna: Place raw tuna into jars tightly, leaving space at the top. Do not add any liquid.
- Seal and Load: Wipe jar rims with vinegar, apply lids, and tighten rings fingertip-tight. Place jars in your canner with 2-3 inches of water and vinegar.
- Process Under Pressure: Vent steam for 10 minutes. Process pint jars for 100 minutes at correct PSI for your altitude. Let pressure release naturally before removing jars.
You'll love our Bluefin Tuna Poke Bowl!
Home Canning Safety Disclaimers
- This recipe is based on current USDA guidelines for safely canning low-acid foods.
- Tuna must be pressure canned to eliminate the risk of botulism.
- Do not use electric pressure cookers like Instant Pot or any appliance that does not meet USDA canning standards.
- Do not use a boiling water bath canner. It will not reach a safe temperature for low-acid foods like fish.
I love this Seared Tuna recipe!
Recipe FAQ
Properly sealed jars last at least one year when stored in a cool, dark space. Many remain good for 18 months or more.
You can add small amounts of salt, garlic, or dried herbs, but keep additions minimal to prevent safety issues during canning. We also like adding dill, jalapeños, or some chili crunch for extra flavor.
Yes. Gently warm it in a pan, or use straight from the jar in cold dishes. Do not reprocess or reheat in the jar after opening.
Yes, cleaned and cut tuna can be kept in the refrigerator for up to 24 hours before canning.
Other firm, low-fat fish like yellowfin or skipjack can be pressure canned similarly, though flavor and texture may vary.
Try our Gochugaru Tuna Tataki!
Serve This With...
- Crackers and pickles for a quick high-protein snack
- Mixed into a Classic Tuna Salad
- Added to pasta for our Homemade Tuna Salad
- Stirred into a rice bowl with veggies and soy sauce
This method for pressure canning albacore tuna is reliable, cost-effective, and gives you high-quality preserved fish any time of year. Once you've stocked a few jars, you'll appreciate the clean, robust flavor and convenience it brings to everyday meals.
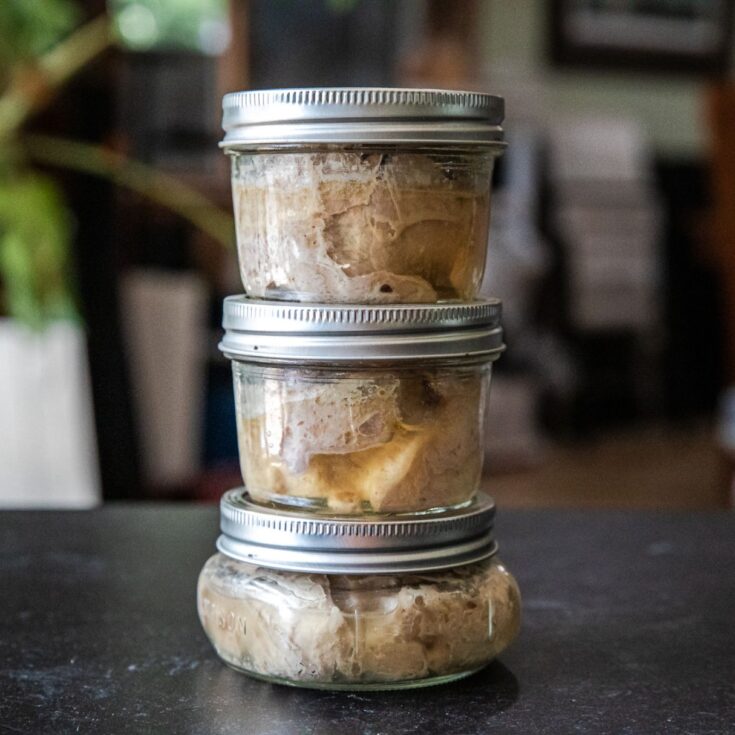
Pressure Canned Albacore Tuna
Find yourself with some fresh tuna? Can it at home with a pressure cooker and our simple process. It'll be the best tuna you've ever had!
Ingredients
- 5 pounds fresh albacore tuna loins
- 3 tablespoons white vinegar
- Water
Instructions
Keep the fish refrigerated or on ice until ready to process. Remove skin, dark bloodlines, and bones. Cut into chunks or strips that will fit into your jars, leaving headspace.
Sanitize Equipment
Wash jars, lids, and rings in hot soapy water.
Keep jars warm until filling to avoid thermal shock. Do not pre-sterilize the jars. The processing time is sufficient.
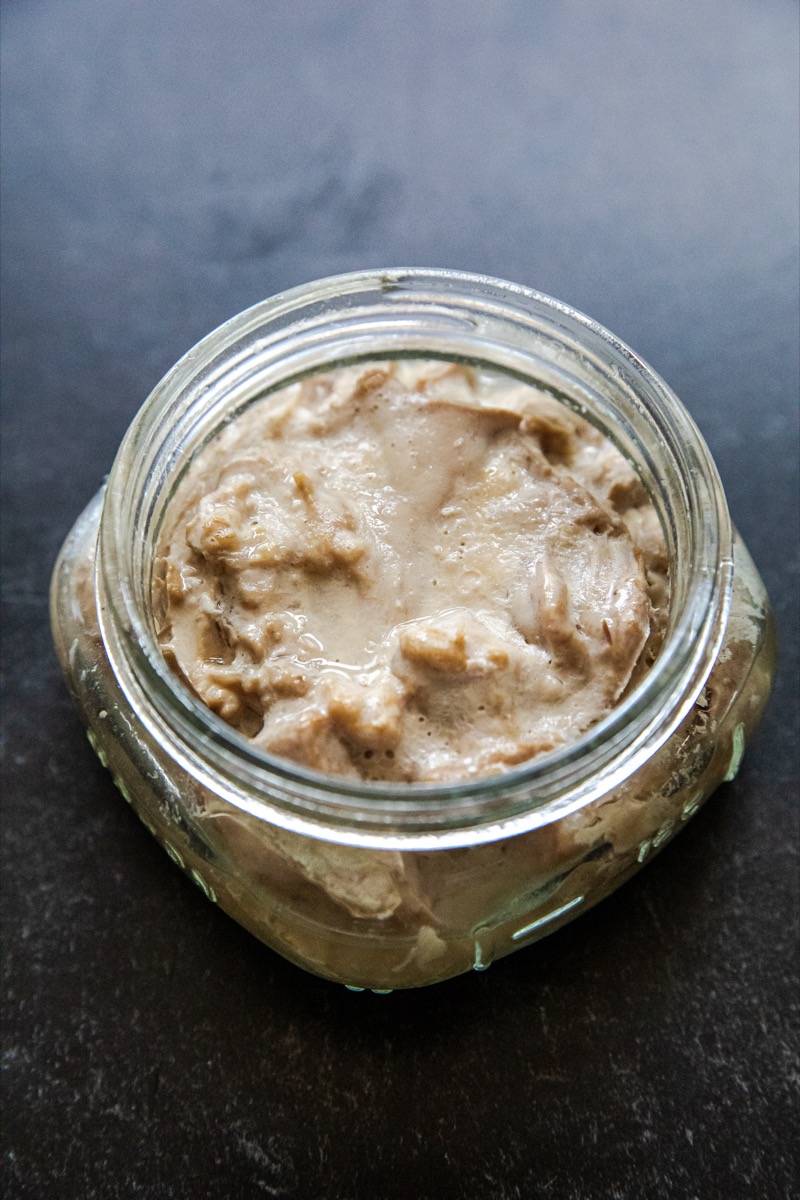
Pack raw tuna tightly into jars, leaving ½-1 inch of headspace. Do not add liquid! The tuna will release its own juices during canning.
Wipe the jar rims with vinegar or a damp clean towel. Apply lids and screw bands on fingertip-tight.
Add the amount of water specified for your canner (usually 2–3 inches) along with 3 tablespoons of white vinegar. This prevents clouding of the jars/lids during processing. Load jars into the canner. Secure the lid.
Heat the canner until steam vents in a steady stream for 10 minutes and then close the vent and bring to 11 PSI (dial gauge) or 10 PSI (weighted gauge) at sea level. Use the chart below if you are not at sea level.
Process half pints and pints for 100 minutes.
Turn off heat. Carefully vent the pressure and continue to let vent until no more steam is escaping. Wait 10 minutes, remove lid (away from face), and let jars sit 5–10 minutes.
Remove jars, place on towel, and cool for 12–24 hours undisturbed.
Check seals. Remove rings. Label and store in a cool, dark place.
Notes
Pressure Guidelines
Altitude | Dial Gauge | Weighted Gauge
[0 – 1,000 ft] 11 PSI | 10 PSI
[1,001 – 2,000] 11 PSI | 15 PSI
[2,001 – 4,000] 12 PSI | 15 PSI
[4,001 – 6,000] 13 PSI | 15 PSI
[6,001 – 8,000] 14 PSI | 15 PSI