Pellet Grill Pasties
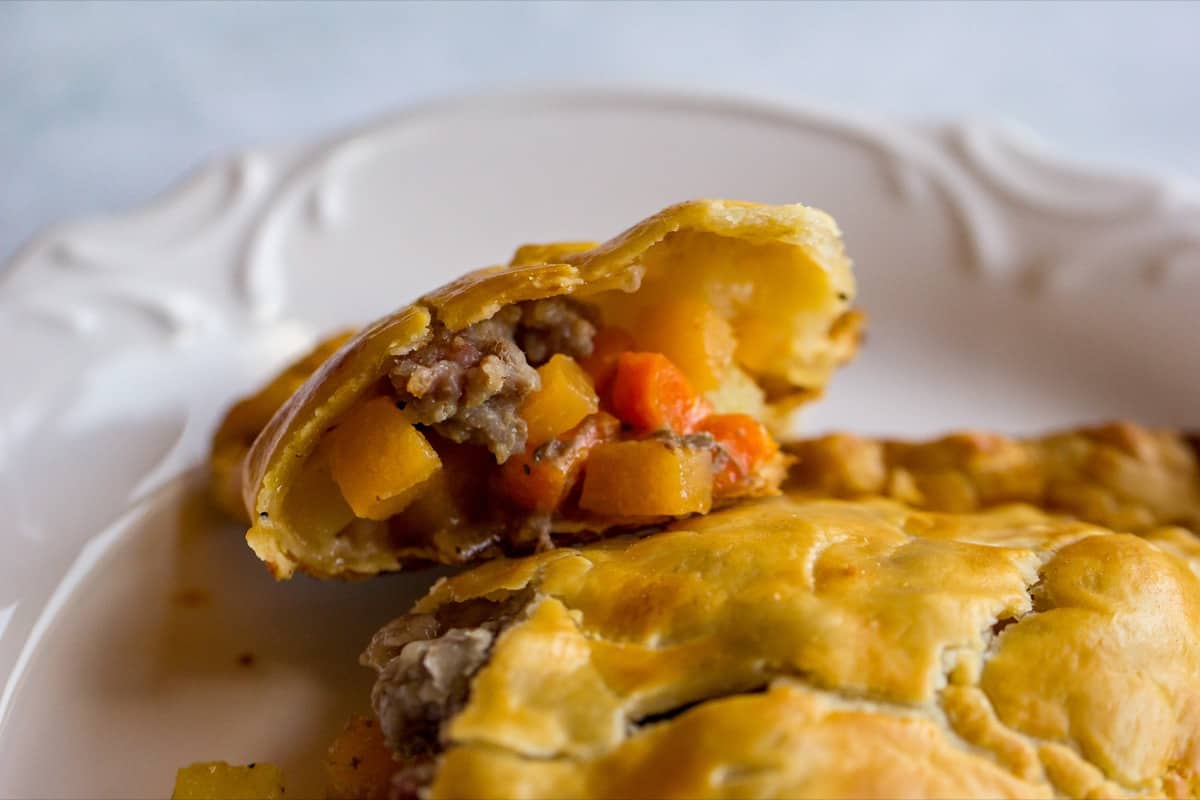
Pellet grill pasties put a smoky spin on a classic dish. Delicious Cornish pasties are made with ground beef, ground pork, onion, carrots, rutabaga, potato, and seasonings. This recipe closely resembles my other great Pasties recipe, only this time we cook it on the pellet grill.
Pellet Grill Pasties
Pasties originally hail from England. Also known simply as "meat pies", pasties have a long history as perfect pub food. In essence, they are various ingredients wrapped in pie crust and then baked.
Making these on the grill is a great option because wood-fired flavor works so well with any kind of pizza or pie crust.
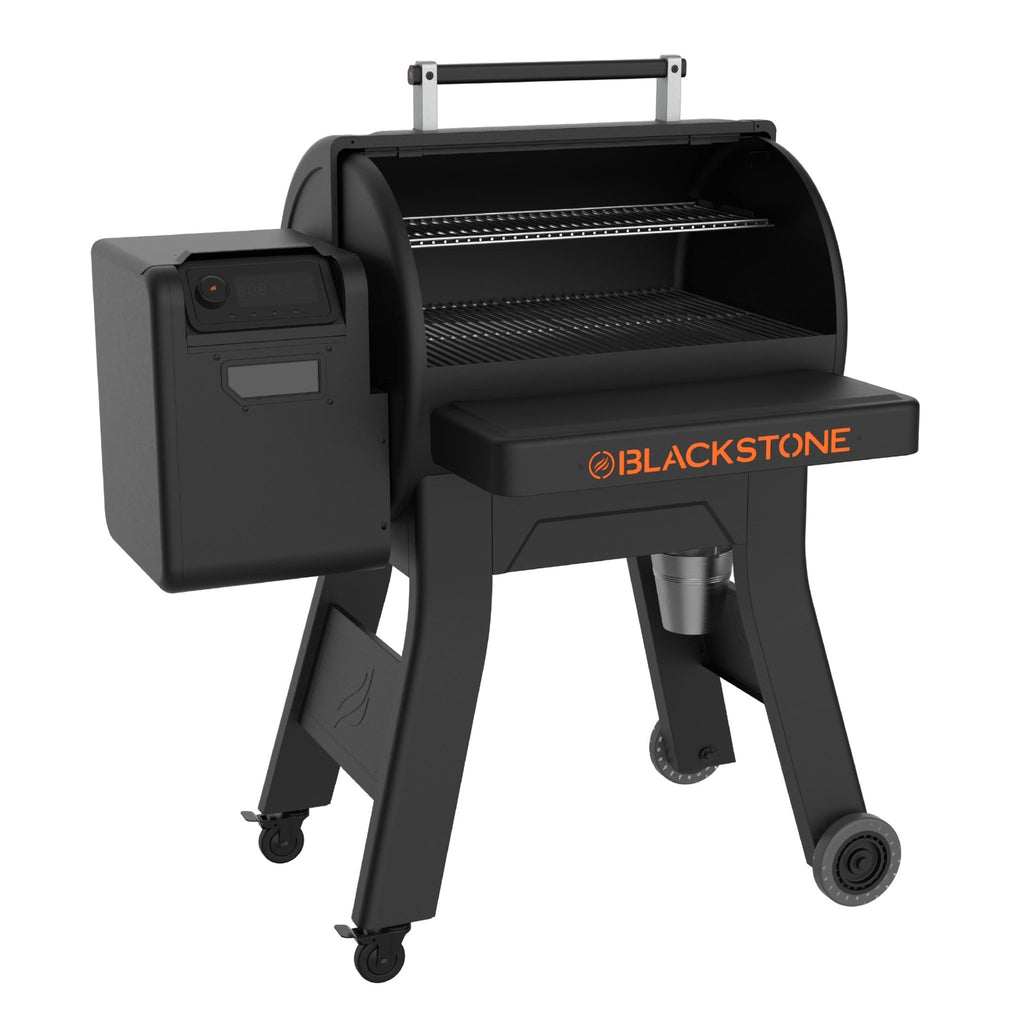
You can make these on any kind of pellet grill that you'd like. We have both a Camp Chef and a Traeger, and use them both as big outdoor ovens for dishes like this. You could even use the Pizza Oven attachment for the Camp Chef Sidekick if you wanted to.
More Easy Traeger Recipes here!
Easy Cornish Pasties on the Traeger
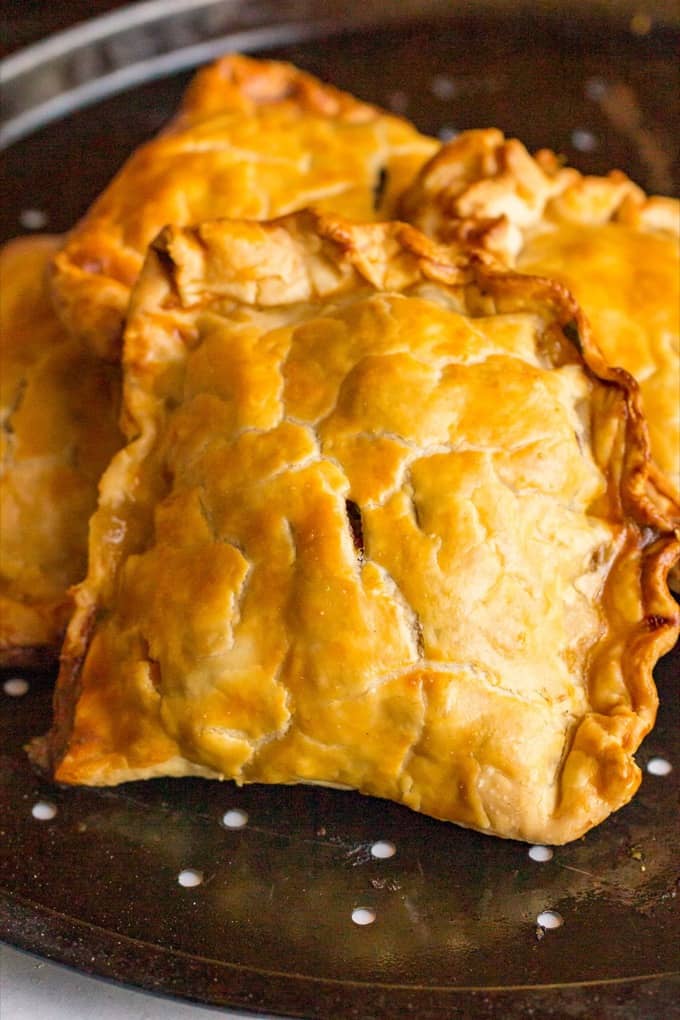
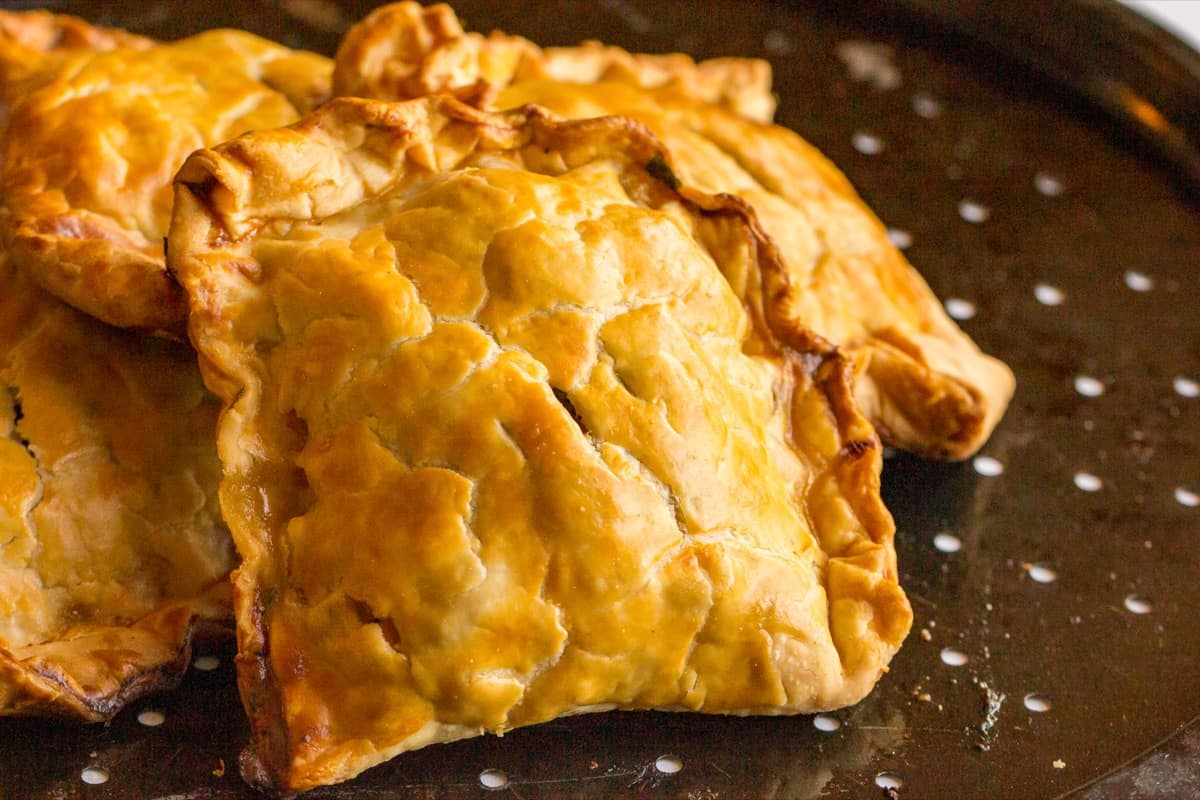
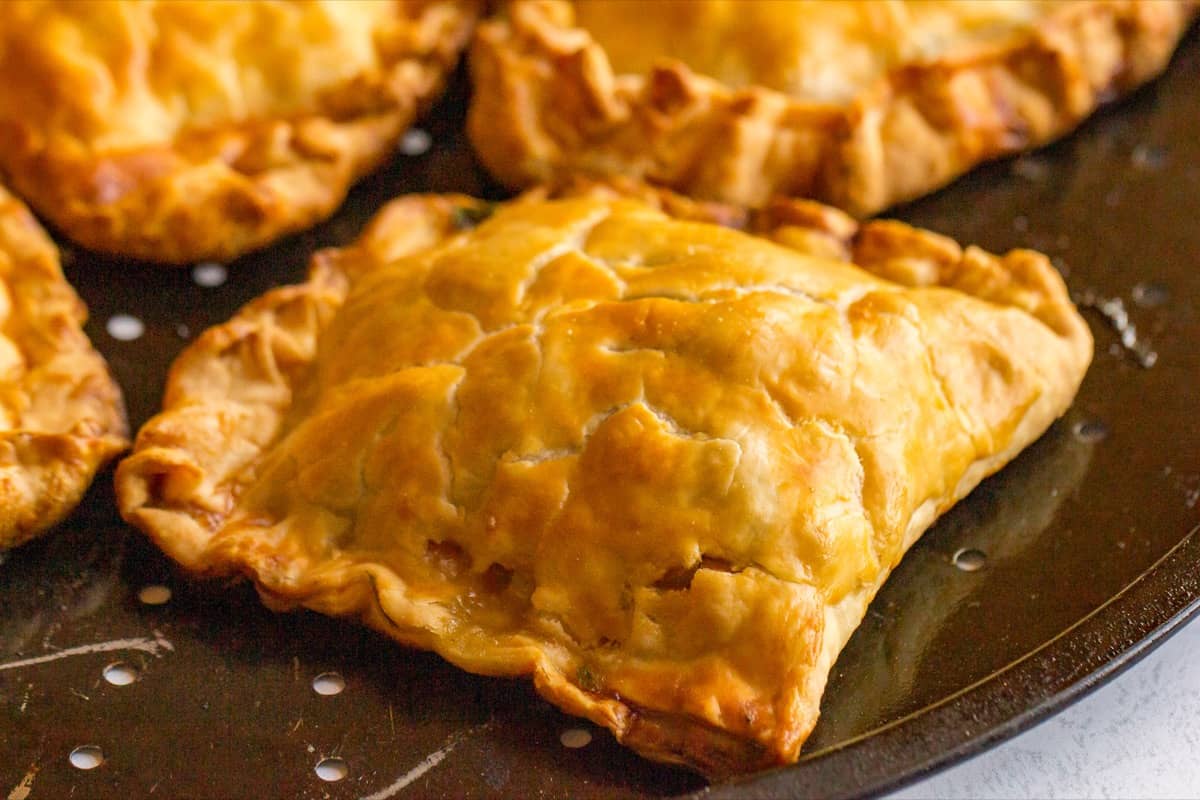
Pasties are usually cooked in the oven, but if you have a pellet grill you basically have a big outdoor oven. Many people just think of pellet grills as smokers, ideal for low-temperature cooking. However, you can also use them to cook at higher temps, too. The higher temperature helps create the golden brown crust on your pasty.
Where do pasties come from?
The pasty is a humble pastry and has a lofty history. It originated in Cornwall and Devon in England and today enjoys protected status as a regional food and national dish. That means people can't just open up pasty drive-through joints anywhere or make pasties just any way they choose if they want them to be official.
Not unless they want the pasty police knocking down their door to demand why they didn't include the rutabaga, for example.
Kind of like the internet police if you call something authentic or name it with a country in the title.
The pasty goes all the way back to medieval times and was eaten by everyone from serfs to kings and queens. As with many great british traditions, the origin of the terms "pasty" actually originates from a French word.
The pasty literally is an important part of the economy of Cornwall. For that reason, protecting the recipe and holding up the traditional style are crucial.
I say this because I know what your first question is going to be.
How can you tell when grilled pasties are done?
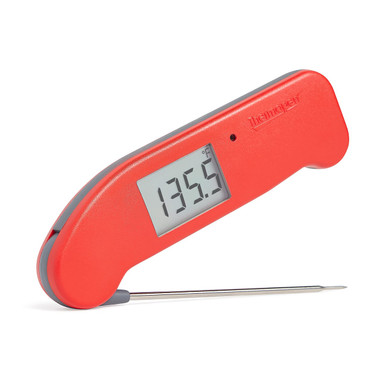
The best way to know for sure that the meat inside your pasties is fully cooked is to use a thermometer. I have the ThermoWorks Smoke and the ThermoWorks Thermapen, and love them both.
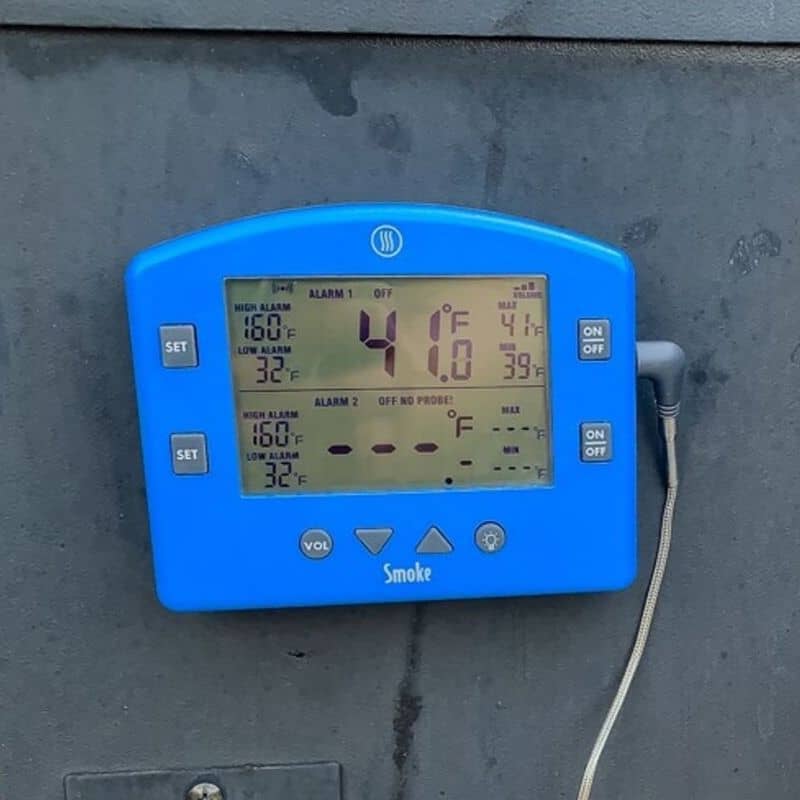
Buy A Good Thermometer


Do you have to use rutabaga?
If you are going to make pasties and you still want to call them pasties, you gotta use the rutabaga.
If you are unfamiliar with rutabaga, it is a root vegetable that goes by a variety of names. It is called a "swede", "neep", and "swagger". You might also see it called a turnip, which it closely resembles, but a rutabaga is NOT a turnip.
This means to find rutabaga, typically you look in the vegetable area where either the potatoes are located or where other root veggies are placed. Oftentimes, you can find them next to rhubarb too.
If you find them with the green tops still attached, then be sure to set those aside. You can chop them up, braise them or parboil them very briefly and eat them too. You can even chop them raw into a salad as well.
Rutabaga looks a little like a yellowish turnip.
However, if you can't find an actual rutabaga, you can omit it from the final recipe.
What do you cook pasties on?
I like to use a heavy baking sheet that's lined with parchment paper for pasties, no matter if I'm cooking them in the oven or on the grill.
The parchment paper will keep the pie crust from sticking, and the heavy pan will make sure the bottom of your pasties doesn't burn.
How can you tell when pasties are done?
Since you cook the ingredients inside the pastry shell, you do need to make sure everything gets properly cooked.
That's a big reason why I like to pre-cook the root vegetables before filling the pasties. It ensures your finished product will be fully cooked.
Make sure to watch out when you take a bite. The filling gets super hot. One of the best parts of pasties is when you open one up. The flavorful cloud rushes past your face and smells delicious.
Enjoy that moment and savor it. Your mouth will be happy you didn't eat too quickly and burn your tongue.
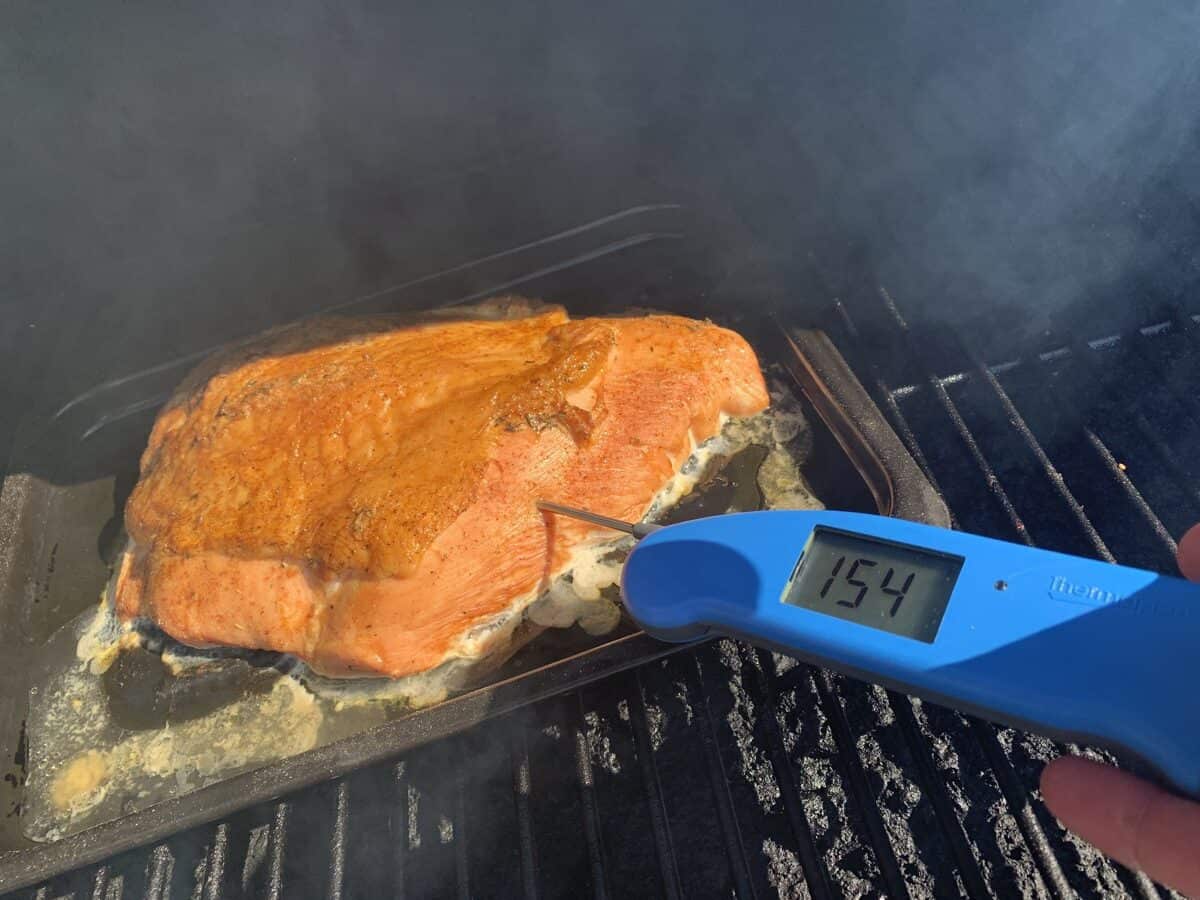
Since you are putting raw meat in here, temping it with an instant-read thermometer is always the best practice. Shoot for 185° or above. I love the Thermoworks Thermapen, if you need a great, high-quality thermometer!
How do you store pasties?
You can freeze uncooked pasties for a month or so in baggies, or longer if you have a vacuum sealer. I recommend making more than you plan to eat for this purpose. It is so convenient when you can just bust a few out and cook them either on the pellet grill or in the oven.
Cooked pasties can be kept in the fridge for a few days, or covered and frozen for up to a month for the best quality.
What do you serve with pasties?
Pasties are pub food. If you like a good brew, then try a nut brown ale or a hoppy IPA. Either end of the spectrum of ales works, sweet or bitter.
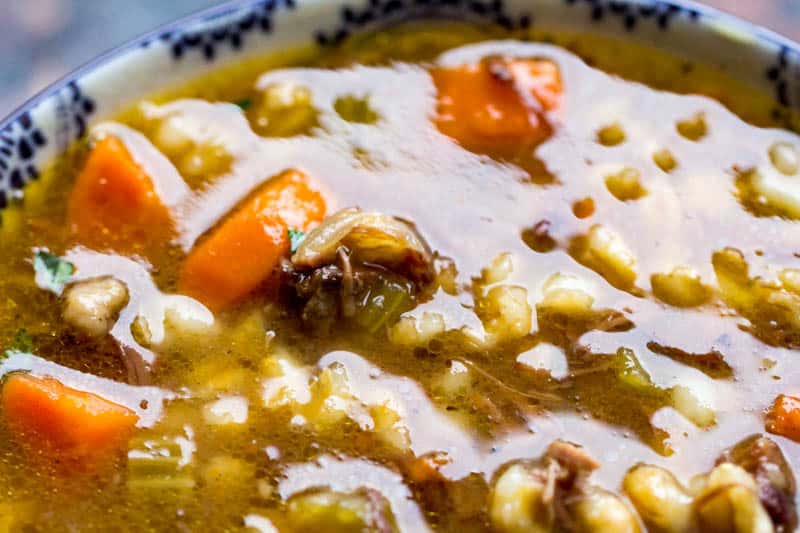
This is a classic hand pie, so would be great with a salad and soup to round out the meal. I suggest picking from the following:
Soup:
Salads:
- Homemade Caesar
- Fresh greens with Greek Vinaigrette
Bonus:
- These squash blossoms from Clean Plate Club are on my bucket list!
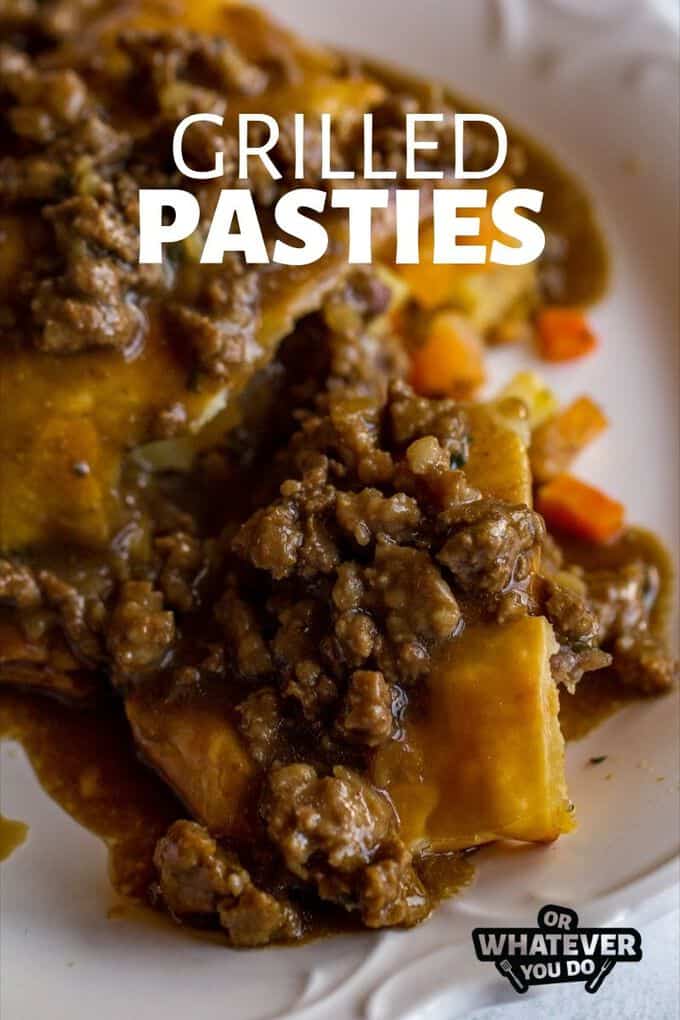
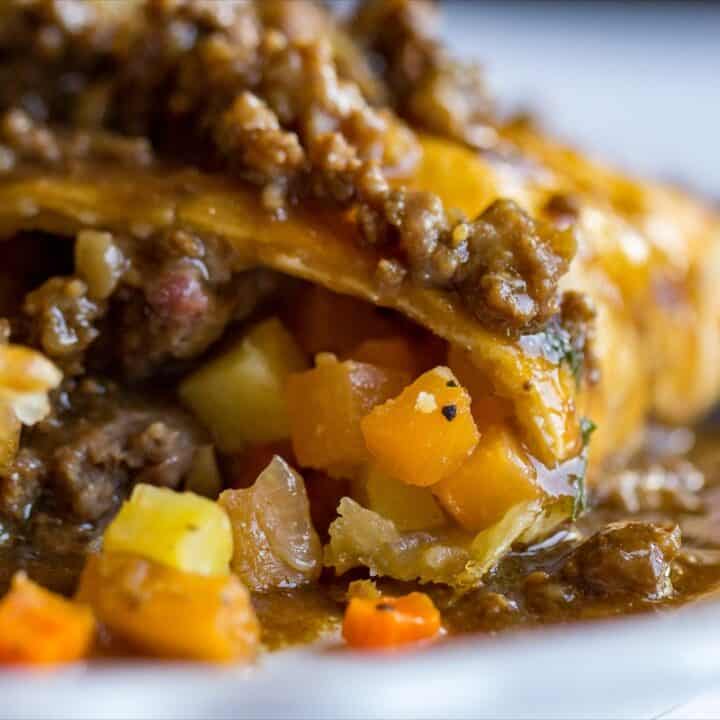
What is in the sauce that is on top of these pasties?
I love to have gravy with my pasties, so for this photoshoot, I whipped up a quick batch of hamburger gravy. This is totally optional, as these delicious cornish hand pies are delicious all on their own, or served with a side of ketchup if that's more your style.
Pin For Later
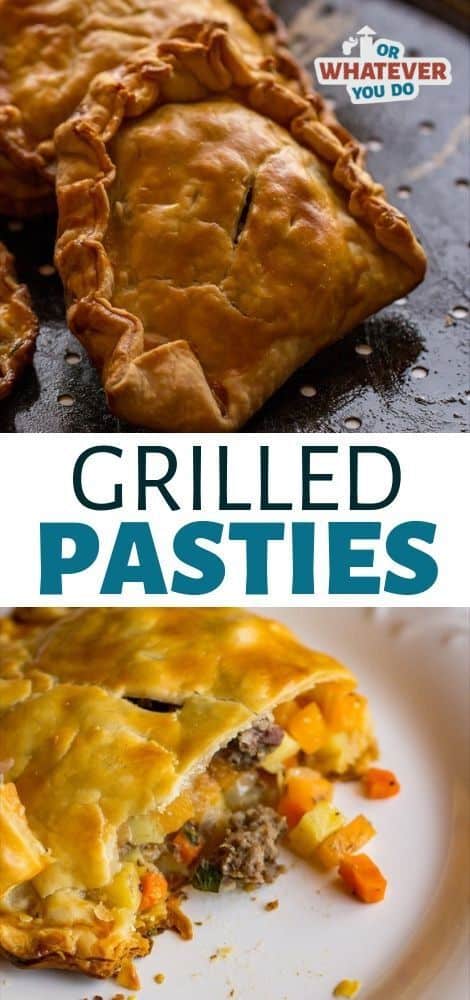
Grilled Pasties Recipe
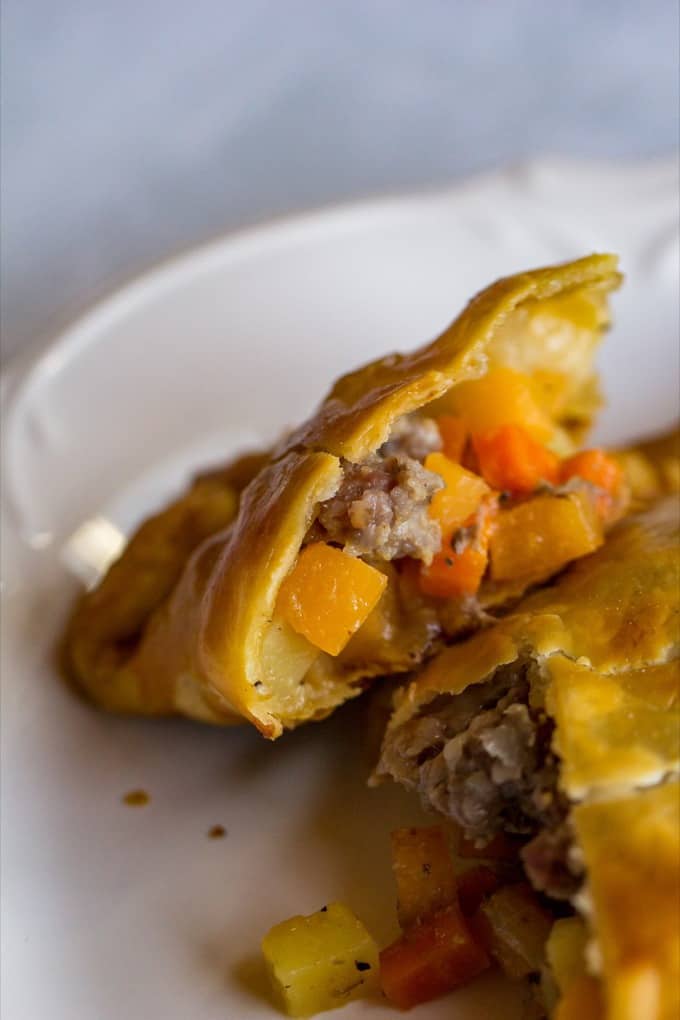
These traditional Cornish hand pies have a tender flaky crust that contains a rustic mix of meat, potatoes, and other root vegetables. Baked on the pellet grill, which adds some wood fire flavor to these classic meat pockets.
Ingredients
Crust
- 3 cups flour
- ½ cup butter, salted & chilled
- ½ cup butter flavored shortening, chilled
- ¾ - 1 cup ice cold water
Filling
- ¼ lb ground beef
- ¼ lb ground pork
- ¼ small rutabaga
- 1 medium carrot
- 1 small onion
- 1 medium russet potato
- 1 handful of fresh flat-leaf parsley
- 3 tablespoons butter
- salt and pepper, to taste
Egg Wash
- 1 egg + ⅛ cup milk, whisked together well
Recommended Products
As an Amazon Associate and member of other affiliate programs, I earn from qualifying purchases.

Instructions
- Preheat your pellet grill to 350 degrees. Prep your pan by lining with parchment paper.
- Make the pie crust by following the directions below. If you are using a pre-made crust, skip down to step 4.
- Cut up butter and shortening into dice-sized chunks. Add flour and mix together by hand until the butter is in pea-sized chunks. Add ¾ cup of water and stir together with a wooden spoon. Add more water as needed to form a slightly crumbly ball of dough. Wrap dough in plastic wrap and chill for at least 30 minutes.
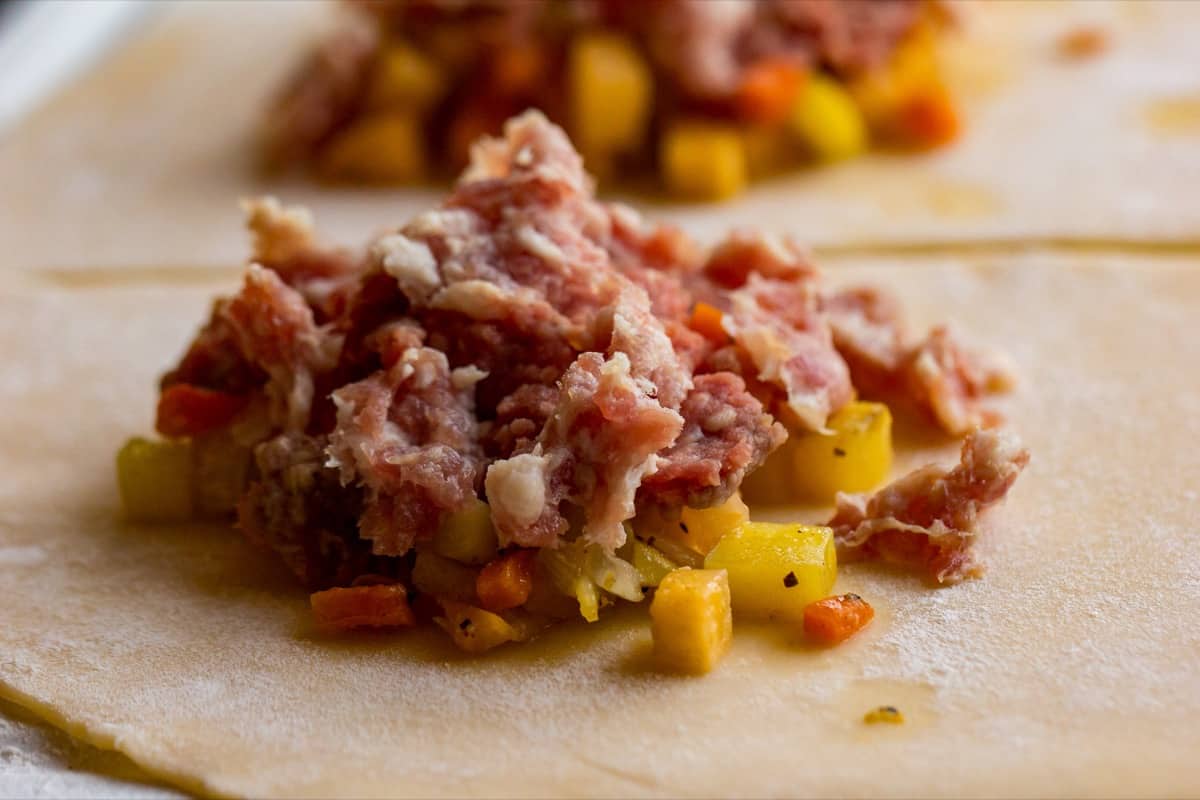
- While the dough is chilling dice up your vegetables into ¼ inch dice, and chop up the parsley.
- Take all of your diced vegetables and place them into a large non-stick skillet. Saute with 3 tablespoons of butter for 6-7 minutes over medium-high heat. Let cool.
- Remove the chilled dough from the fridge and cut into 6 equal chunks. Roll out individual chunk into a circle slightly larger than your hand on a well-floured surface.
- Divide the filling and meat and place evenly on one half of the crusts, leaving room to seal the edges.
- Fold over the other half of the dough, lightly wet the edge with moistened fingertips, and press to seal. Crimp edges by folding up and over and pressing down.
- Repeat with the remaining dough portions and place all onto your prepared pan.
- Brush the tops with your egg wash, and cut three small steam vents into the dough.
- Bake on the grill at 350 for 1 hour, or until golden brown.
- Serve with brown gravy or ketchup.