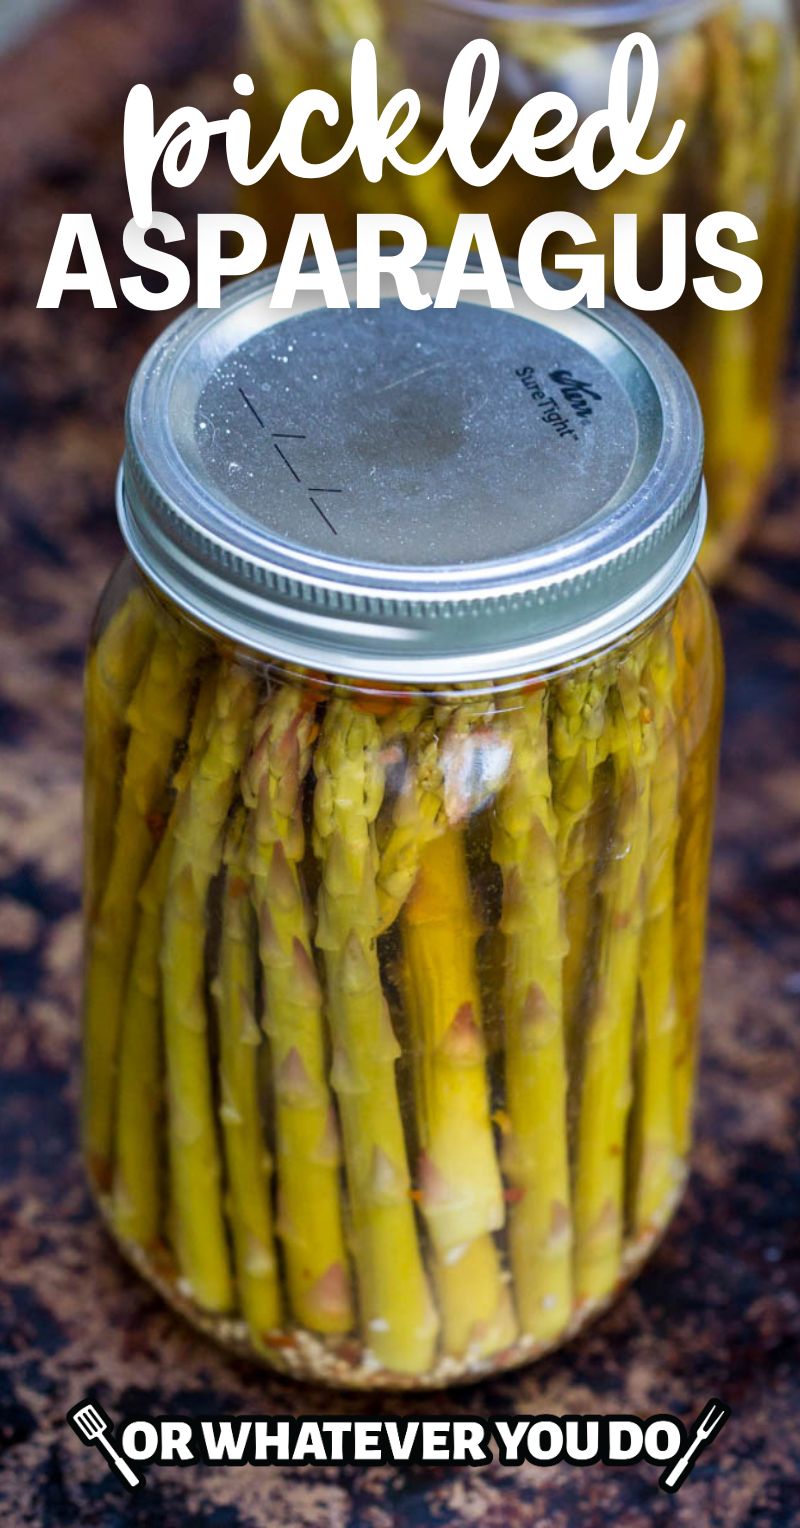
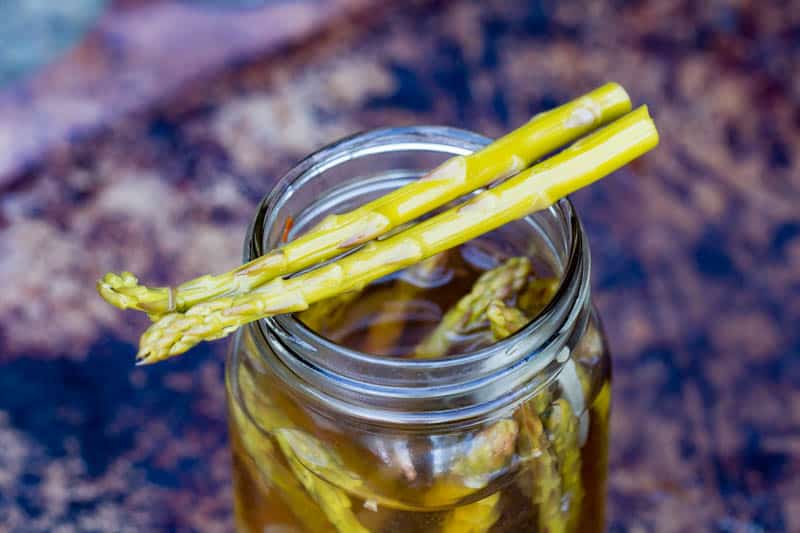
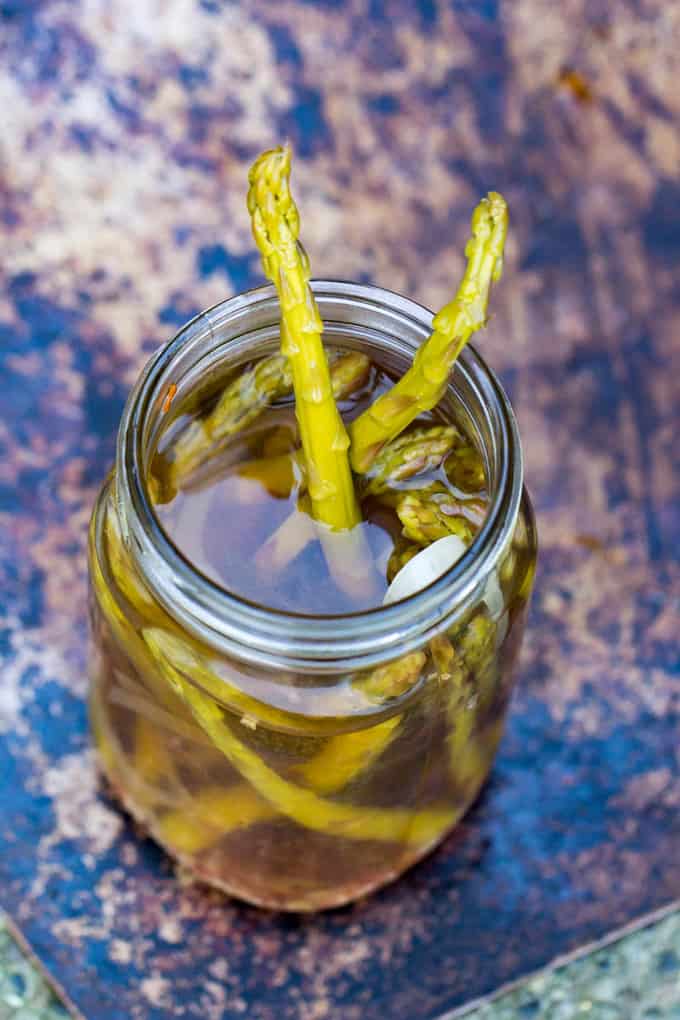
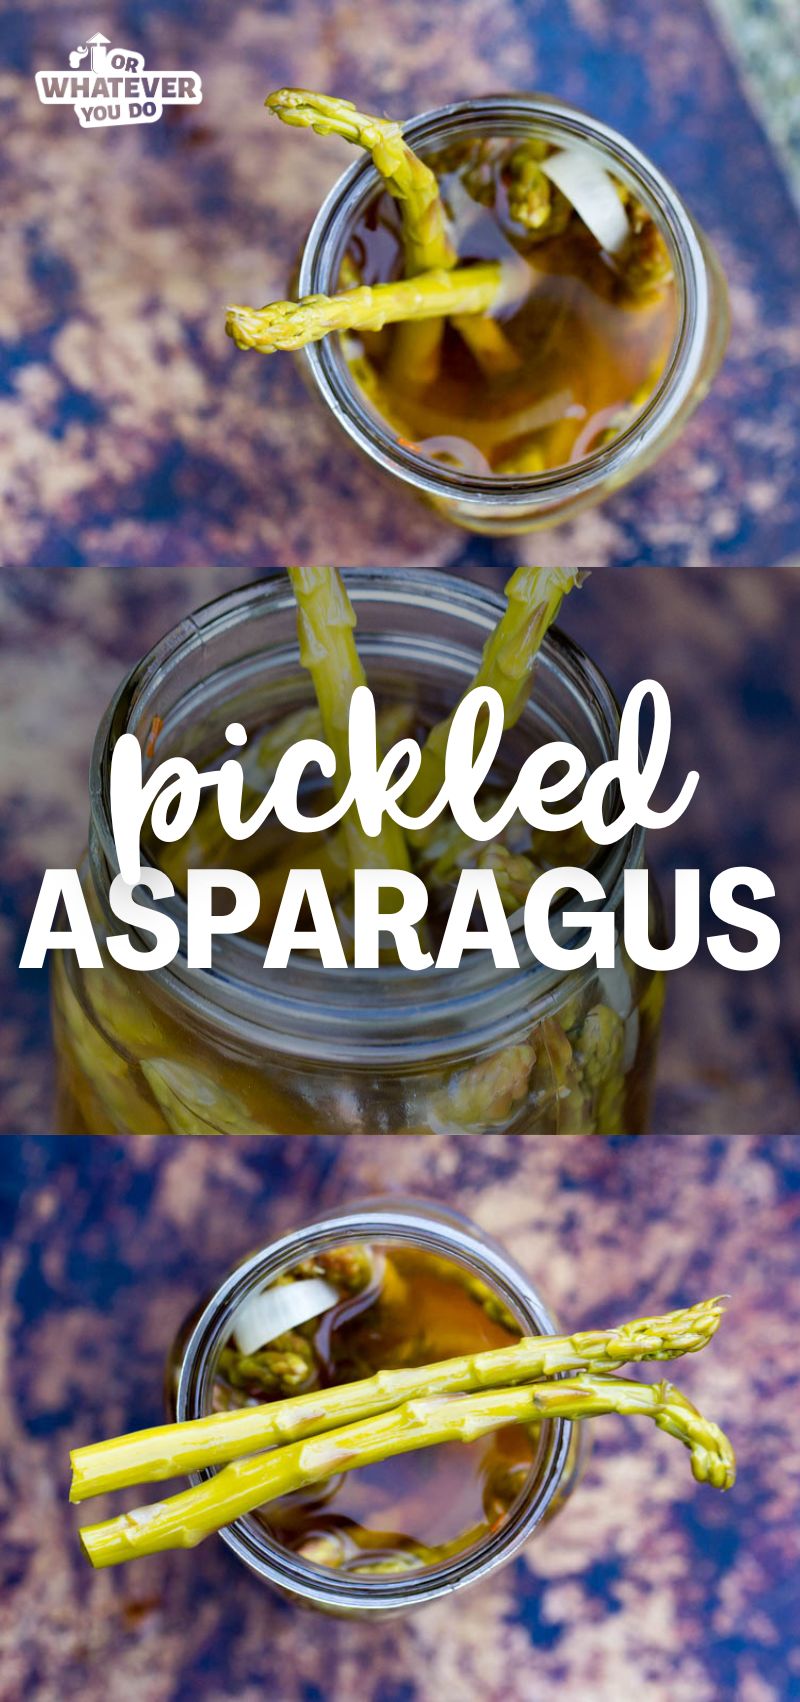
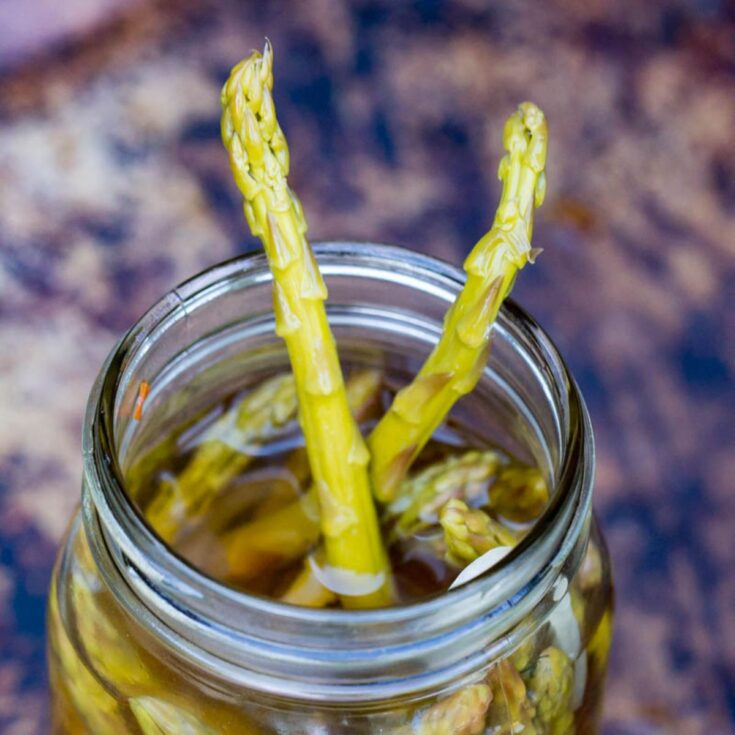
Pickled Asparagus Recipe
Pickled Asparagus is one of my favorite ways to make use of the spring and early summer bumper crop of fresh asparagus! All the garlic and dill you could ever want are in this flavorful recipe that produces crisp and snappy pickled asparagus.
Pickled Asparagus Recipe
Pickles have been a favorite of ours for a really long time. We've been canning various fruits and vegetables for quite a few years, too.
This Pickled Asparagus is a delicious side and a wonderful way to preserve any of the leftover stalks you haven't done anything with yet, or to keep those spring and summer asparagus crops around all year long.
Making canned asparagus does require you to use some tools, but don't fret. It is relatively easy to do it!
Enjoy with some Summer Sausage on a charcuterie board!
Recipe Shopping List
Let's talk a little about what you will need to make canned asparagus.
- Fresh asparagus
- Garlic
- Dill
- Vinegar
- Sugar
- Pickling salt
- Mustard seed
- Onion
You are going to want tight-tipped tender spears of asparagus that are 4 to 6 inches in length, so they fit in the jar. When in doubt, measure it out!
To pickle them, you are going to place dill and garlic inside the jar. The pickled asparagus recipe will tell you exactly what you need, but if you want spicy pickled asparagus, you can do that too. Just toss in some sliced jalapeños and/or red pepper flakes.
Stick a few in a Homemade Bloody Mary!
Helpful Tools
Here is the list of tools you are going to need for this recipe:
- Tongs
- Wide-mouth funnel, or a good ladle that doesn't drip and spill
- Measuring utensils
- Jar lifter
- Canner or something like a dutch oven is good for cooking preserves, a deep stockpot works really well as a canning pot, and place a round rack or a kitchen rag in the bottom so water can circulate all the way around the jars.
- Mason jars
- Lids
- Rings
Make some Smoked Black Cod Dip too!
How To Make This Recipe
This is just the overview so you can see what you're actually getting into here. When you are cooking, you'll want to use the full recipe at the bottom of the page.
- Prep - Put your canning pot on the stove with water and bring to a boil. Sterilize the jars, lids, and rings in the boiling water. Prep your asparagus by washing and trimming. Make sure you get all the tough woody ends off and make them only as tall as your jars.
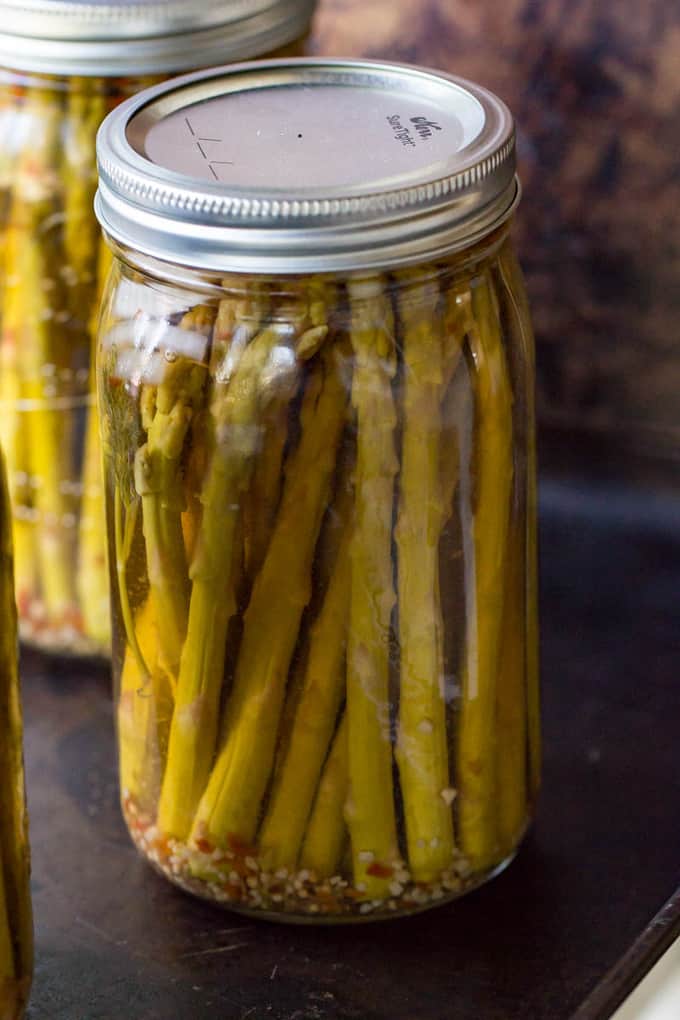
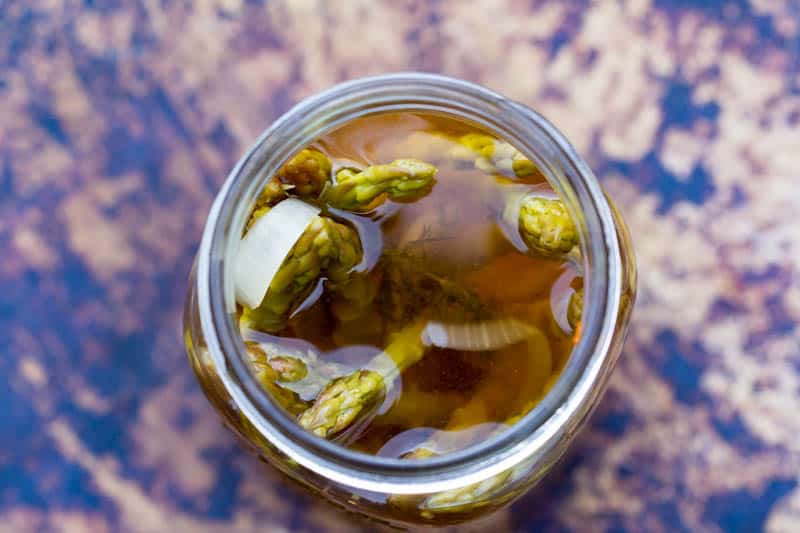
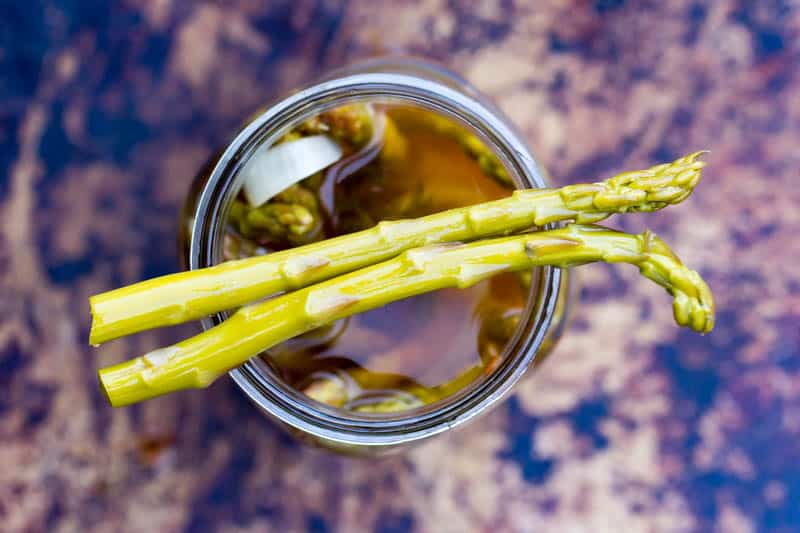
- Fill the jars - Fill the jar with the asparagus, and pack it in there tightly. Be gentle and don't crush them, though! You want to leave about an inch of headspace with this method. Headspace helps to ensure that the jars seal right.
- Make brine - In a separate pot, combine the brine mixture and simmer until the salt is fully dissolved. Fill the jars with brine and make sure the liquid covers the vegetables. Put a lid and a ring on each jar.
- Process - Carefully submerge the jars into boiling water. It takes 10 minutes in a boiling water bath to ensure the asparagus is shelf-stable.
- Cool - Let the jars cool on the counter overnight. Remove the rings and store them in a cool dark place.
Asparagus goes with several different meals, and now that you have pickled asparagus you can eat it as a snack. This recipe is perfect for a charcuterie board or appetizer tray!
Get all of my favorite Appetizer Recipes here!
Recipe FAQ
If you have hoards of hungry children like I do, these aren't going to last long.
The earliest I recommend opening the pickled asparagus is three days. However, in all honesty, they are just starting to get really good after two weeks of sitting in their jars. They can sit for up to a year before spoiling.
Once you open them, I would only keep them for about two months in the refrigerator.
The great thing about canning is that you can save the asparagus for some time so if you are having trouble figuring out just what to eat them with, there is no need to worry!
I just want to add I have heard for pickle lovers these pickled asparagus could be eaten as a MAIN DISH! I definitely recommend making these!
You can, but I don't recommend it. Canning is finicky, and if you adjust things too much, it can throw off the acidity of the brine and allow bacteria to grow. And not the good kind, either. You can omit the red pepper flakes if you'd like, but for further adjustments, I'd go find another tested recipe to try.
Try our Smoked Salmon Dip too!
More Charcuterie Recipes
Pin For Later
Pickled Asparagus
Homemade pickled asparagus will keep that fresh asparagus around all year long! Dill and garlic and all the things you love about pickled vegetables.
Ingredients
Jar Stuffers
- 60-80 asparagus stocks
- 1 large white onion
- 8 sprigs fresh dill
Brine
- 7 cups white vinegar
- 3 ½ cups water
- 1 tablespoon minced garlic
- 1 ½ tablespoons mustard seeds
- 1 tablespoon red pepper flake
- 1 tablespoon dill seeds
- 2 tablespoons kosher salt
- 3 tablespoons white sugar
Recommended Products
As an Amazon Associate and member of other affiliate programs, I earn from qualifying purchases.


Instructions
- Bring a giant stock pot of fresh water to a boil. Toss in the lids to the jars.
- Wash the asparagus and trim the ends. Slice the onions into rings, and trim any super long stems from the dill flowers.
- Combine all of the brine ingredients in a large pot and bring to a boil.
- While the brine is heating, add some onions, dill, and asparagus to the jars. Distribute evenly between all 4 jars.
- Once the brine has boiled and the sugar is dissolved, pour the hot brine into the jars, and close with the lid and a ring.
- Place a wire rack at the bottom of the pot so that water can properly circulate all around the jars, and then carefully lower all the jars into the pot (or as many as can fit), and boil for 10 minutes.
- Remove and let cool. Check that the lids have sealed, and store for 2 weeks before opening for best results.
Nutrition Information:
Yield: 16 Serving Size: 1 Amounts Per Serving: Calories: 57Total Fat: 1gSaturated Fat: 0gTrans Fat: 0gUnsaturated Fat: 0gCholesterol: 0mgSodium: 508mgCarbohydrates: 7gFiber: 2gSugar: 4gProtein: 2gNutrition data provided here is only an estimate.

Be careful which Kosher salt you use. Make sure it is pure salt. Some Kosher salt, Morton for instance, contains an anti-caking ingredient which can affect the flavor and may turn it cloudy. I always use canning salt and avoid the problem altogether.
Noted! Thanks!