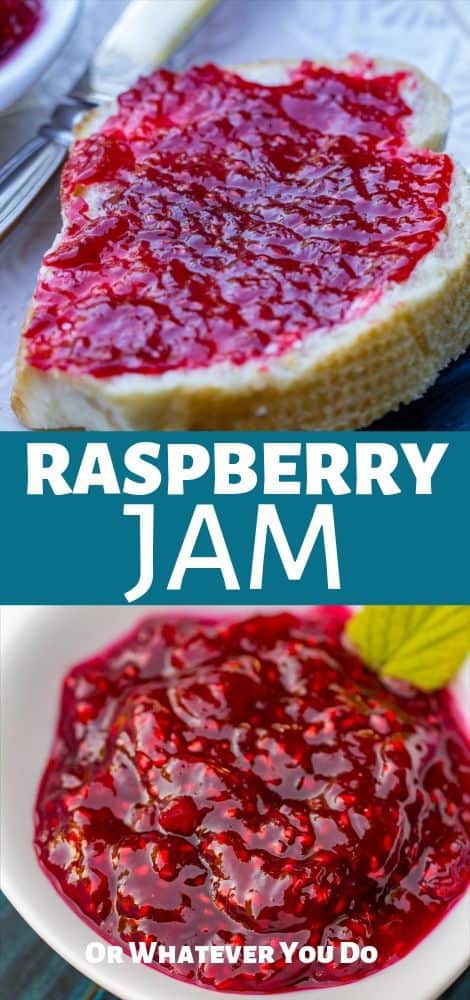
Raspberry Jam
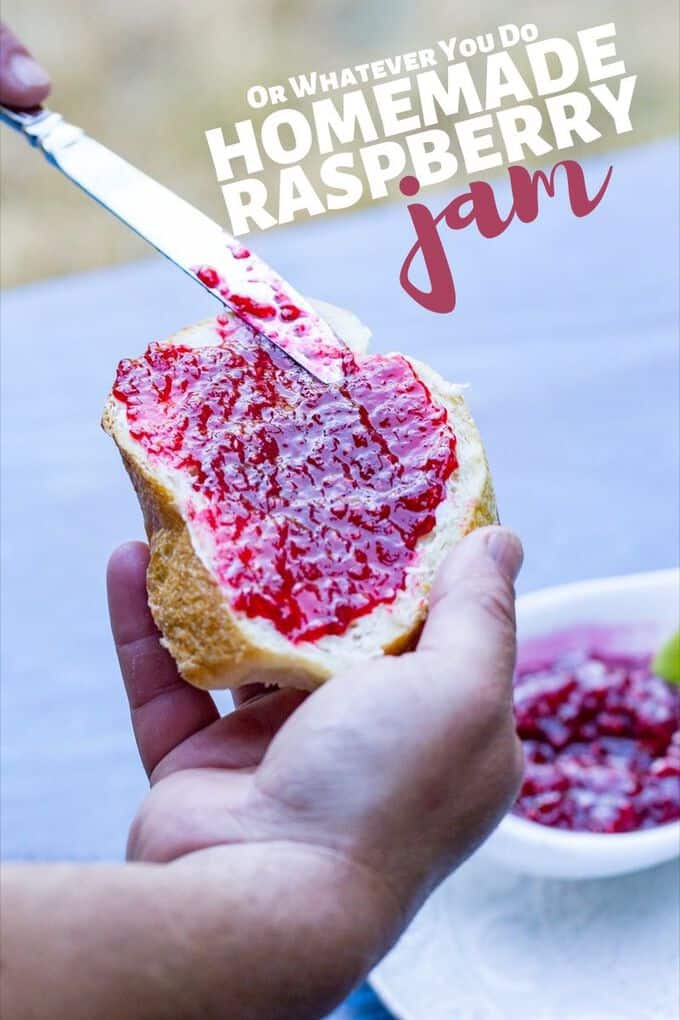
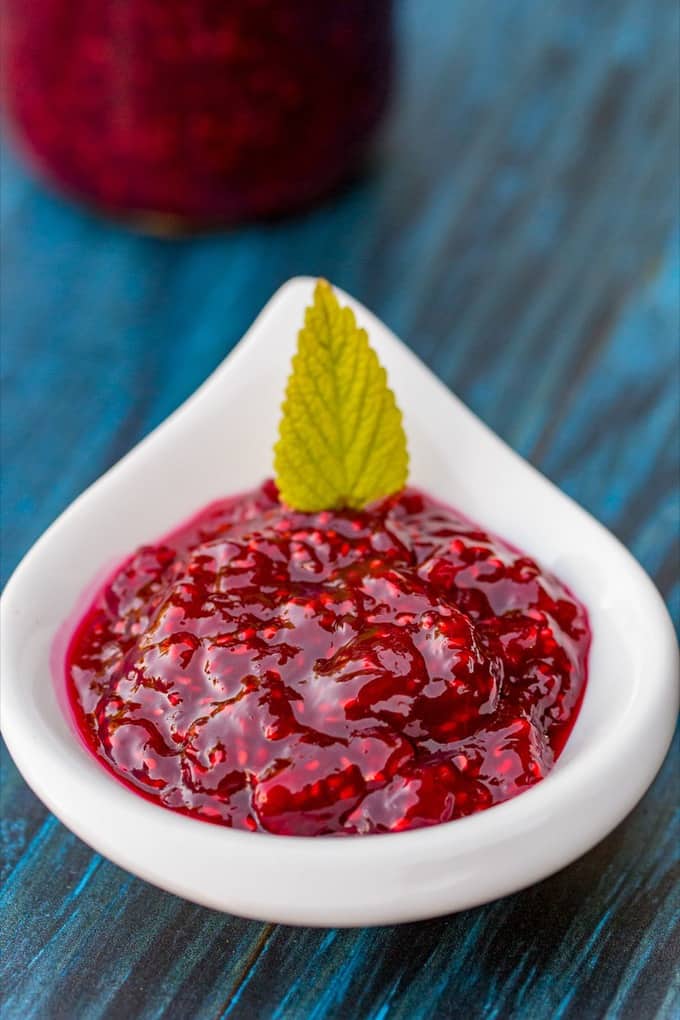
This Easy Homemade Raspberry Jam is the perfect combination of sweet, tangy, and homemade goodness! Simple, delicious, and versatile enough to use on any dessert or breakfast food you could imagine - what else could you ask for from some jam?
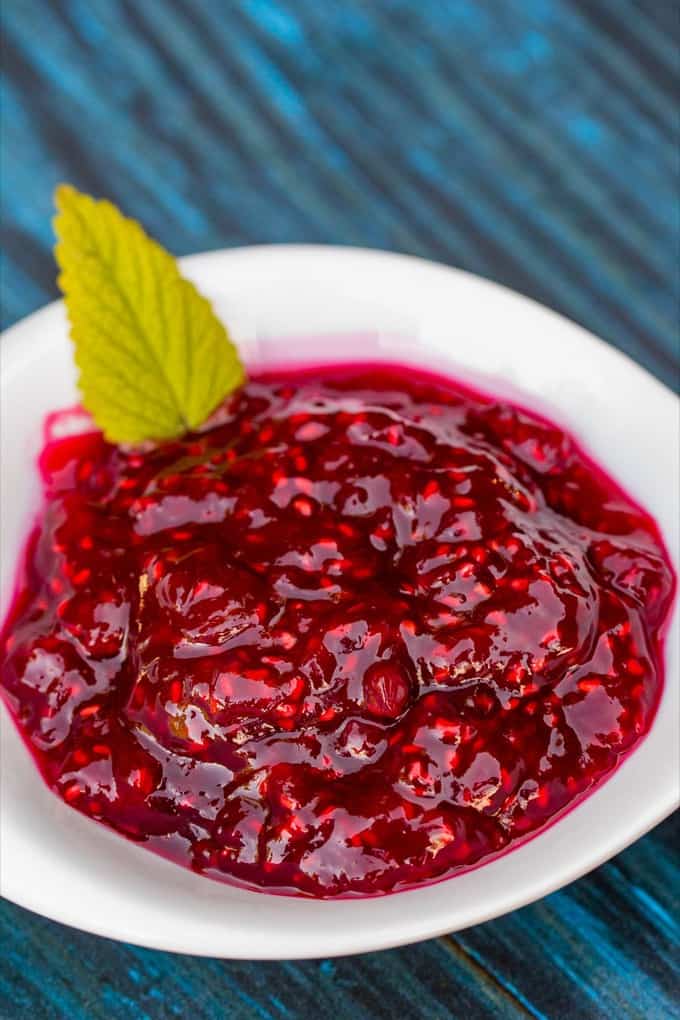
Easy Homemade Raspberry Jam
Homemade jam was one of those things that always made me happy as a kid - both making it and eating it!
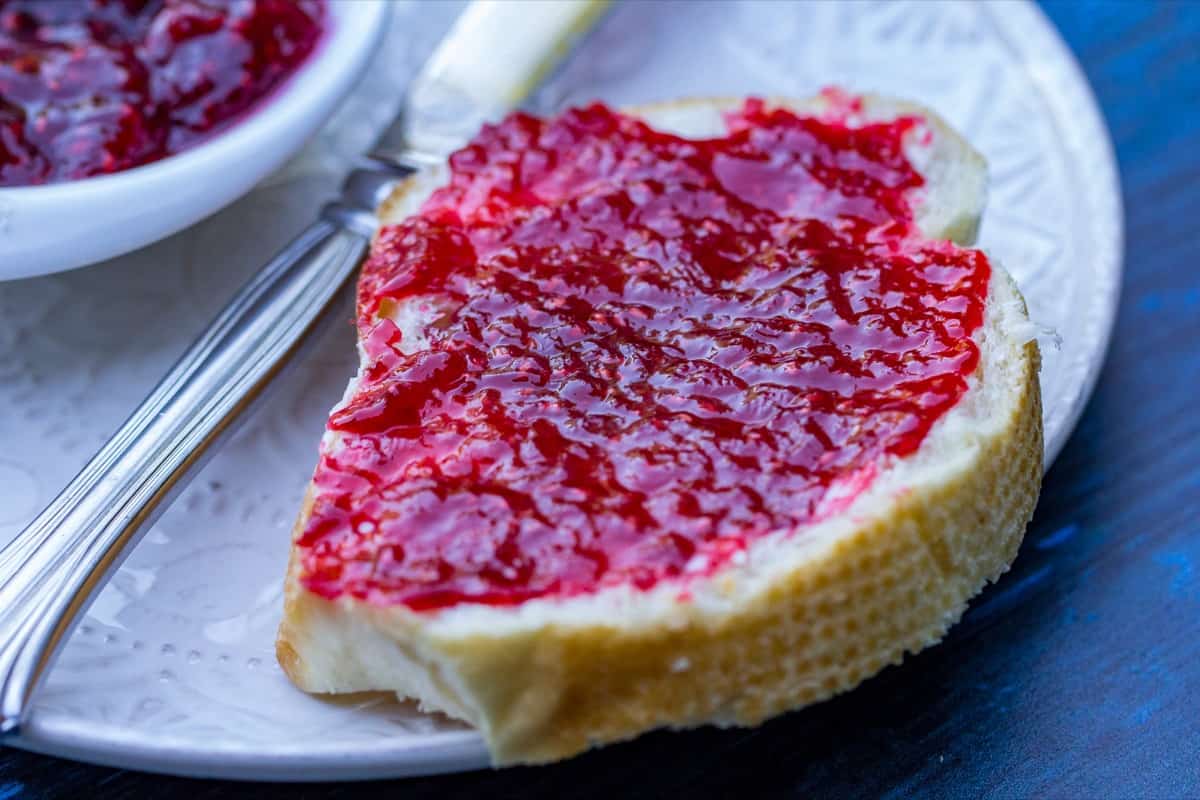
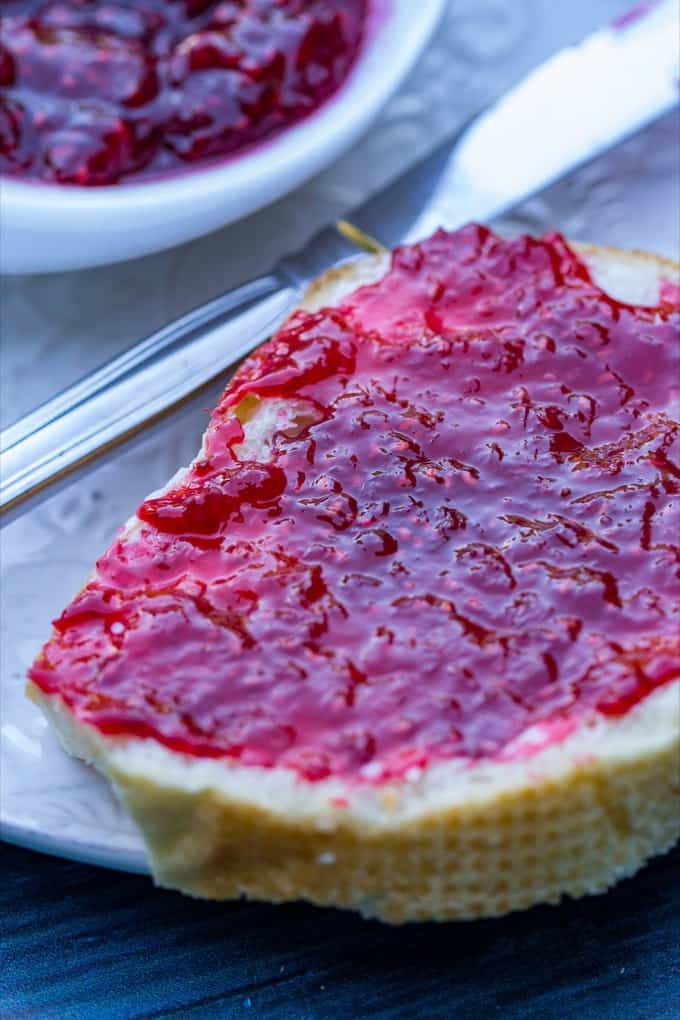
My favorite way to eat it back then and now is just on some toast with a little bit of butter spread onto the bread first to make a super good sweet and salty combination. Totally recommend it if you haven't tried it yet!
This is a super handy recipe to have if you have raspberry bushes nearby or a lot of raspberries you want to put to use before they go bad. Well, really, any berry for that matter!
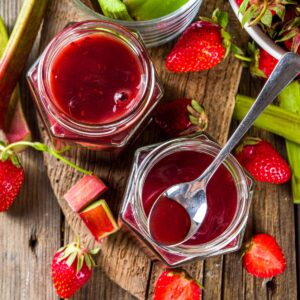
After you've mastered this jam recipe, you should go check out my Strawberry Rhubarb Jam recipe! If you have access to rhubarb, you HAVE to try it, it's SO good!
What Do I Need To Make Jam
Step one to making this sweet-goodness is getting all of your supplies ready!
Recipe Ingredients
- Berries - In my recipe, I use raspberries because they're what I had on hand, but you can use whatever berry or fruit you have!
- Pectin - Pectin is CRUCIAL to making jam, it's what makes it 'set', or put simply it's what makes it jam! Without it, you'd just have a berry and sugar syrupy mess!
- Sugar - Yet another crucial piece to our jam! Without sugar, your jam is going to be more like a fruit spread rather than a nice set jam.
Recipe Equipment
- A large pot - Before you do anything, you have to sterilize your jars, lids, and rings - this helps make sure no bacteria will grow in your jam!
- A funnel - Trust me, to save your countertops from super stickiness, you're going to want a funnel for getting it into the jars!
- Spoons and ladles - These will come in handy when you need to stir your jam mixture and it's really helpful at getting it into the jars!
- A canner - Of everything on the list, this is the most important. A water bath canner or a pressure canner will work perfectly!
- Glass jars - You HAVE to use glass jars - plastic ones will get melted and can't be sterilized!
- Lids and rings - Flat lids with fitted rings for whichever glass jars you plan on using is all you need!
- Jar grabber - Next to the canner, this is super important too - mostly because of safety concerns! I don't know about you, but grabbing a - literal - boiling hot jar with my hand doesn't really sound fun.
If you need to, you can make due without an official jar-grabber and just use a big set of tongs, but a jar grabber sure makes things easier!
How Do You Can Fruit Jam
Canning is one of those things that I think most people find really intimidating, but once you get the hang of it, it's not hard at all!
Wash Everything
The first step of canning is getting everything sterilized, including yourself! Washing your hands up to about your elbow should be fine. Get your large pot and get that water boiling!
Once your water is boiling, you're going to boil all of your jars, lids, and rings (you may need to do batches depending on how many jars you're using). Boil them for 10 minutes to make sure that they're completely clean and all bacteria is gone.
Once you've sterilized everything, you want to wash your fruit and get it all crushed up. You also want to measure out your sugar and pectin at this point!
Boil
Bring the fruit, sugar, and pectin to a boil, reserving some of the sugar. Once the mixture has reached a full, roiling boil you can add in the rest of the sugar and bring it back to a boil!
Skim The Foam
Once you're done cooking your mixture, grab one of the ladles and remove the foam that's on top of the jam. It won't hurt anything, it's mostly just for aesthetic purposes. At this point, you can also test the thickness of your jam!
Test The Thickness
Grab a spoon and get a little bit of the jam and let it cool to room temperature. Once it's cooled, you can see how thick/thin it is!
If it's not as thick as you'd like, add a little bit more pectin in!
Put Into Jars & Water Bath
Once you have your desired consistency, add the jam into the sterilzed jars using the funnel leaving about ½-¼ inch at the top. Wipe your jars down and then get those jars into the canner - make sure to use the jar grabber!
When canning, you want to make sure that the water gets to a good, rolling boil. Place the jars into your canner and let it do its magic for 10 minutes.
Take the canner off of the heat and let it sit for about 5 minutes. Once it's sat for a little while, you want to let the jam rest for 12-24 hours.
Check The Seal
After they have cooled, you'll want to check the lids of the jars to make sure they're sealed. If you've ever had anything that's been canned, you'll have noticed that once you open it, you're able to pop the lid up and down on the jar. Do this to each of your jars. If you press on the lid of a jar and it pops back, then get rid of it - it's not safe to eat!
If they pass the lid test, they're ready to be stored. I find that homemade jam is best in the first 6 months, but it's good for up to a year!
Congratulations! You just canned some homemade, delicious jam! Now, go make my No-Bake Raspberry Fluff Pie with it!
How Do You Make Jam Without Sugar
Well, I'm going to start off by saying while this can be done, it isn't going to be like normal jam. It'll still be jam, but it won't have a hard set and will be more like a fruit spread.
If your goal is to not use sugar as a sweetener, go ahead and use an alternative sweetener, like Splenda!
If you just don't want to add anything to your jam but fruit, you can use a type of pectin called no-sugar-added pectin. Again, it won't set the same without the sugar, but this is how you can achieve a jam that has no added sugar in it.
This is a totally different recipe though, so if that's what you are after please make sure to find a recipe specific for that. You can't substitute fake sugar for real sugar in this recipe.
All About Pectin
So, what is this pectin stuff I keep going on about?
Well, pectin is essentially an extract from apples with some dextrose and citric acid mixed into it. It doesn't change the flavor of whatever you mix it into, but what it does do is help make things thicker with A LOT less of the sugar than would've been needed without it.
Super cool fact about pectin, it's completely vegan because it's extracted from fruits, unlike gelatin!
Pectin is really only used to make homemade jams and jellies, and thank goodness for it!
How much pectin you need in different recipes is going to depend a lot on batch size, the fruit you're using, and how 'set' you like your jam/jelly. If you like it looser, you'll want roughly 5-7 tablespoons of pectin per 6-8 cups of fruit. If you like it firm, use about 7-10 tablespoons. If you like it very firm, use about 10-13 tablespoons.
Again, the amounts you'll need vary a lot, but the recipe you use should have a recommended amount.
There are ways that you can make your own homemade pectin, but there aren't many advantages to it; the stuff you get in the store isn't much different and is a lot less inconvenient!
Now that you have some background on pectin, go crazy with your jam and jelly adventures!
Can You Strain The Seeds Out
If you want to make a seedless jam, it's not hard at all!
You'll want to get your hands on a fine-mesh sieve or strainer. All you need to do is before you begin the cooking process, after the berries have been crushed, is to use the back of a spoon and push the crushed berries through the sieve. This should catch any of those pesky little seeds!
For this recipe, you don't want to use something like cheese cloth or a mesh strainer to get out the seeds becuse this will also catch the pulp, leaving just juice. We want the pulp because it's kind of what makes jam actually jam and not jelly - same with the seeds!
Seeds in or seeds out, the jam you make will turn out fantastic!
Can This Be Made Into Freezer Jam?
If freezer jam is more your style than this canning stuff, I've got you!
It's pretty simple, to be completely honest, here's a step-by-step process for you to follow!
- Gather your ingredients - You're going to be using all of the same ingredients as my recipe, but you'll be adding some water into the mix!
- Mash your berries and incorporate sugar - You want to mash up your berries in a bowl and begin adding sugar and stirring it until it is fully incorporated. You're going to want a ratio of about 3:1 for your berries to sugar ratio. Once it's incorporated, let the mixture rest for about 8-10 minutes while you get the pectin ready.
- Boil your pectin - Follow the package instructions for your pectin. Once it's ready, add it to your berry and sugar mixture and stir until it's dissolved. COMPLETELY dissolved. No grit. No grains. It MUST be fully mixed in.
- Jar it - Once you're confident that the jam mixture is ready, ladle it into your jars and allow it to rest at room temperature for 24 hours. Once 24 hours is up, toss 'em in the freezer!
Freezing the jame lets you skip the water bath process which makes the jam shelf-stable until opened. Make sure to keep it in the freezer until you are ready to use it!
Go get a truckload of berries and get canning!
What Can You Use Raspberry Jam On?
Raspberry Jam isn't just for PBJs anymore. You can use it in a number of different ways. For instance...
Put it in smoothies or cocktails, like my Frozen Raspberry Pina Colada or in my Raspberry Sangria.
Throw some on this Raspberry Angel Food Cake for good measure.
Use it to top homemade vanilla cheesecake, or to add a little something extra to the top of your vanilla bean creme brulee.
You can also spread some of this along with some butter on a freshly baked raspberry muffin.
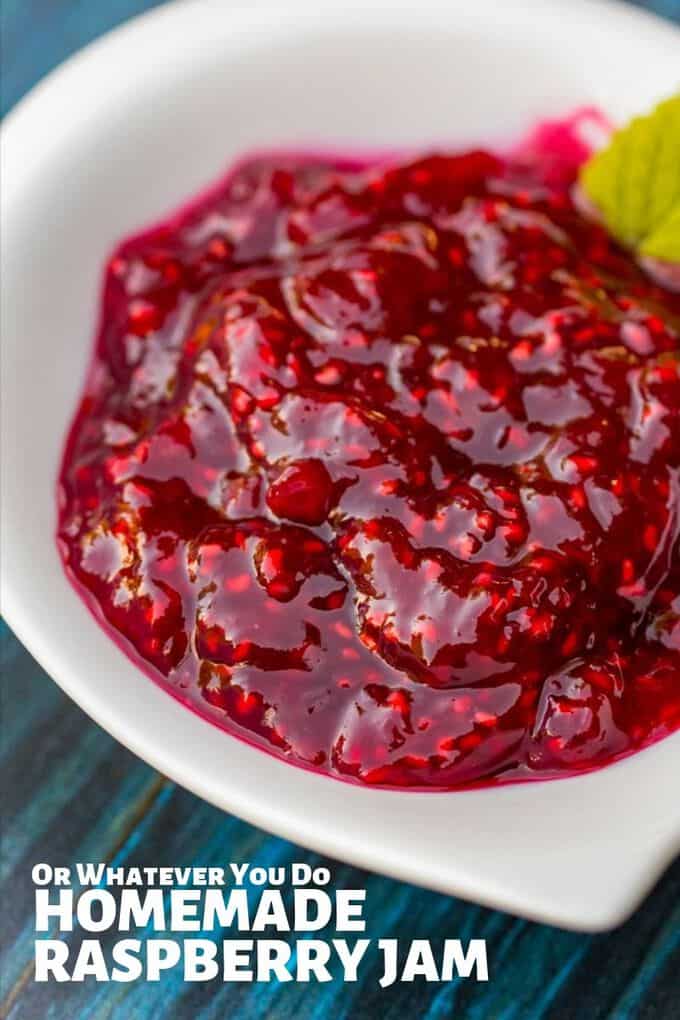
Pin For Later
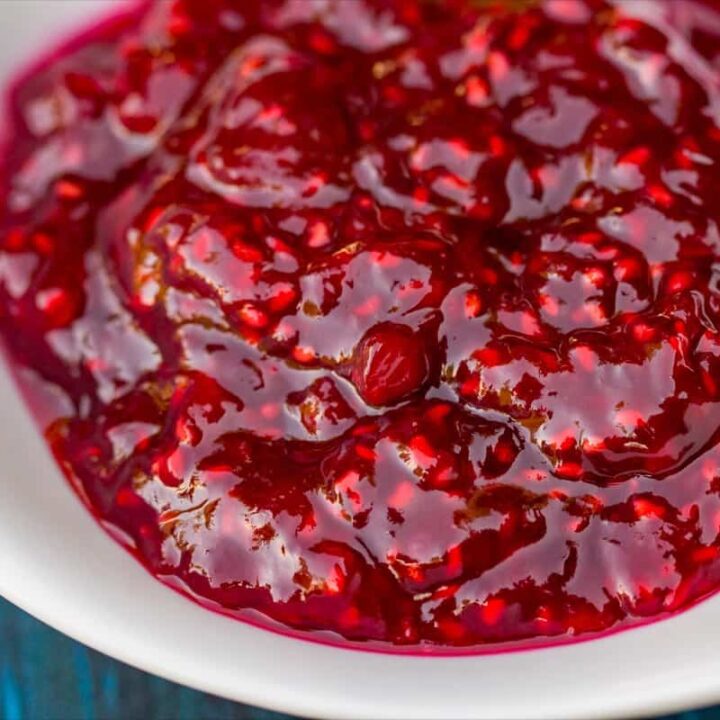
Raspberry Jam
This sweet and bright homemade raspberry jam recipe will have you filling up your cupboards with the summer harvest and eating those berries all winter long!
Ingredients
- 6 cups crushed raspberries
- 4 ½ cups sugar
- 1 package pectin
- 1 ounce Chamboard
- 2 teaspoons butter
Recommended Products
As an Amazon Associate and member of other affiliate programs, I earn from qualifying purchases.

Instructions
- Bring a giant pot of water to a boil and place your lids, rings, and jars in it.
- Wash and crush ½ flat of raspberries. Place crushed berries into a large pot.
- Open your pectin, spread it evenly on top of the berries, and mix the berries and the pectin thoroughly.
- Turn the burner that the berries are on to high and heat them until they are at a rolling boil for one minute. Be careful not to let the berries scorch on the bottom.
- Slowly stir in your sugar and let the mix come up to a rolling boil once again.
- Add the butter to the berry mixture and let boil for one minute.
- Turn off the heat and pour in the Chambord.
- Using a long pair of tongs, pull your jars from the boiling pot of water.
- Pour the jam into each jar, filling it almost to the top. leave at least a quarter-inch of the top not filled.
- Use a clean hot, wet dish towel to wipe any spilled jam from the outside edges and top rims of the jars that may spill during the filling process.
- Use your tongs to gently place the lids and the rings onto the jars. Tighten the rings and place the jars into the boiling water for ten minutes.
- Pull the jars from the water and let sit until all the lids have "popped" and then slightly loosen the ring around the jar.
- Let the jam cool down. This takes several hours. Once it is cooled, the jam is ready to eat. Refrigerate your jam after opening.
Nutrition Information:
Yield: 50 Serving Size: 1 Amounts Per Serving: Calories: 82Total Fat: 0gSaturated Fat: 0gTrans Fat: 0gUnsaturated Fat: 0gCholesterol: 0mgSodium: 4mgCarbohydrates: 21gFiber: 1gSugar: 19gProtein: 0gNutrition data provided here is only an estimate. If you are tracking these things for medical purposes please consult an outside, trusted source. Thanks!

What is a chamboard
It is black raspberry liqueur: https://www.liquor.com/brands/chambord-black-raspberry-liqueur/
So great!
What if i don't have Chambord??
You can just leave it out. <3 It'll still be awesome.
Can I use frozen raspberries?
Yup! Just check to make sure they don't already have added sugar. Happy jamming!
I have a question about the pectin, you say 1 package...what size package! And is there a specific pectin? I am new to all this. Thanks
Hi Janine! No worries! Pectin usually comes in a box, and they are all the same size. Looks like the boxes are 1.75 oz. Enjoy!
How much lavender do I add to 4 cups mashed raspberries for my jam recipe. Ratio.
I'm not sure. I've never made this with lavender before.
what is half a flat ? ? ?
A flat is 12 pints or 6 quarts, so a half flat is 6 pints or 3 quarts.
If the jam doesn't set after canning can you process again adding more sugar and pectin?
Yes, but make sure to wait until it cools. It thickens more after that. I've never made this following this recipe and had a batch not set.