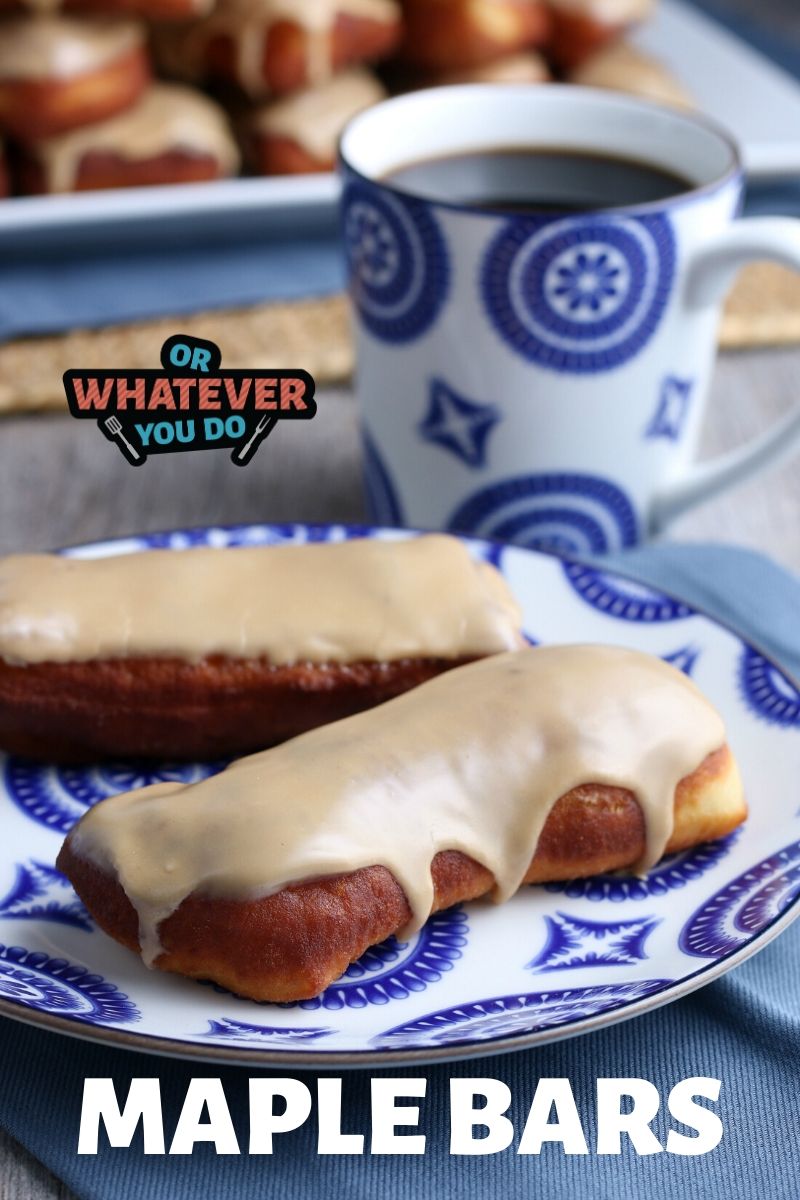
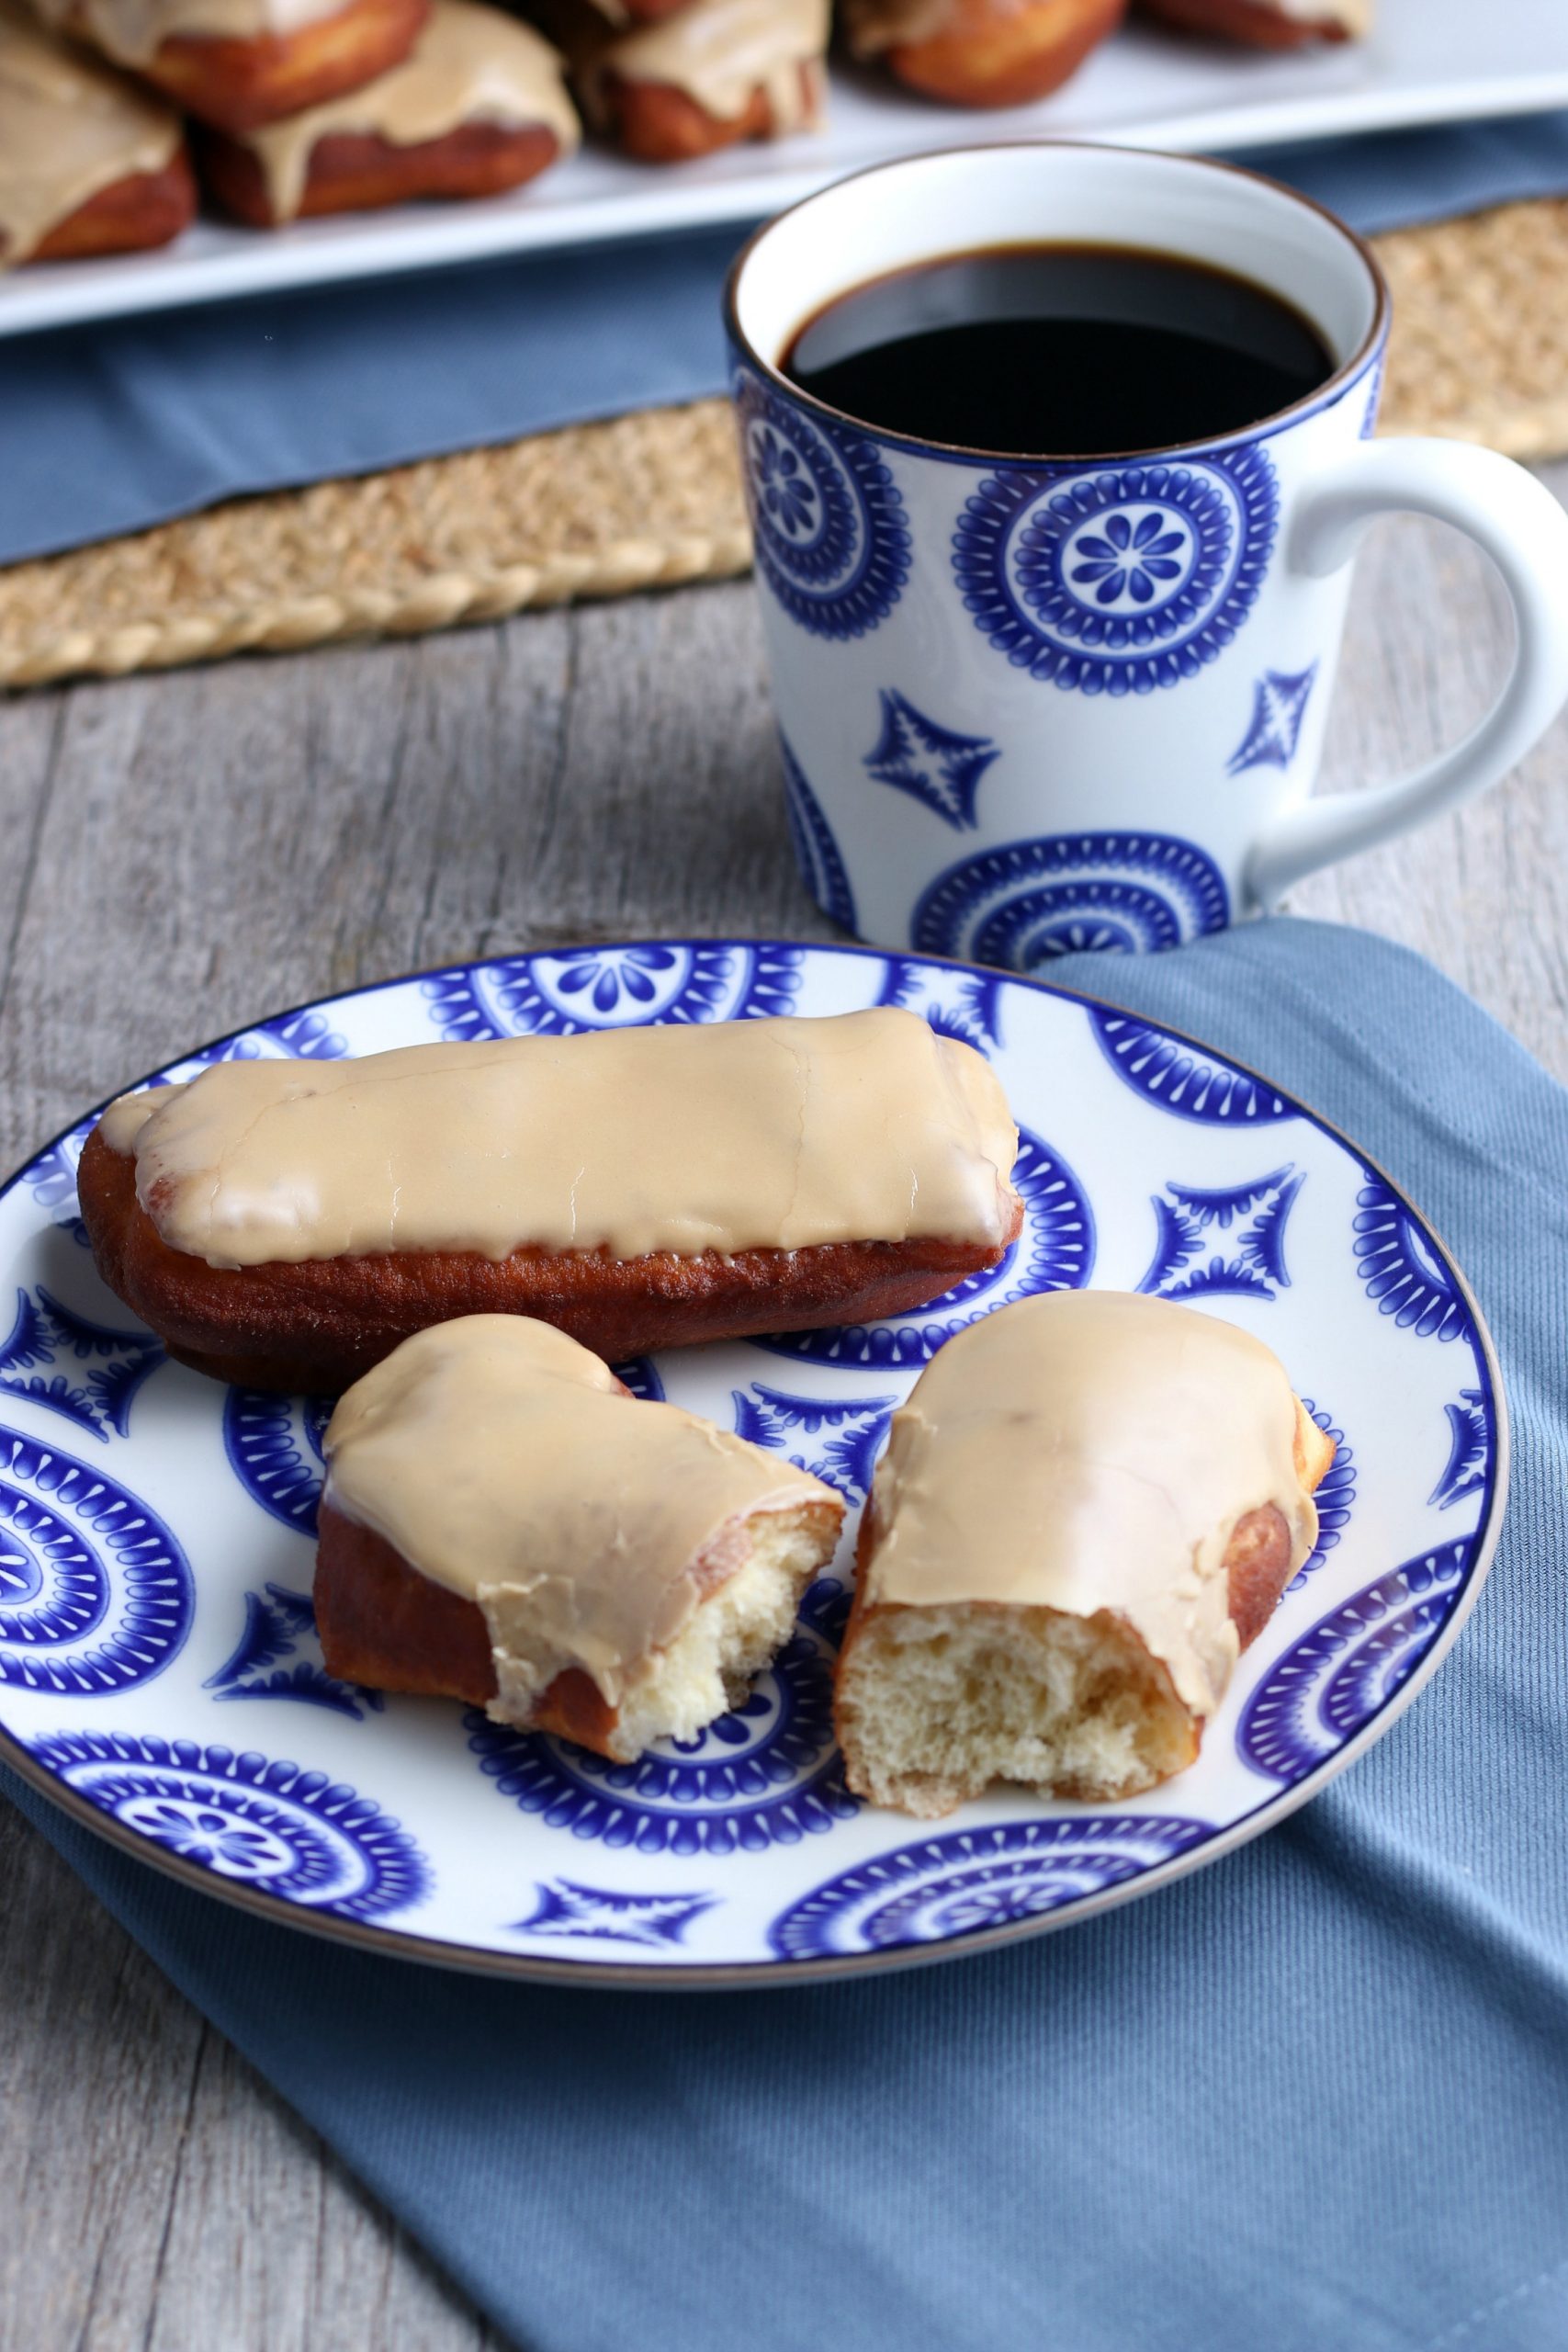
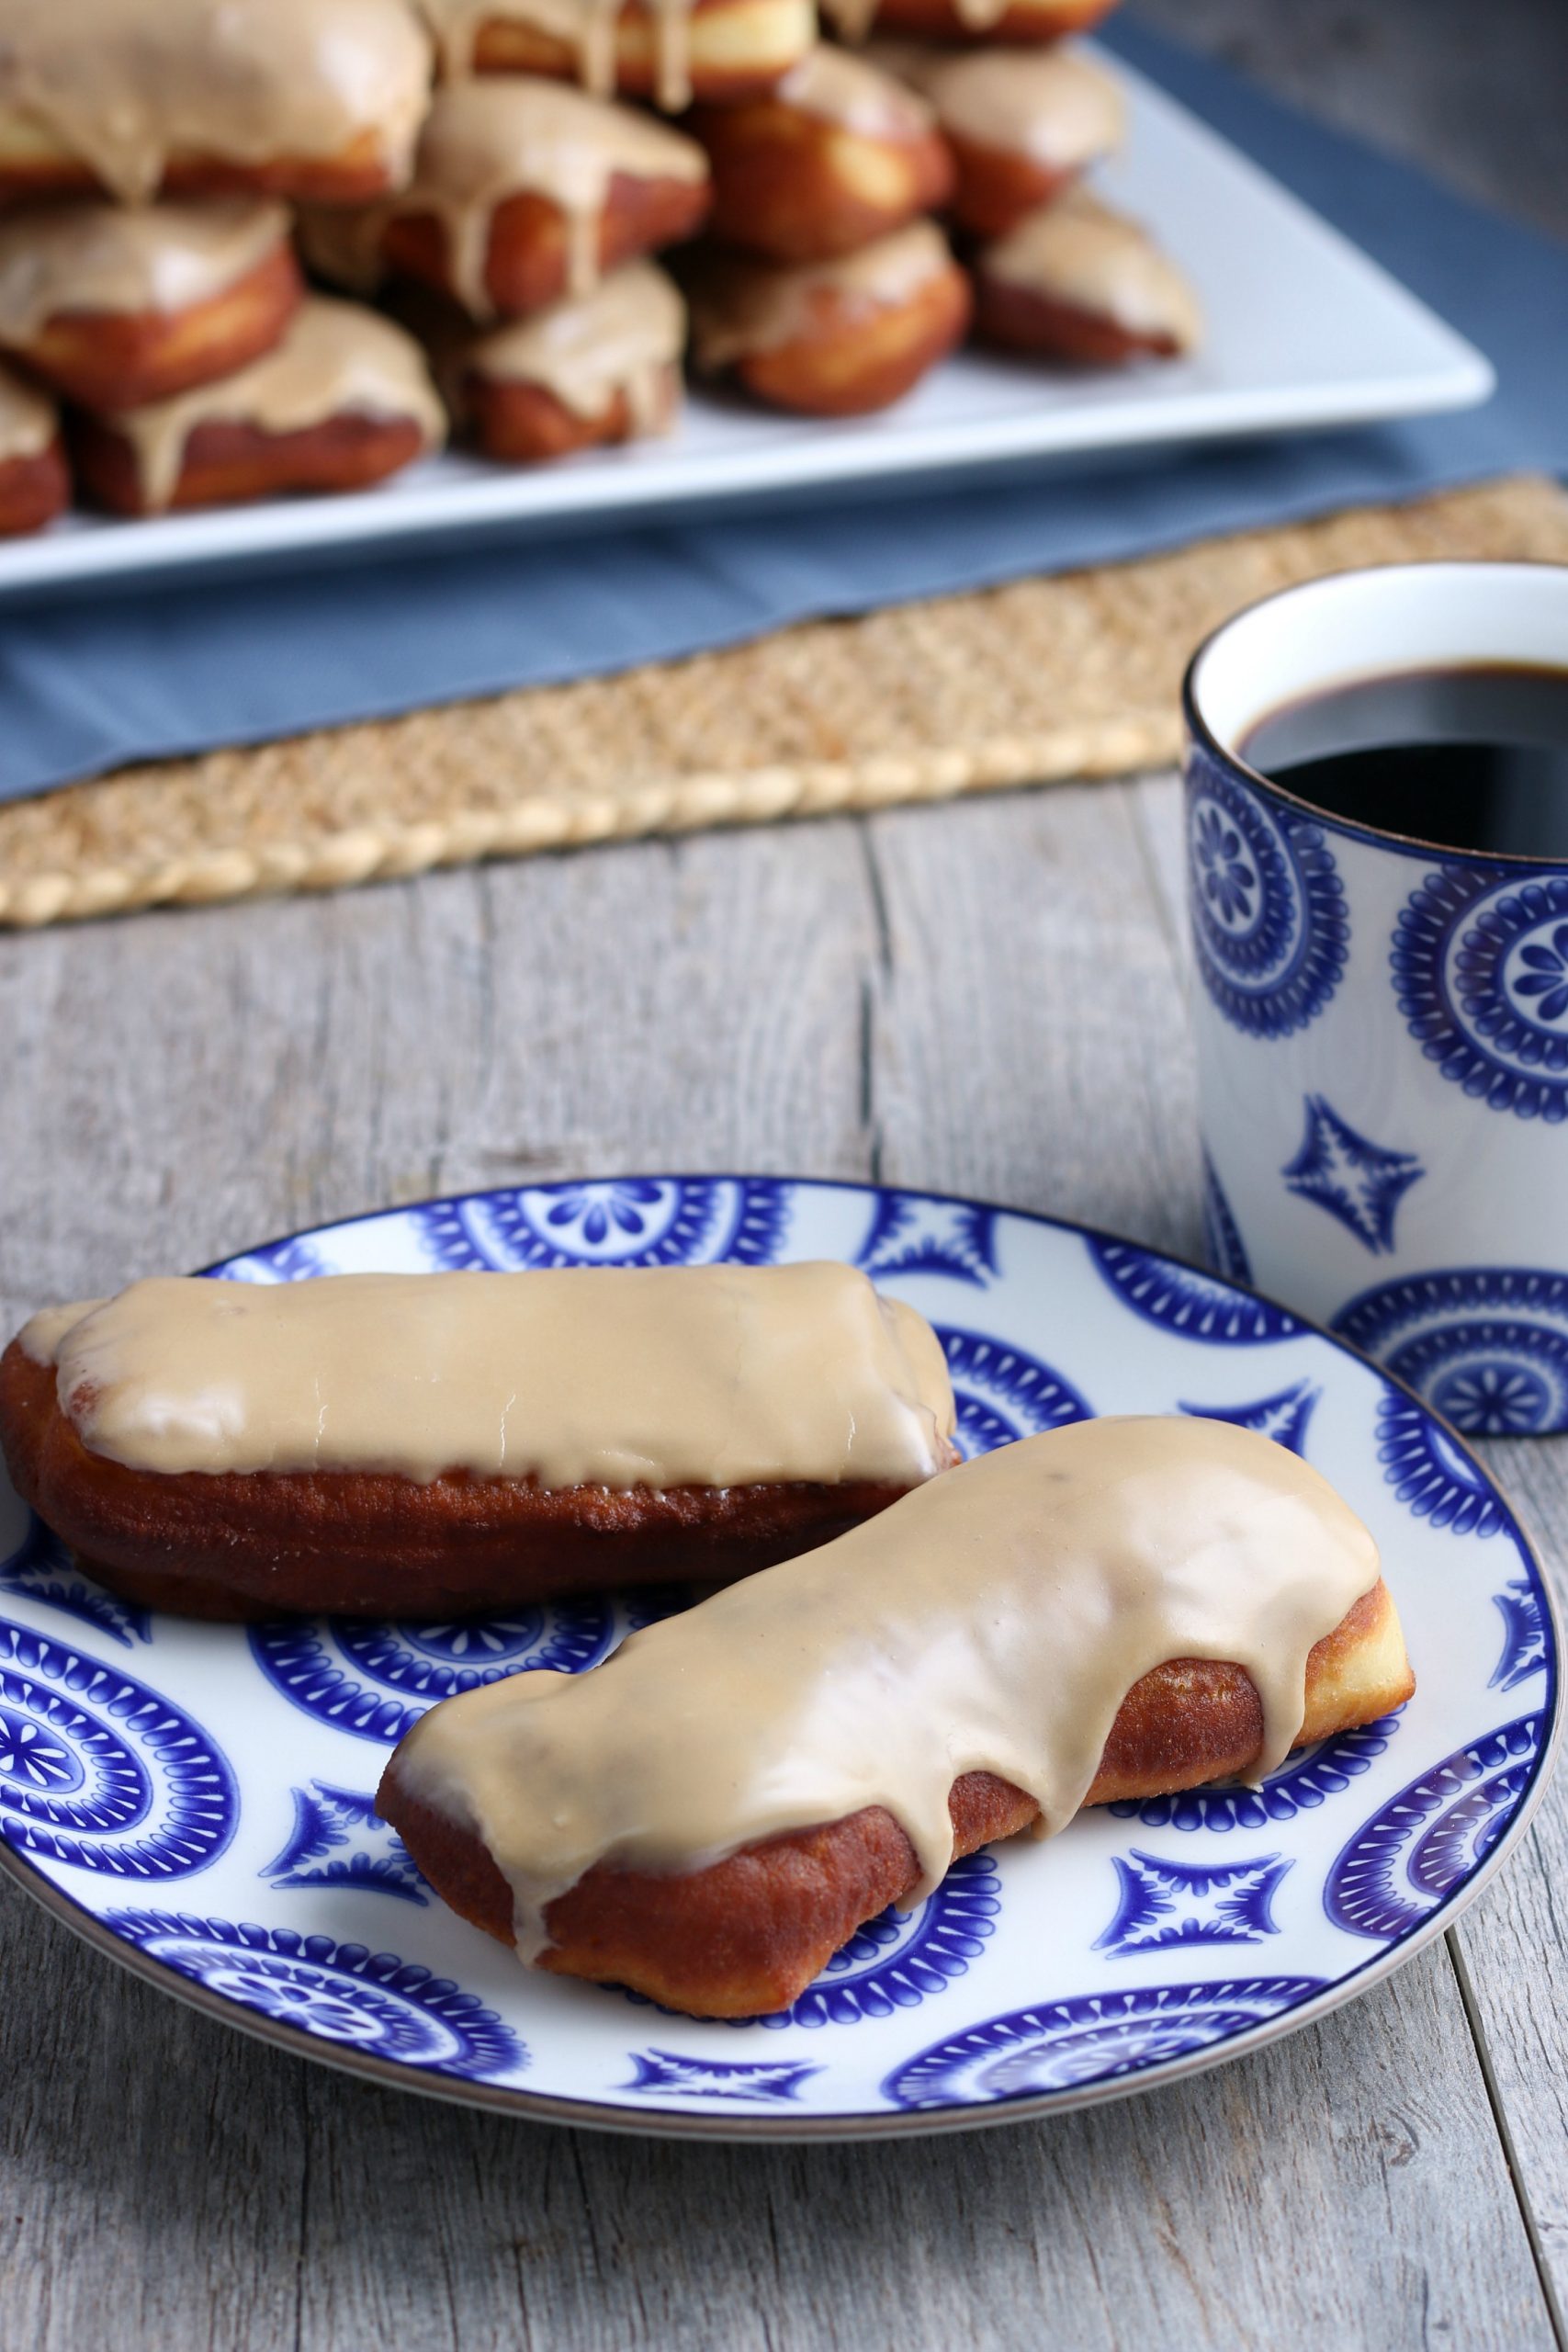
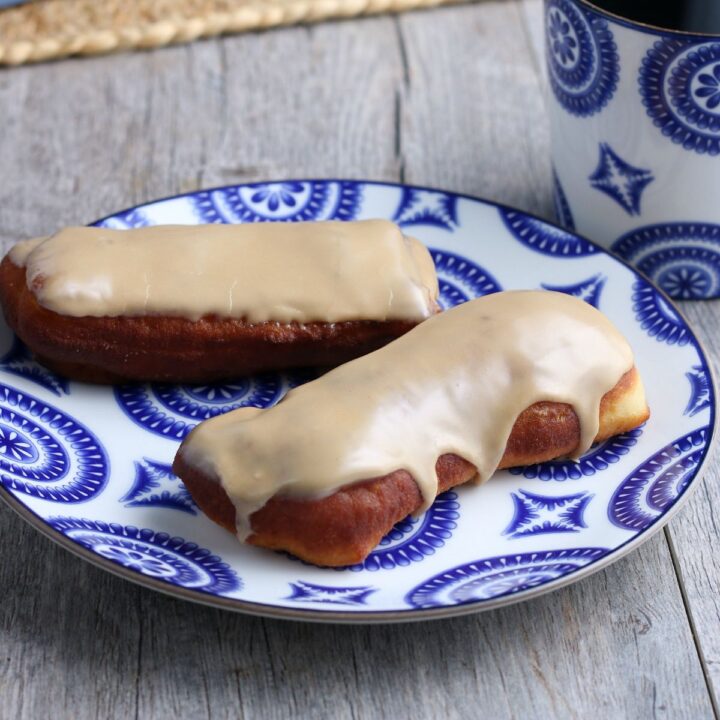
Maple Bars
If you've never made raised donuts at home, these Maple Bars are the place to start. Light, fluffy, and covered in a thick maple glaze, they taste like they came straight from a bakery case.
Homemade Maple Bars
In this house, there are a lot of things that we make from scratch. Homemade maple bars are one of our favorite recipes around here. These bars don't take up a lot of time and everyone loves them.
My kids all go NUTS for these. You won't see a bar left on the table, probably because of that maple frosting. If I am heading to a grocery store or a supermarket, I always peek at the maple bars because they're my favorite. I still don't think there is anything quite like making them yourself!
Why You'll Love This Dish
- Bakery-Style at Home - Just like the ones you'd grab at a donut shop, but fresher and made from scratch.
- Fast Rise Time - Two short rises mean you can start and finish in under 2 hours.
- Maple Icing Is Incredible - The real maple syrup and extract combo gives you that deep, familiar flavor.
- Crowd Favorite - Everyone loves a good donut, and these disappear fast.
- Freezer-Friendly Dough - Make ahead and fry fresh when you're ready.
You'll love this Vanilla Donut Recipe too!
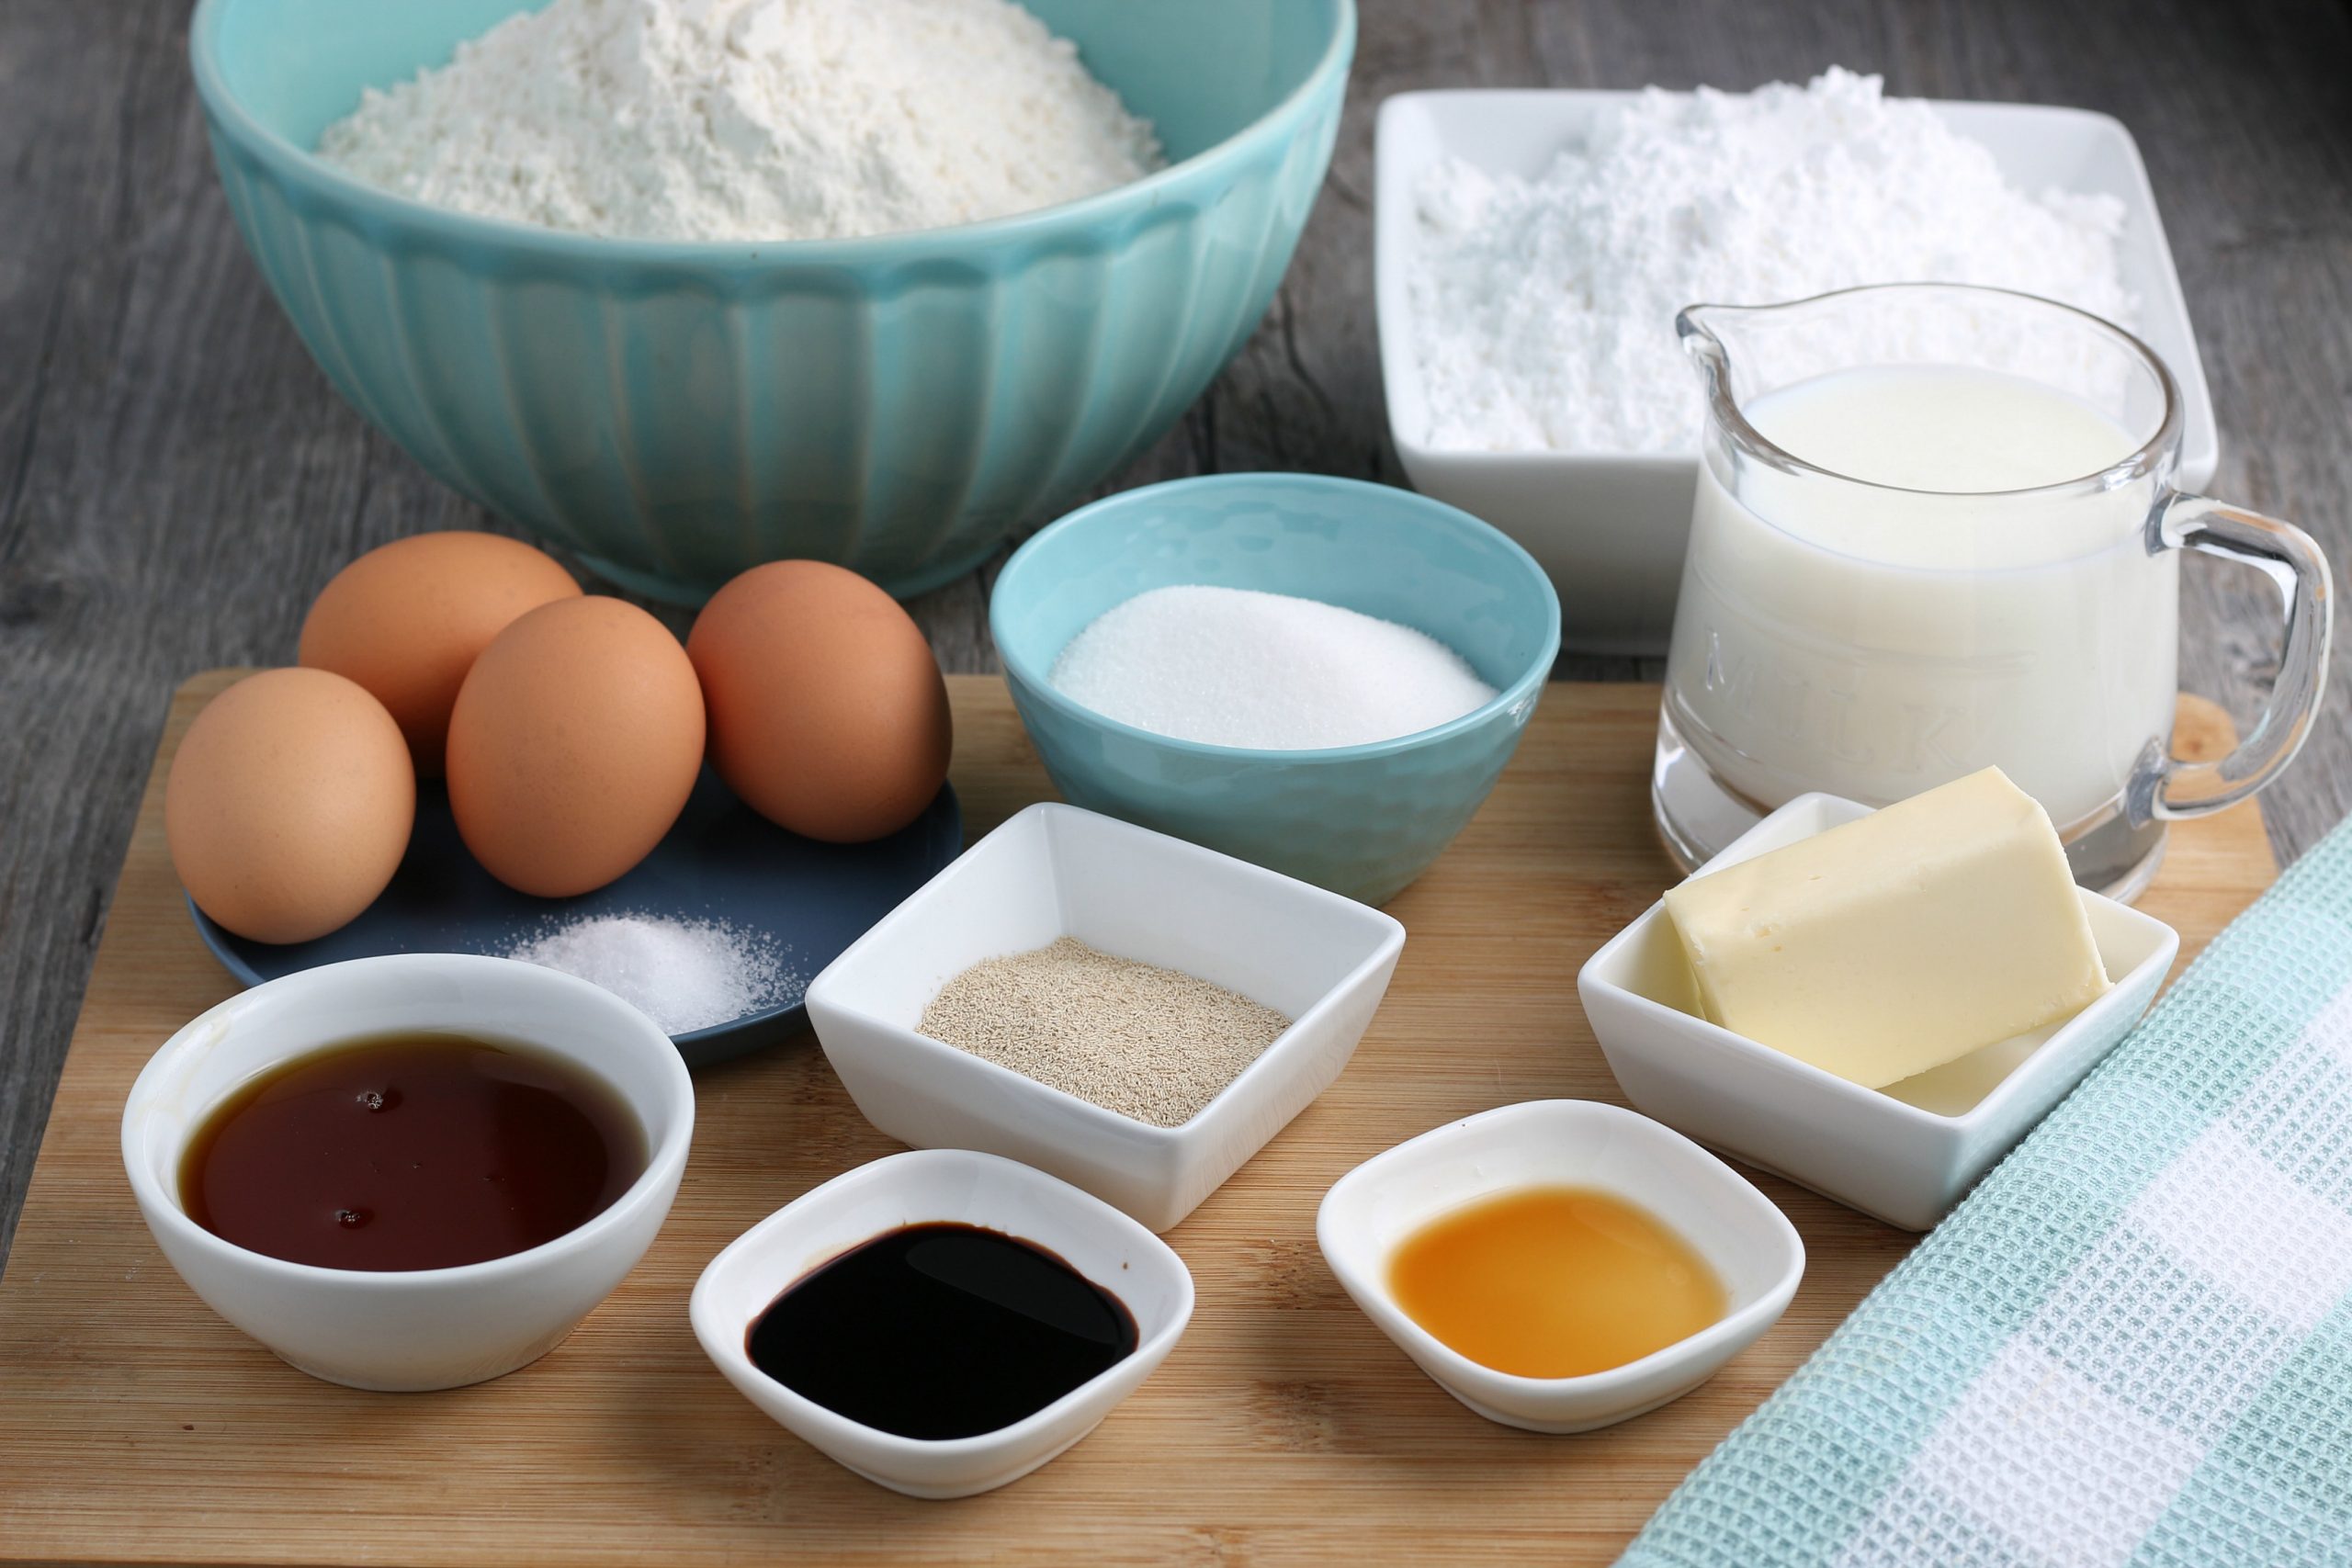
Recipe Shopping List
Wondering if you have to hit the store? Here's the list of items you'll need to make this recipe. For specific amounts, please refer to the printable recipe card at the bottom of the post.
- 2% Milk - Warmed to activate the yeast and enrich the dough.
- Active Dry Yeast - Helps the donuts rise and become light and airy.
- Granulated Sugar - Feeds the yeast and adds sweetness to the dough.
- Bread Flour - Higher protein content makes the donuts chewier with better structure.
- Salt - Balances the sweetness and strengthens the dough.
- Unsalted Butter - Adds richness and softness to the dough.
- Egg Yolks - Provide fat and color, making the dough tender and rich.
- Powdered Sugar - The base for the smooth, sweet icing.
- Pure Maple Syrup - Adds real maple flavor and natural sweetness.
- Maple Extract - Boosts the maple flavor in the icing.
- Vanilla Extract - Rounds out the flavor in the glaze.
- Hot Water - Thins the icing to the right consistency for dipping.
Get my FAVORITE Cake Donut Recipe
How To Make This Recipe
This is just the overview so you can see what you're actually getting into here. When you are cooking, you'll want to use the full recipe at the bottom of the page.
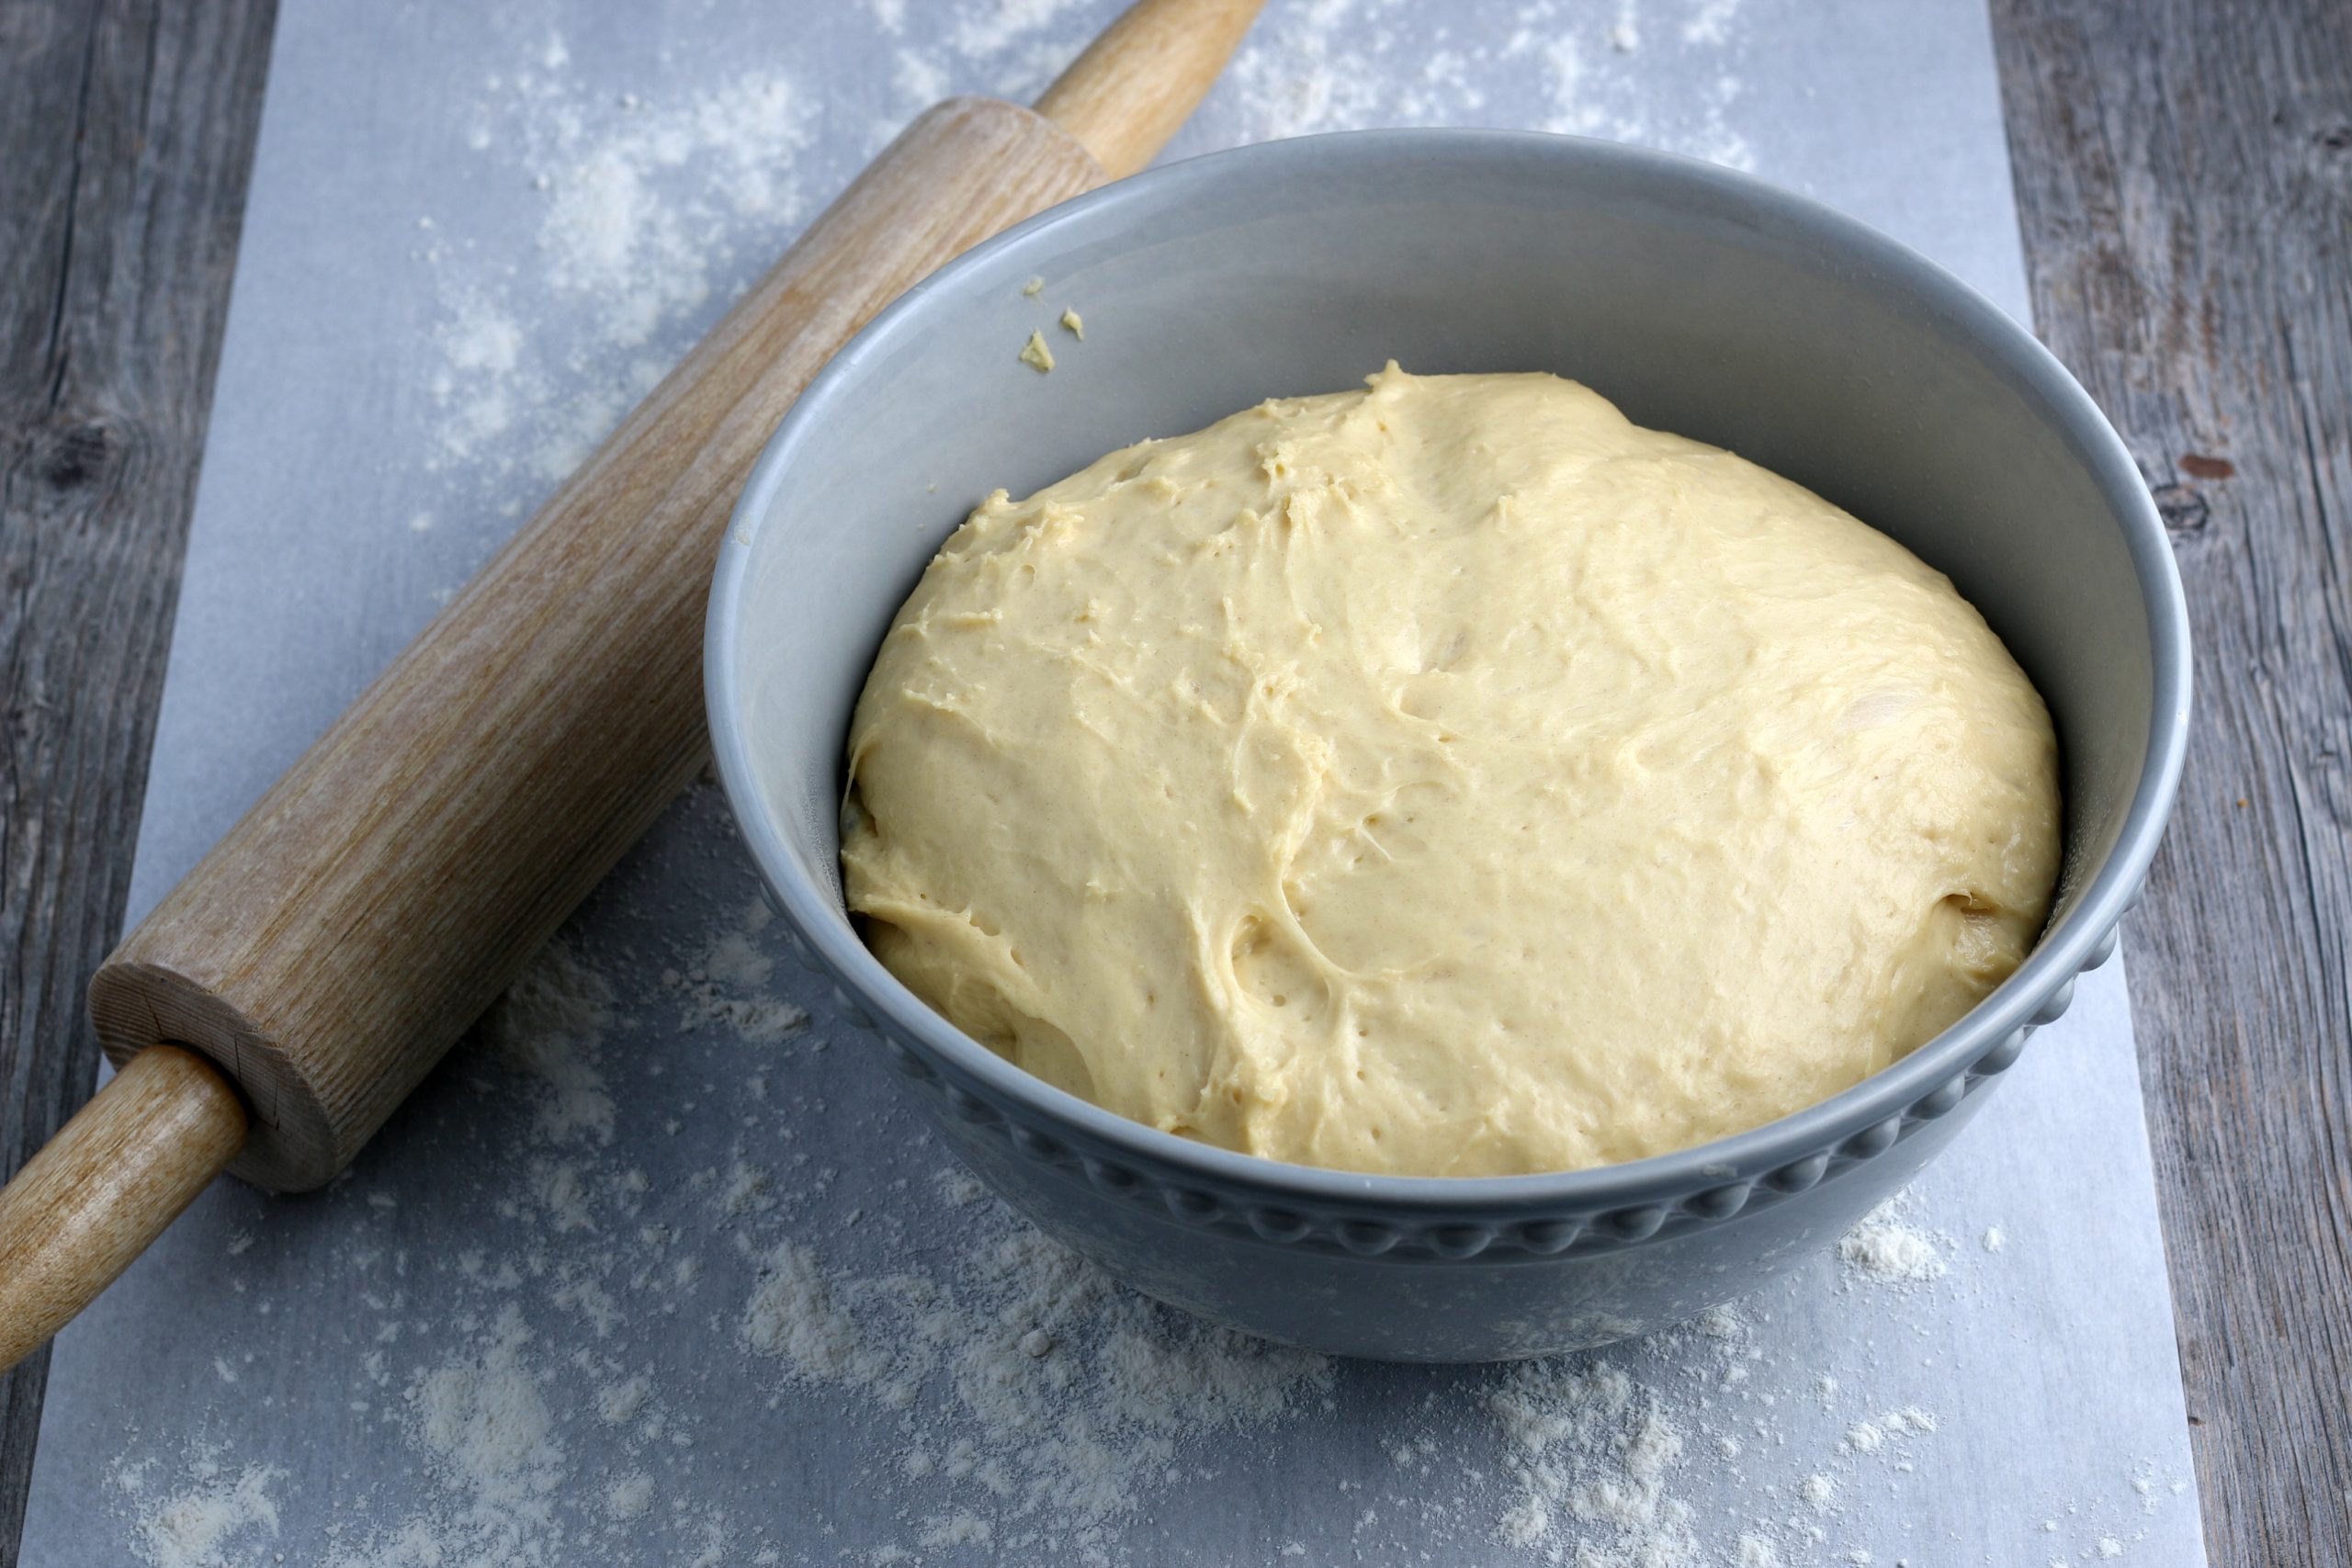
Make The Dough
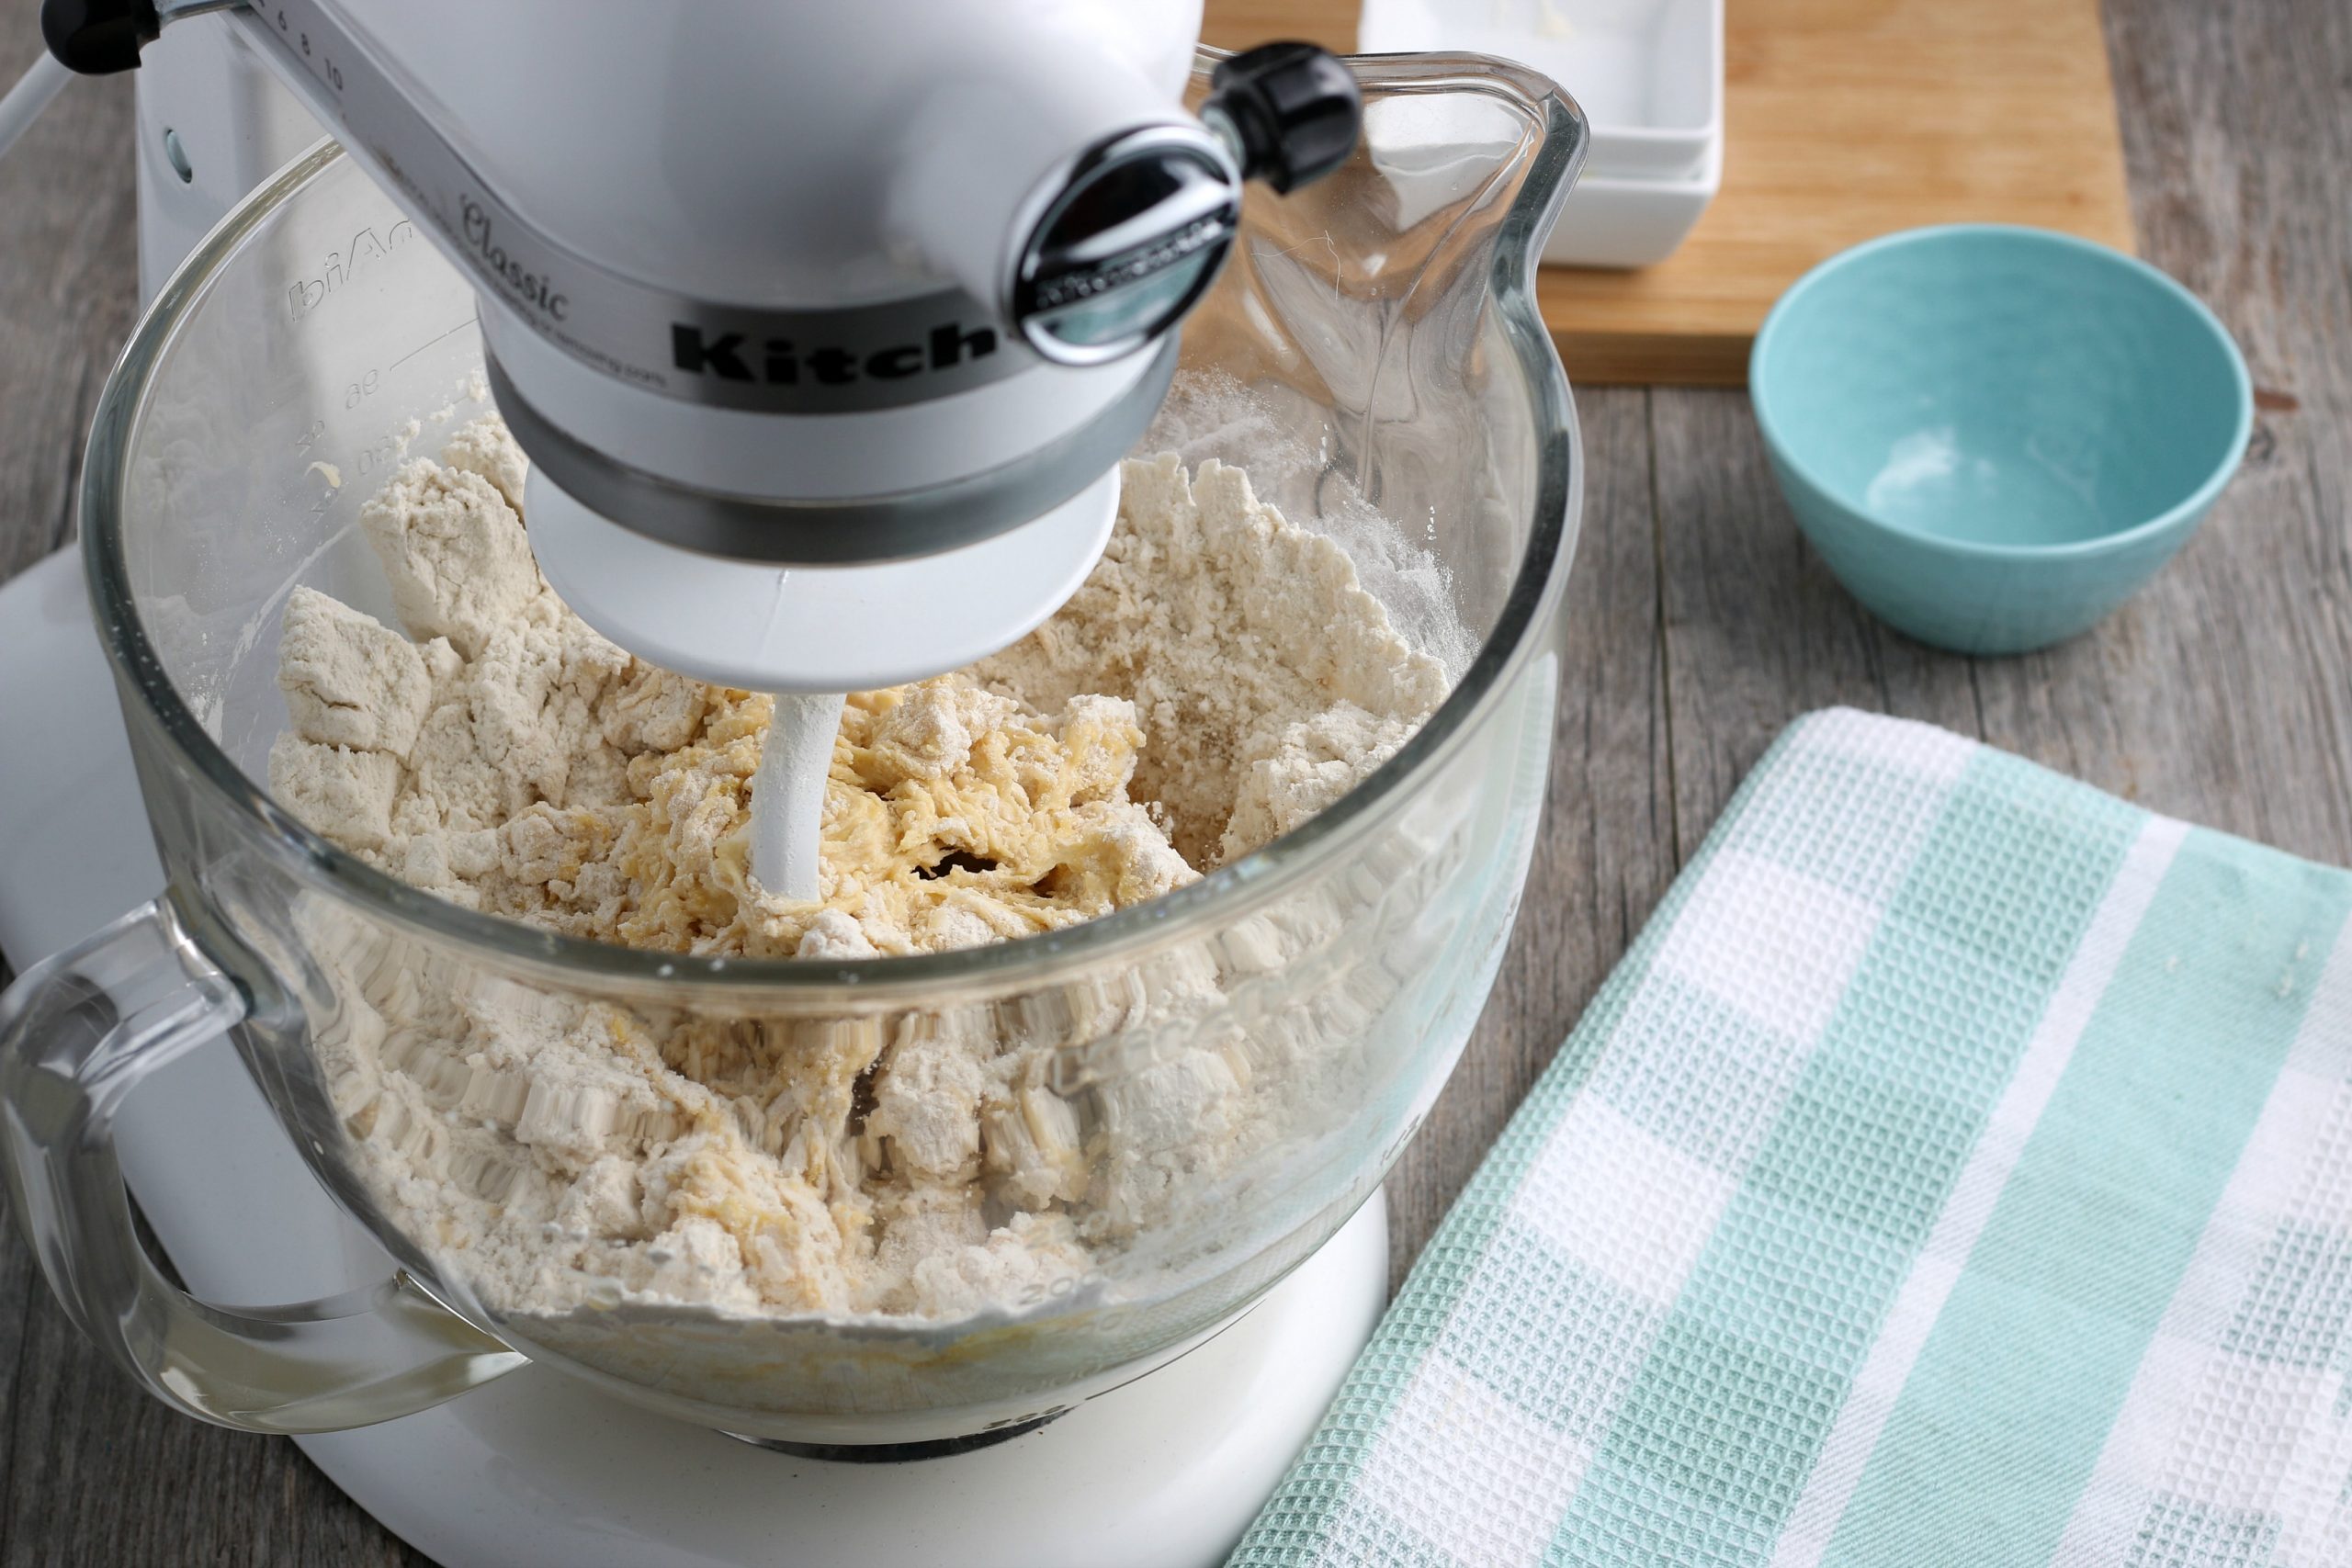
- Start by combining your warm milk, yeast, and sugar together in your mixer and proofing until it is foamy, about 10 minutes.

- Add your flour, butter, and egg yolk to the bowl.
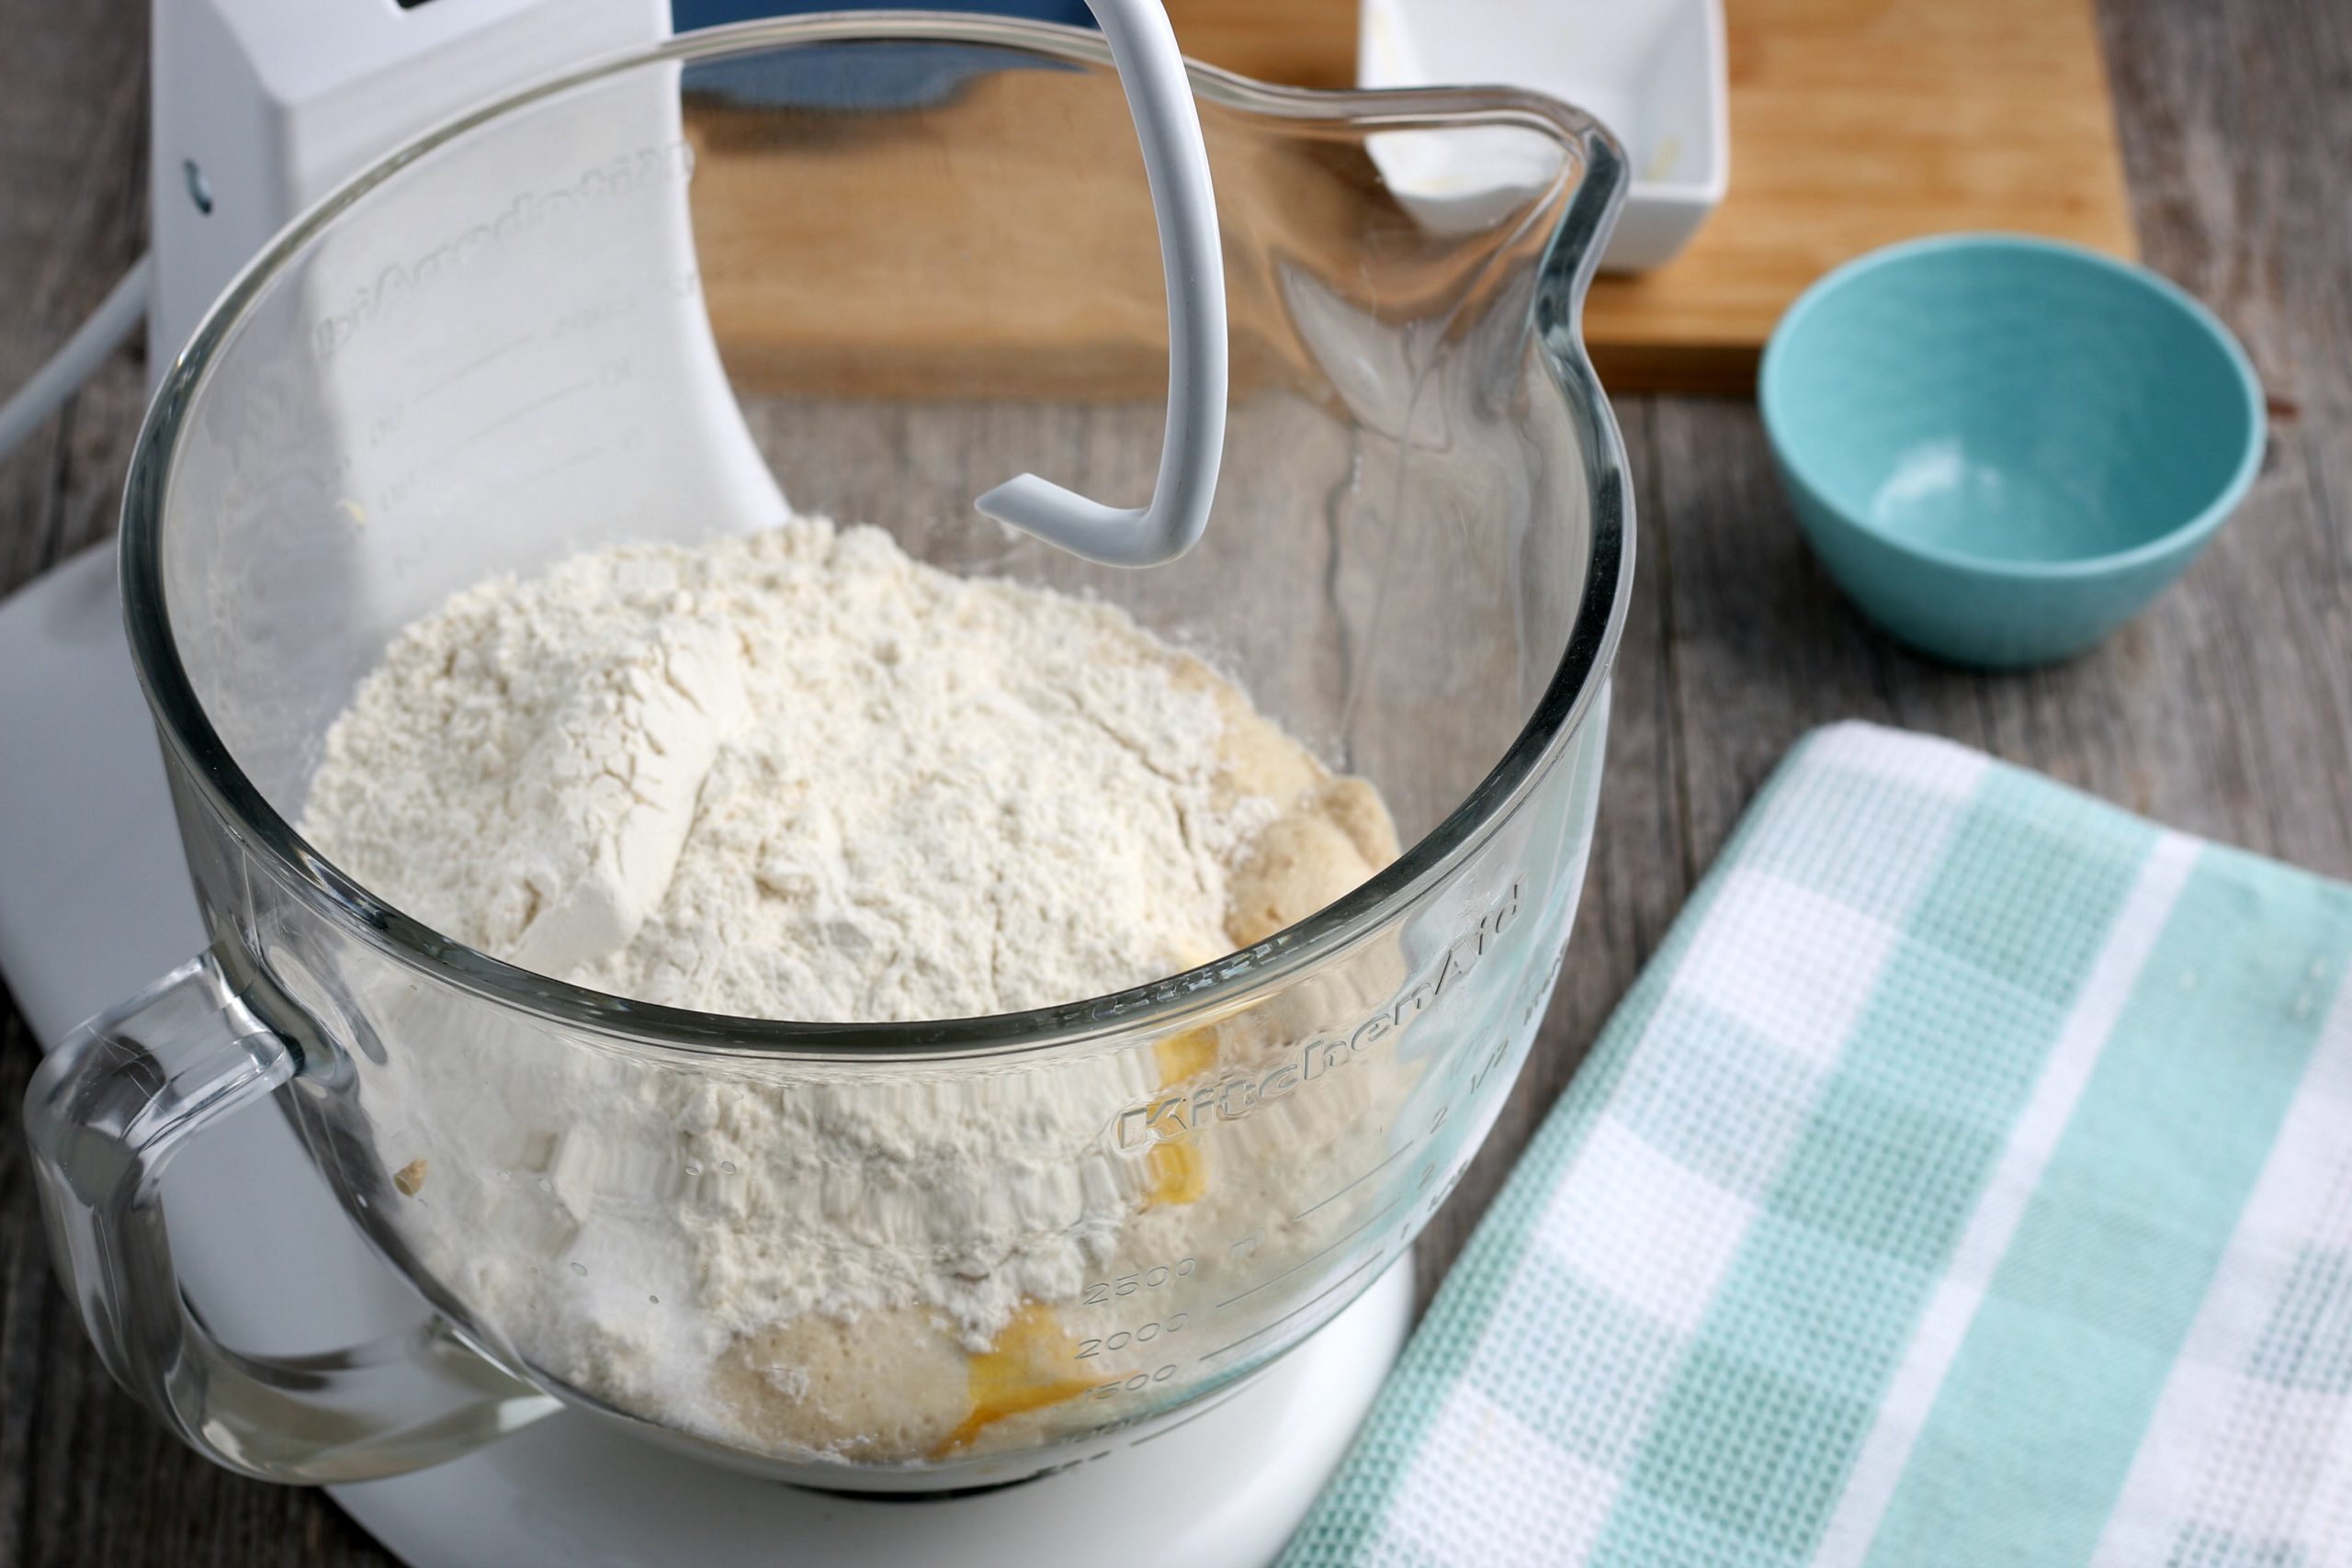
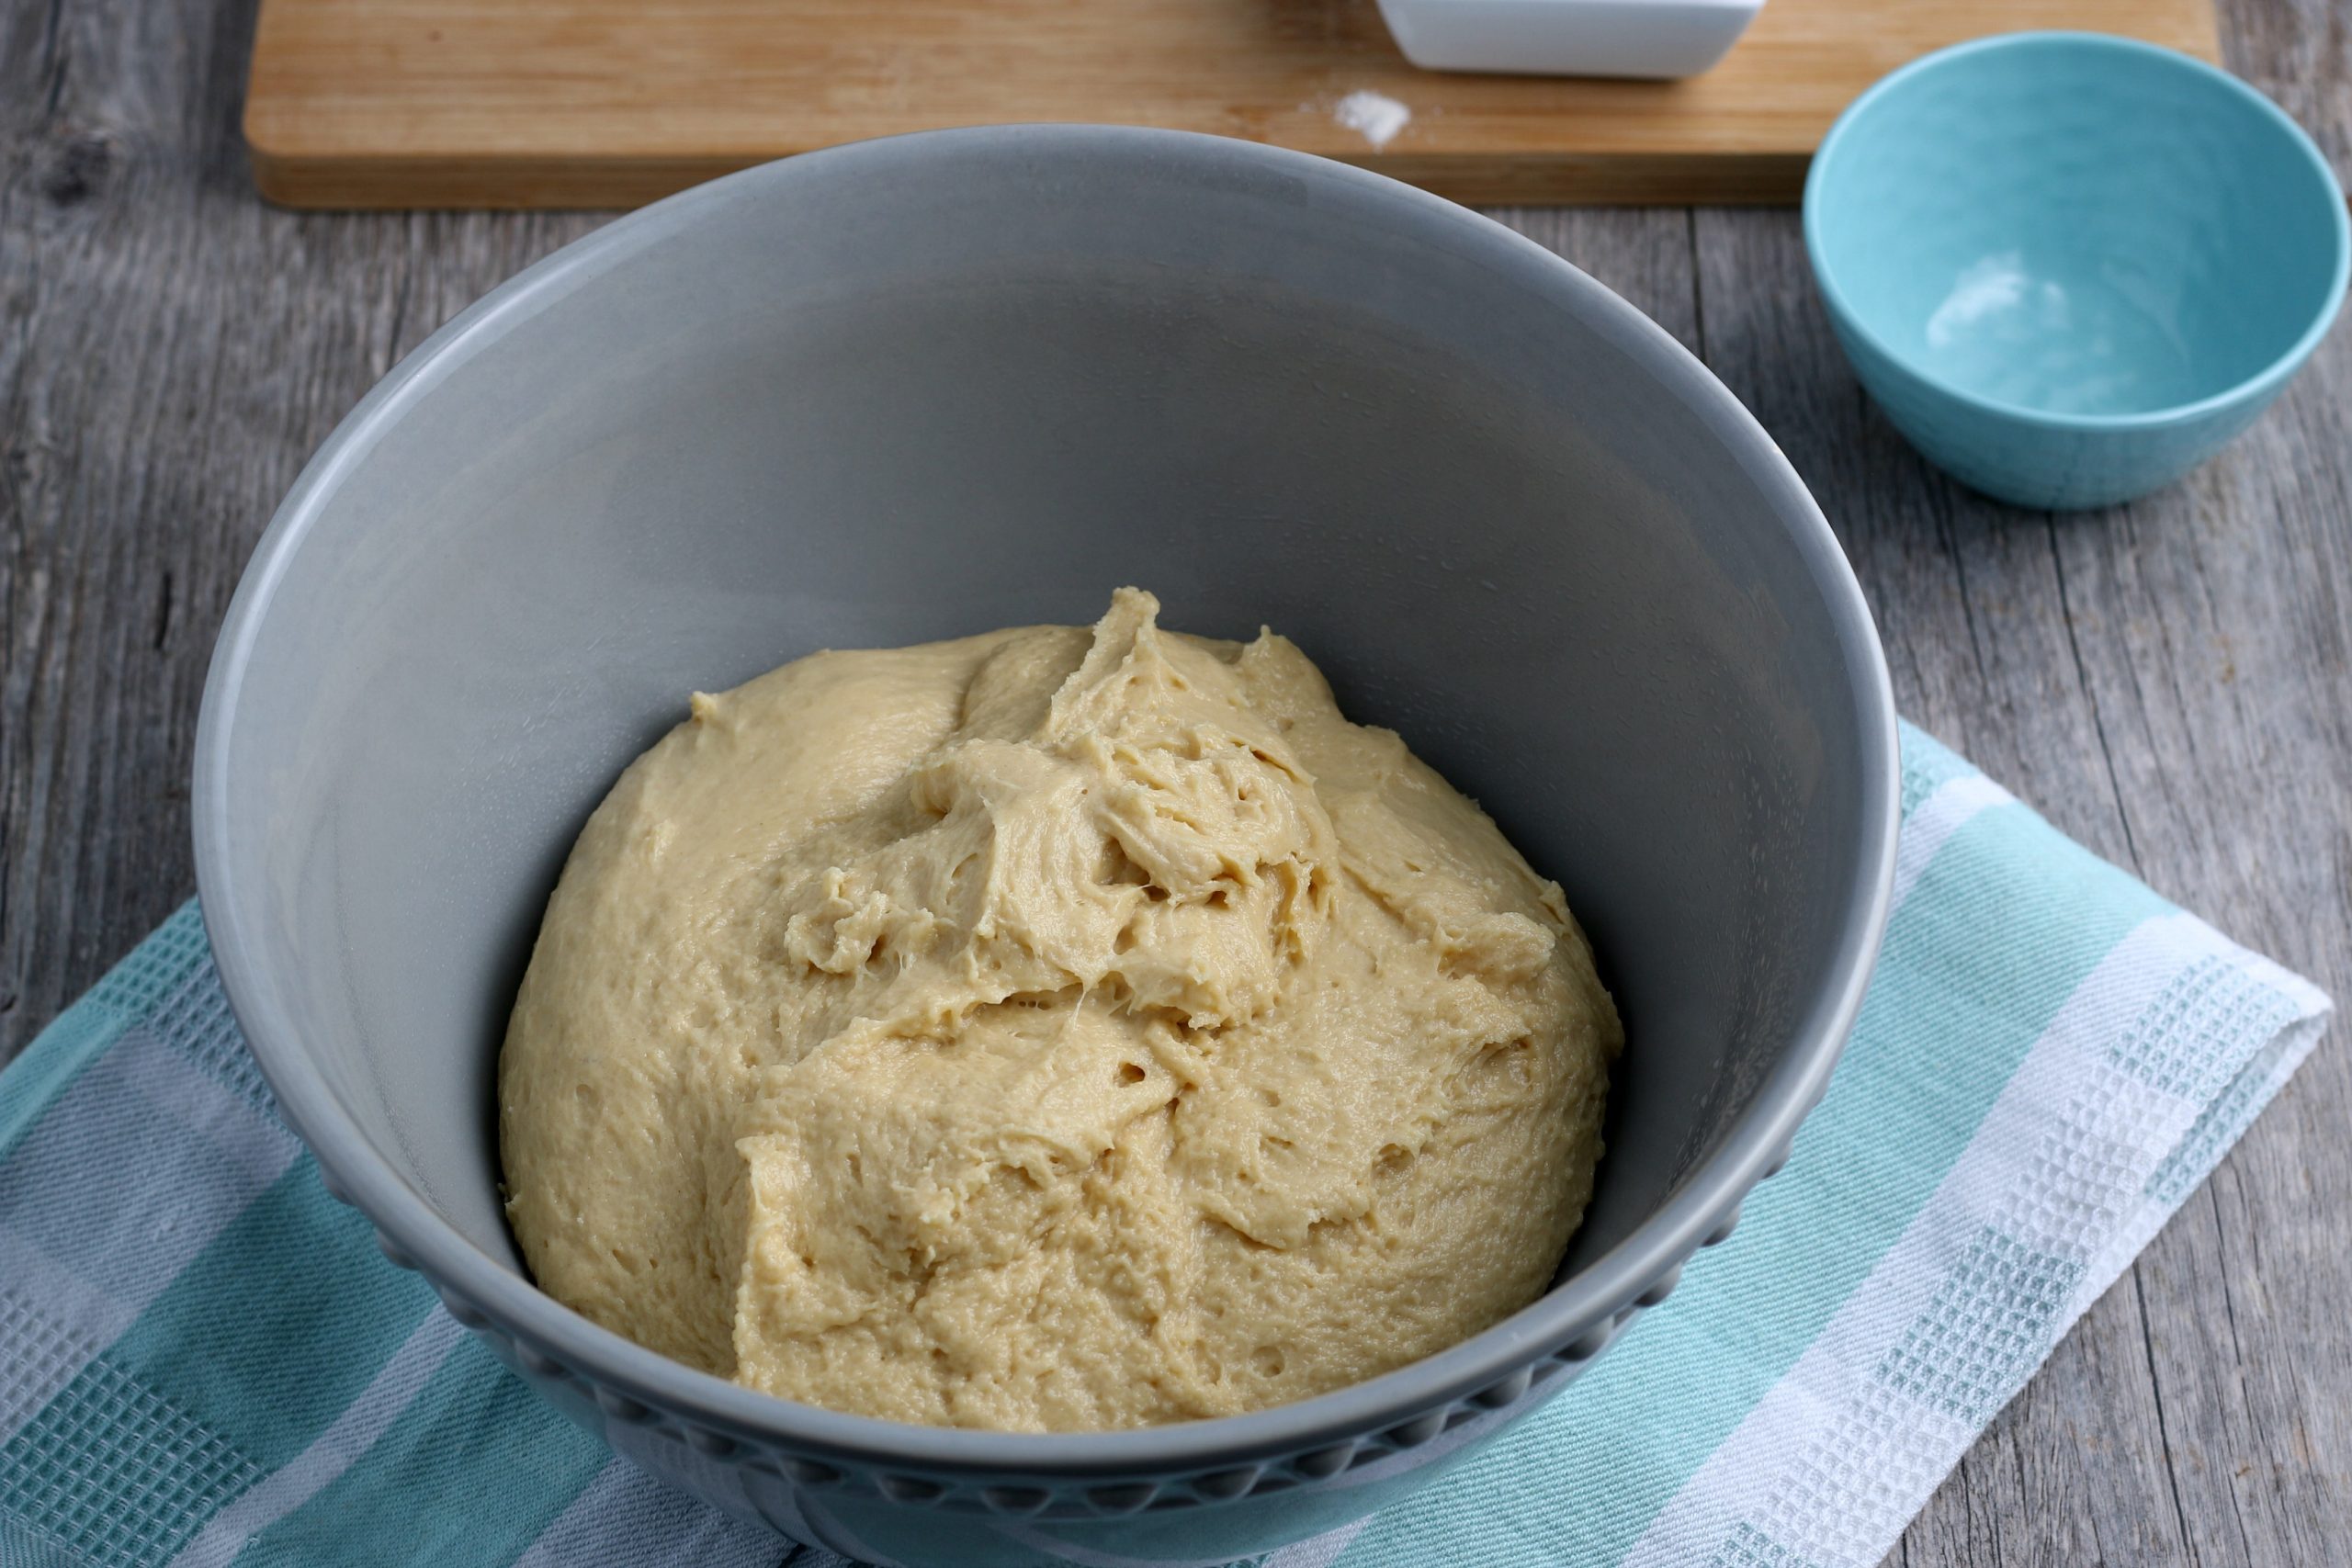
- Beat for 3-5 minutes, or until it comes together into a neat ball. Cover the dough and let it rise for an hour in a relatively warm, draft-free place. (Your oven turned off with the light on is a great option for this!)
- After the dough has risen, roll it out to about ½ inch thick on a floured counter-top or piece of parchment paper that's been floured.

Cut & Rise
- I can never get my doughs perfectly rectangle. They always end up in a large oval, which is fine, but will leave you with a few misshapen donuts for taste testing when it's all said and done! Cut the dough with a pizza cutter into long rectangles.
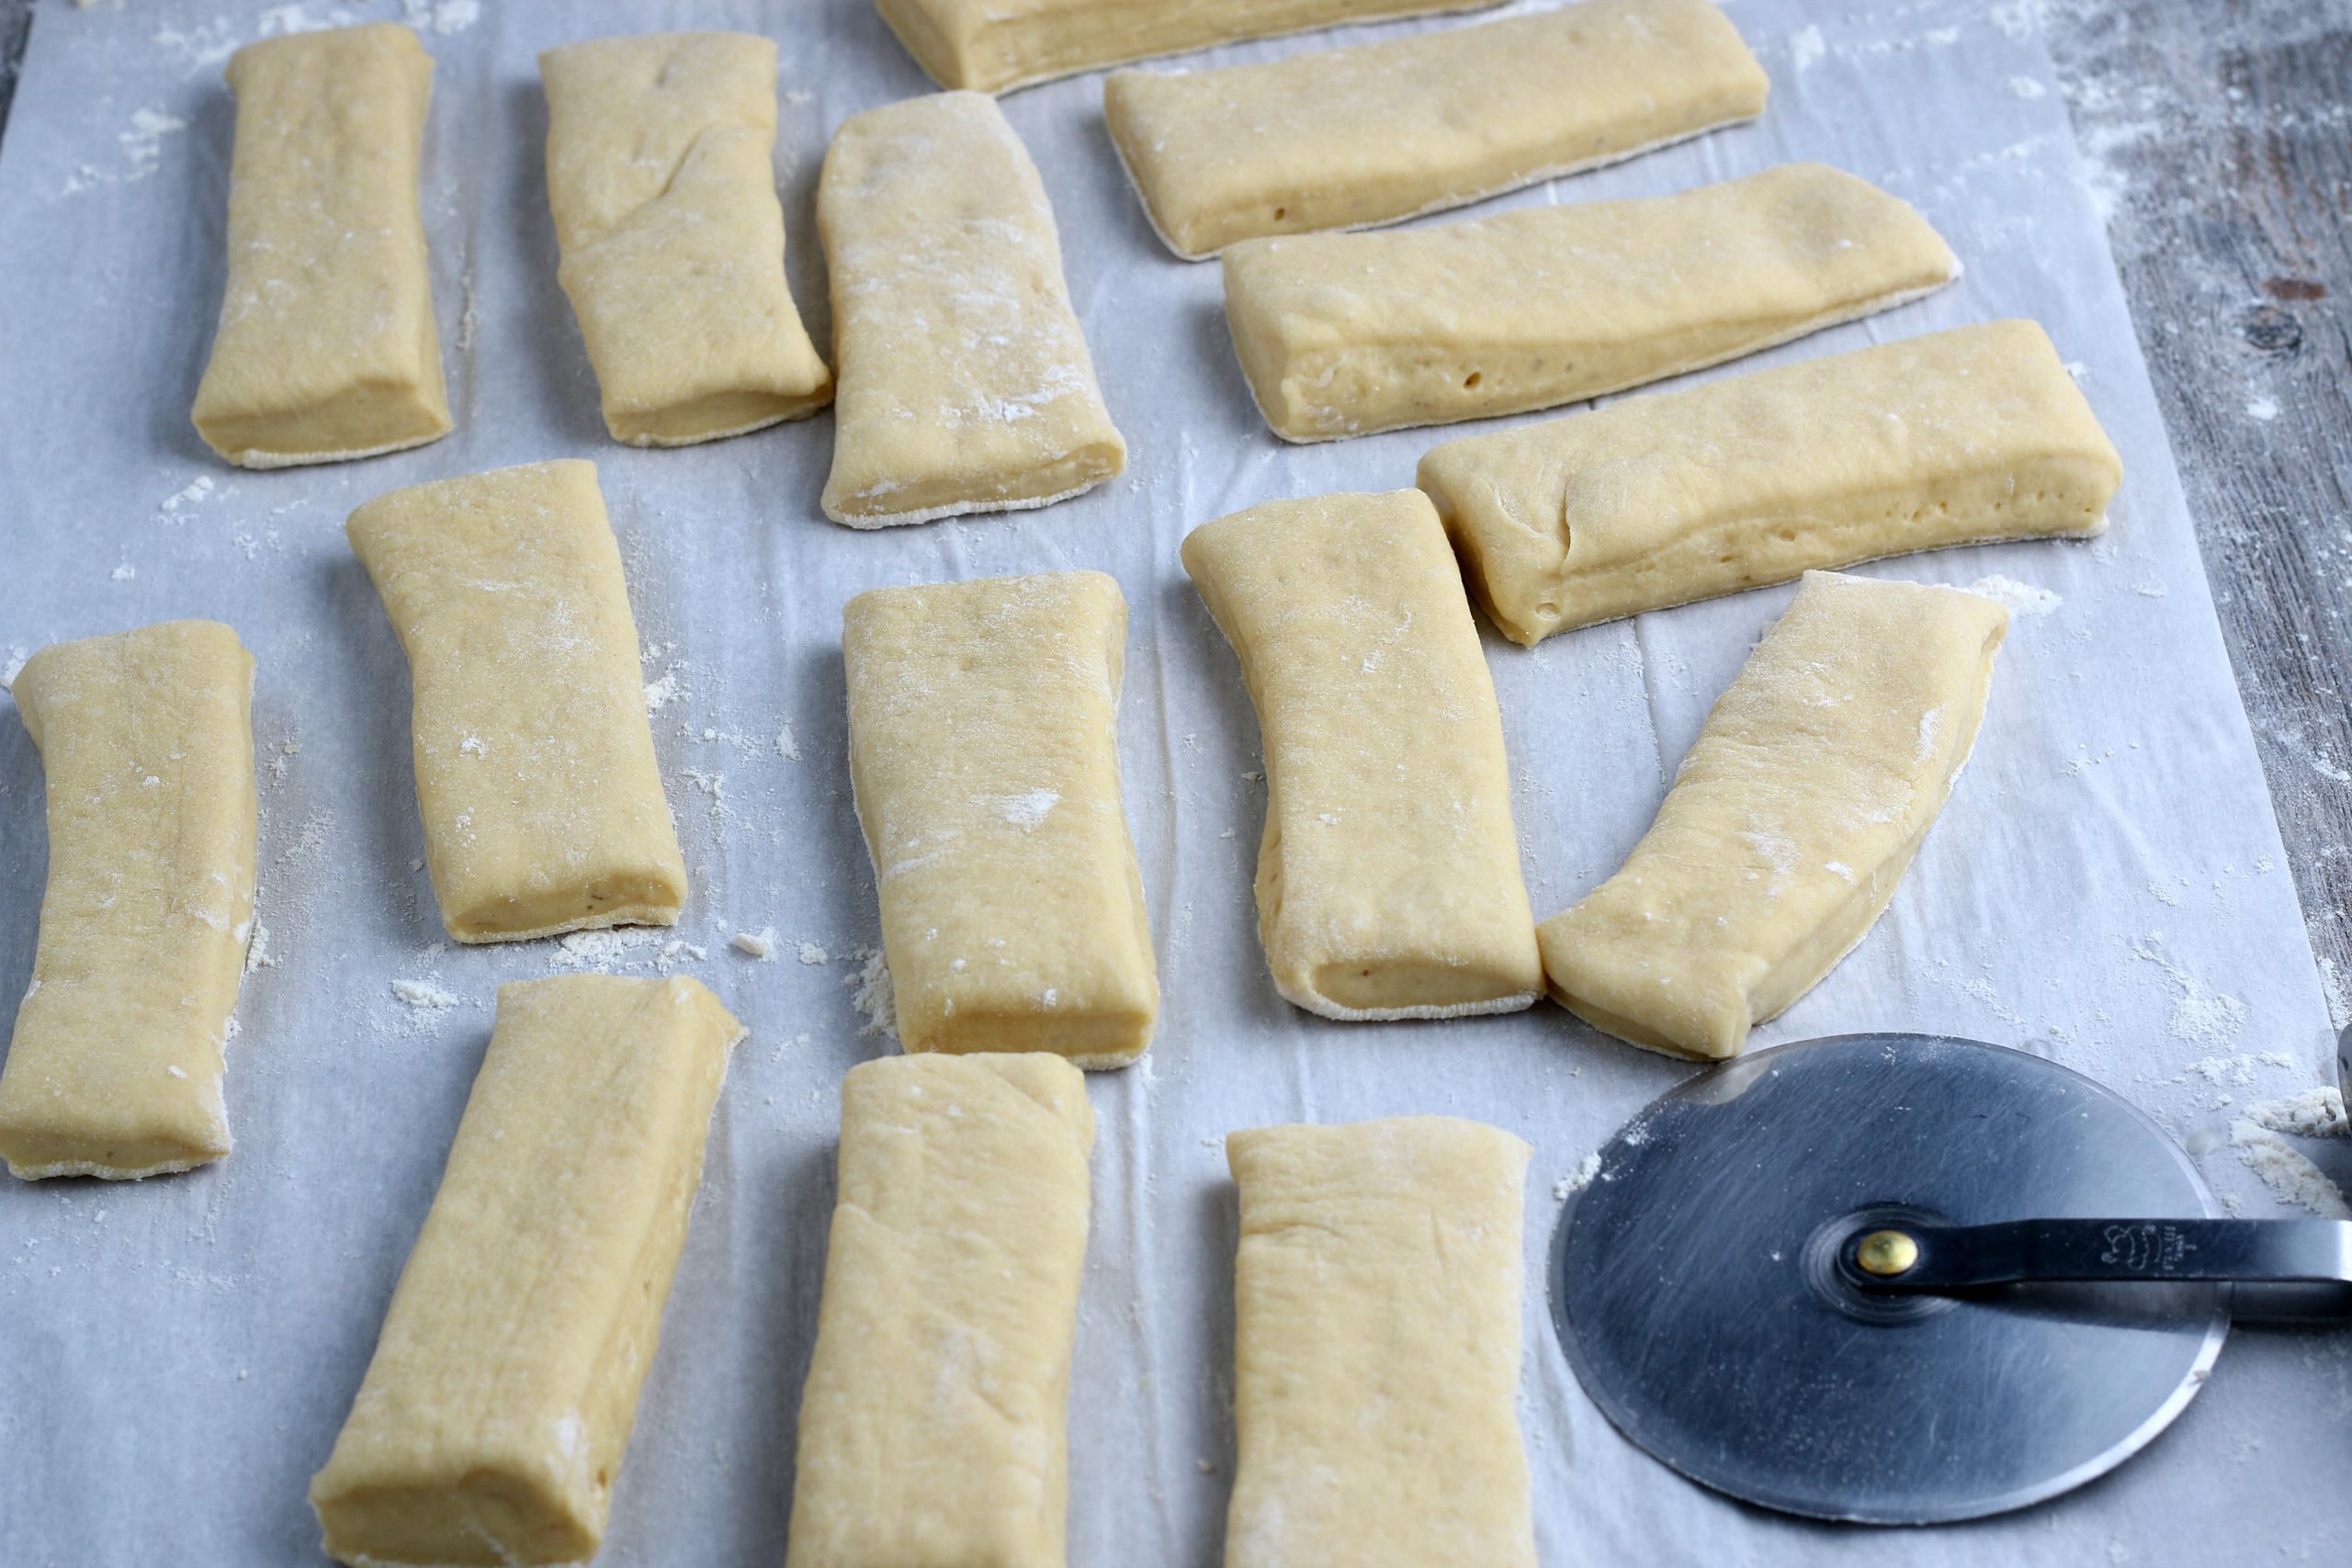
- To let these rise, place them onto parchment paper that has been sprayed well with cooking spray, and then cover with cooking spray covered plastic wrap. This allows them to rise, but prevents sticking which would deflate them before you get them into the oil.
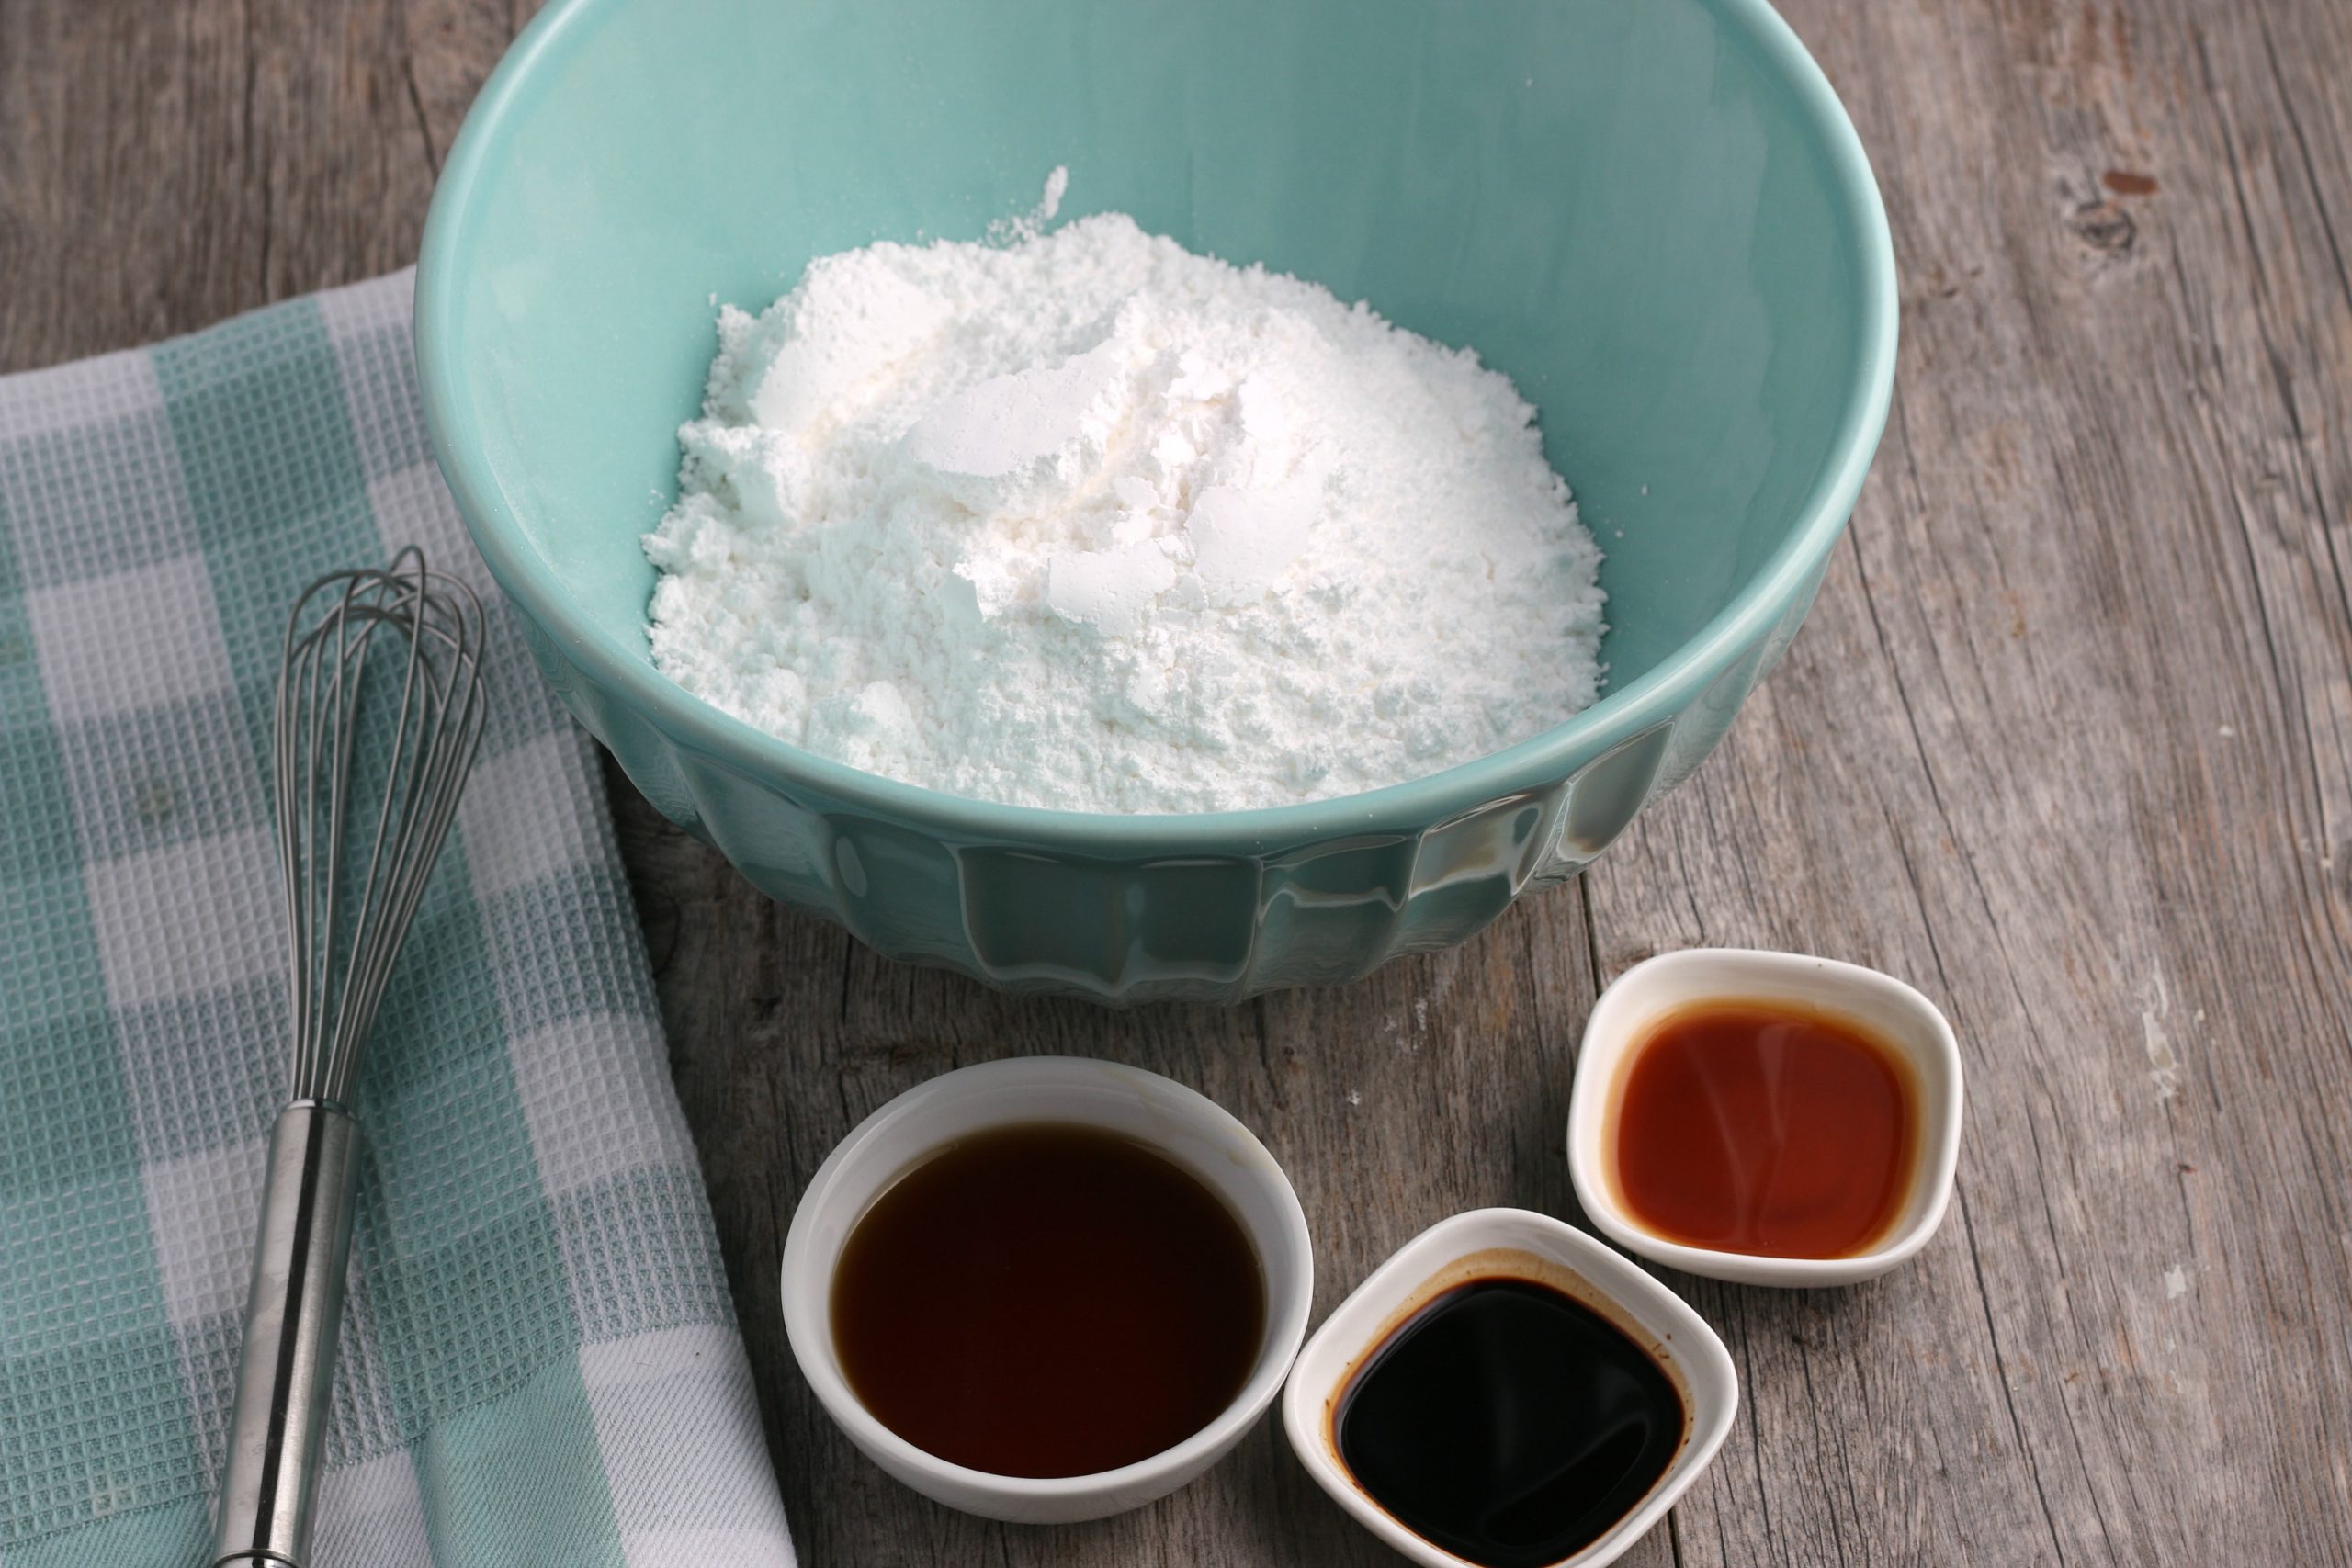
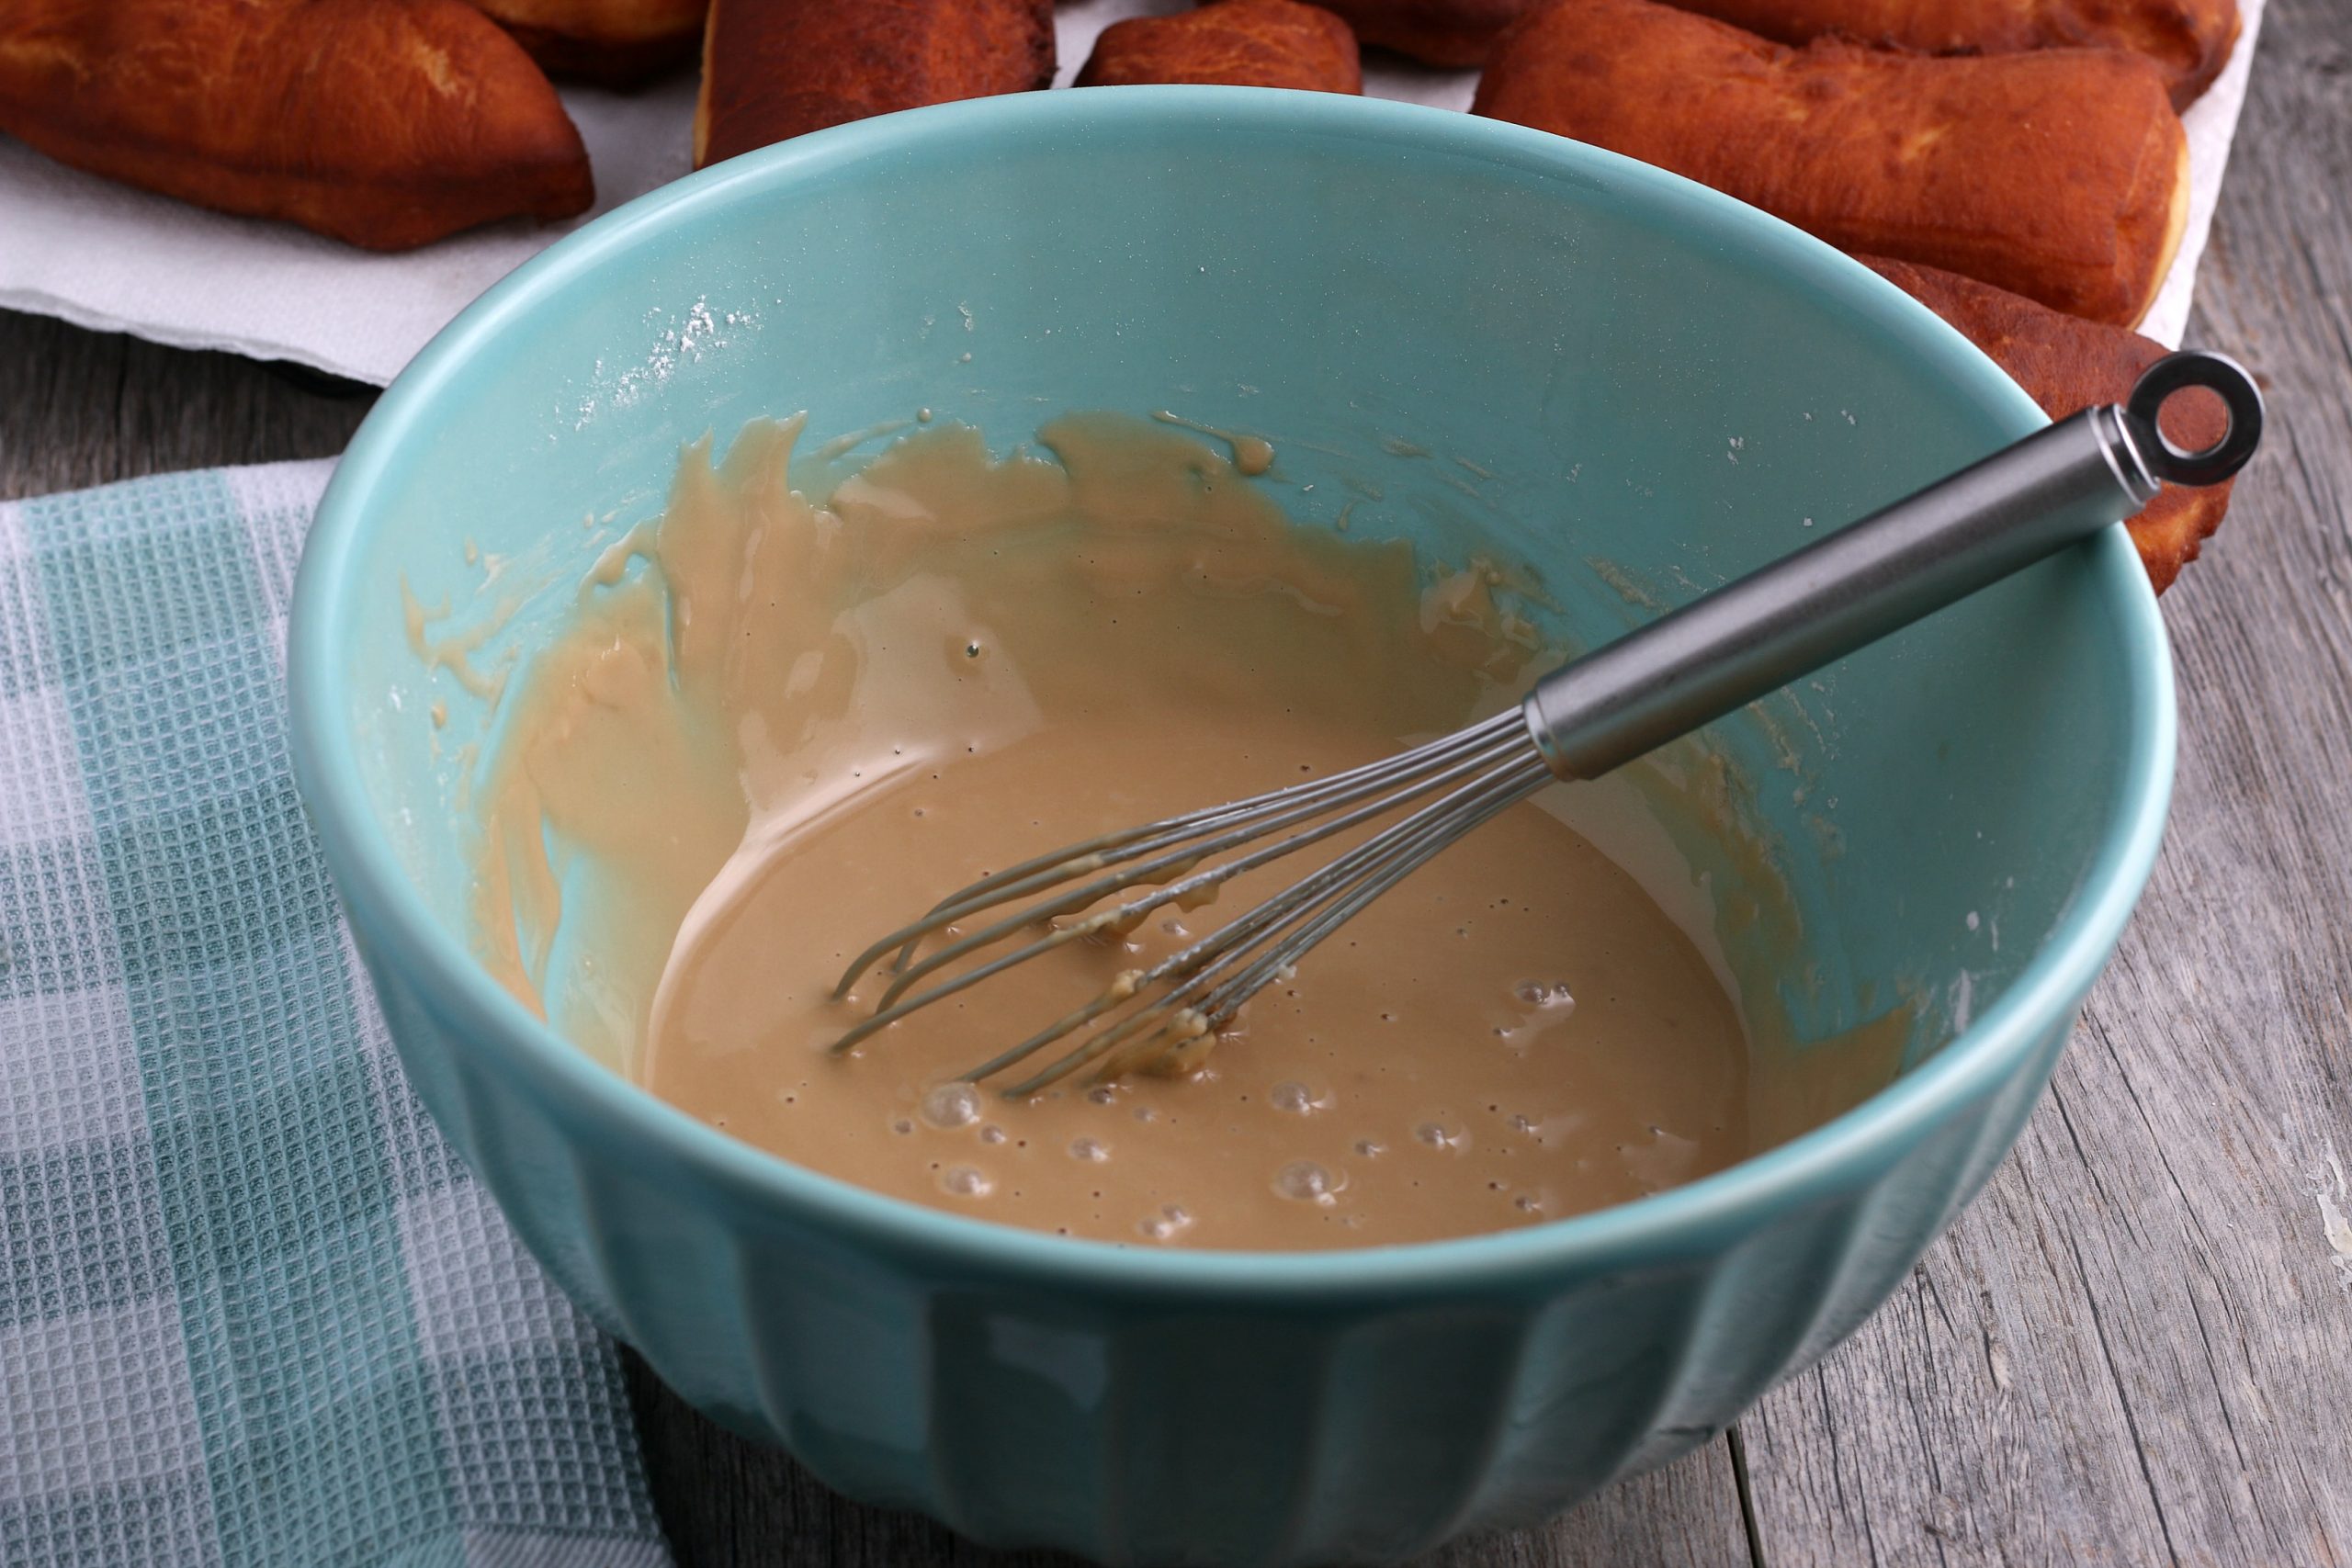
Make Icing
- While your bars are rising, start your icing by mixing your powdered sugar, pure maple syrup, salt, vanilla, and maple extract with a whisk until it is combined. Add enough hot water to make it a pourable, dippable consistency.
Heat Oil & Fry
- After about 20 minutes, start heating your oil. You are shooting for 350 degrees on the oil. If you don't have a thermometer, test the oil by frying one of your small corner pieces. If it browns in about a minute before you have to flip it, the oil is the right temperature.
- Fry your donuts in batches for 1-2 minutes per side.
- Flip once during the frying.
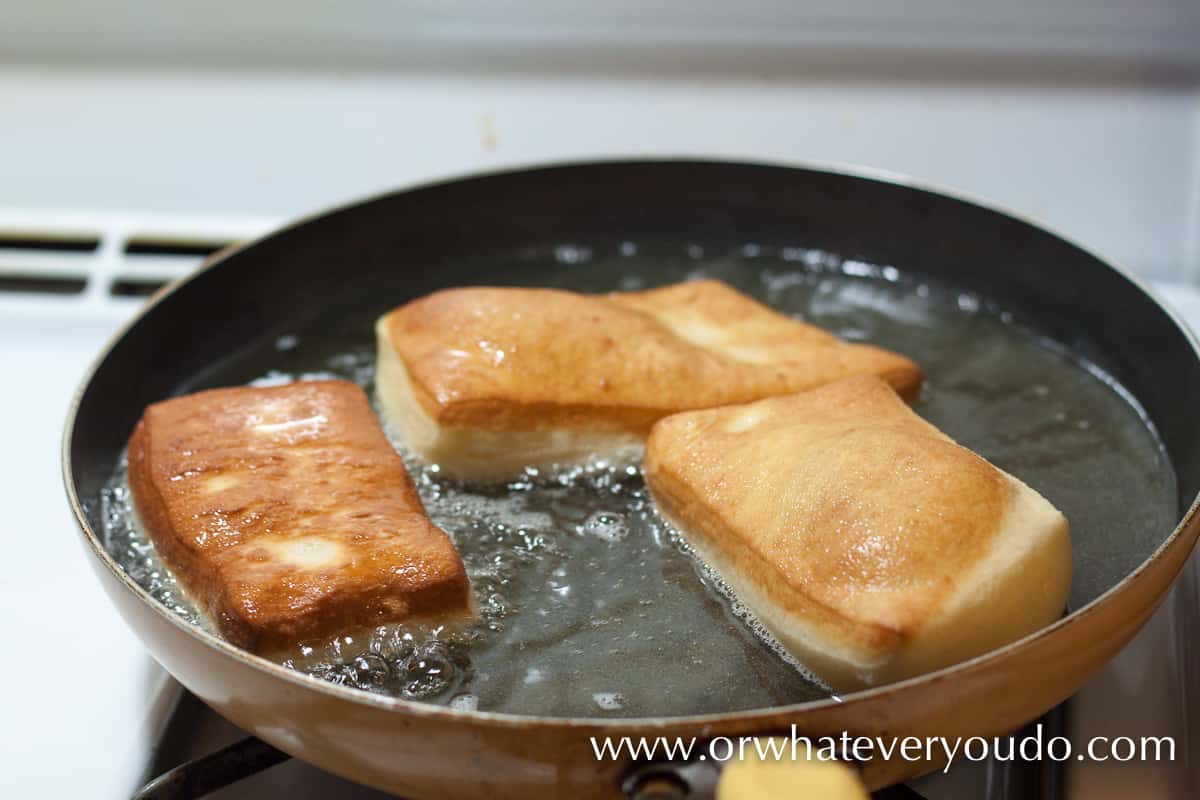
- Remove to a paper towel lined pan when brown on both sides.
- While they are still warm, dip into the maple glaze and set on pans to dry. After the first layer of glaze dries and they are cooled, dunk again for a thicker coat of icing.
The texture of these were amazing. Light, fluffy, and delicious.
FAQ
Most donuts can be stored on the counter for around 24 hours before they start to harden. Putting them in the fridge will only make them harder faster. Storing these bars in an airtight container is generally the best thing you can do to keep them as fresh as possible.
As mentioned before, these donuts are best enjoyed ASAP. We like to enjoy them as fresh as possible, which happens when they come off the warm pan. I will make them for breakfast and we will just sit there and enjoy the maple bars melting in our mouth.
While you can freeze these maple bars, they won't taste as fresh as they would if they were homemade. If you are going to freeze them, it's best that you wait until they cool to room temperature. Once they are cooled, you can freeze them.
I would recommend freezing them in individual containers so that you can pull them out when you want them. Only you will be able to tell if you prefer to freeze them or not. You can always give it a try and tell us what you think.
All my delicious breakfast recipes in one handy spot!
Pin For Later

Maple Bars
Raised yeast donuts with a maple icing. This recipe makes approximately 2 dozen, depending on the size you cut them.
Ingredients
FOR DONUTS:
- 1.5 cups warm 2% milk
- 2 packets yeast, or 4.5 tsp
- ½ cup sugar
- 5 cups bread flour
- ½ teaspoon salt
- 4 tablespoon butter, unsalted at room temperature
- 4 egg yolks
FOR ICING:
- 1 lb powdered sugar
- ¼ cup pure maple syrup
- ¼ teaspoon salt
- ¼ teaspoon vanilla
- 1 teaspoon maple extract
- hot water, amount varies
Recommended Products
As an Amazon Associate and member of other affiliate programs, I earn from qualifying purchases.
Instructions
- Place warm milk, yeast, and sugar into your mixer and proof for 10 minutes until foamy.

- Add flour, salt, butter, and egg yolks to the mixer and mix on medium speed for 3-5 minutes, or until a dough ball is formed and well combined.
- Remove dough to a lightly oiled bowl, turn to coat, cover and let rise for 1 hour.
- Roll out dough on a well-floured surface to ½ inch in thickness.
- Cut into large rectangles using a pizza cutter or large knife. Remove individual rectangles to a prepped surface (details above) to rise for 30 minutes.
- Make icing while donuts are rising by mixing 1 pound of powdered sugar, ¼ cup pure maple syrup, ¼ teaspoon salt, ¼ teaspoon vanilla, 1 teaspoon maple extract, and enough hot water to make it a pourable, dippable consistency.
- Preheat oil in a heavy-bottomed pan to 350 degrees. After 30 minutes of rise time, fry the donuts in batches, about 1-2 minutes per side, and remove to a paper towel-lined sheet to cool.
- While still warm, dip in icing and place on sheet to dry. Double dip after completely cooled for a thicker coat of icing.
Nutrition Information:
Yield: 24 Serving Size: 1 Amounts Per Serving: Calories: 238Total Fat: 4gSaturated Fat: 2gTrans Fat: 0gUnsaturated Fat: 1gCholesterol: 37mgSodium: 84mgCarbohydrates: 47gFiber: 1gSugar: 26gProtein: 5gNutrition data provided here is only an estimate. If you are tracking these things for medical purposes please consult an outside, trusted source. Thanks!

One Comment