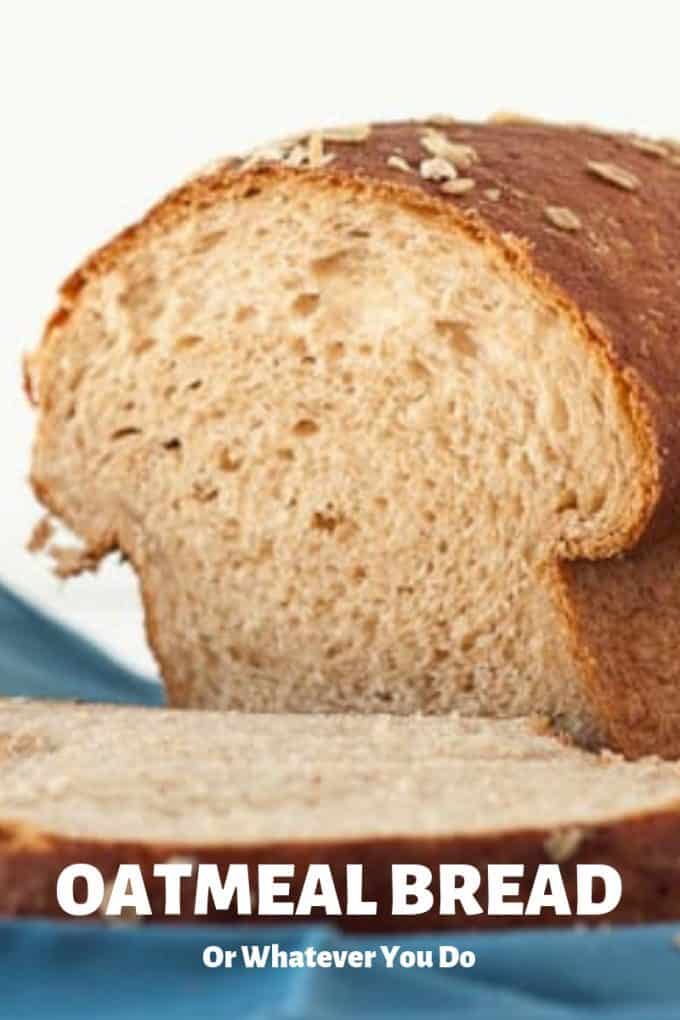
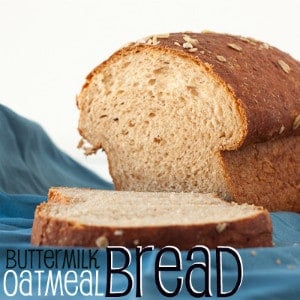
Buttermilk Oatmeal Bread
My homemade buttermilk oatmeal bread is one of my favorite kinds of bread, ever. Any kind of homemade bread is pretty high up there for me, but this oatmeal bread recipe, in particular, has really won my heart.
Buttermilk Oatmeal Bread
I LOVE this bread. It is probably one of the best loaves I have ever made. It made the best french toast, not to mention quite an awesome grilled cheese.
I will definitely be making this again in the very near future.
The best part of this recipes is that even if you are new to bread baking, you can make this bread.
I would highly recommend using a mixer, as this dough can be quite sticky, but if you don't have one you can still make it and hand knead. You will need to incorporate a bit more flour than you would with a mixer+dough hook, but the bread will still be fabulous.
How to make buttermilk oatmeal bread
Start by proofing your yeast.
For you beginners out there, that means basically that your yeast has to prove it is still alive. That it still has what it needs to give your bread the lift it deserves.
Do that by placing 2 teaspoon of yeast and ⅓ cup of warm (NOT HOT!) water into a small bowl, stirring, and setting aside.
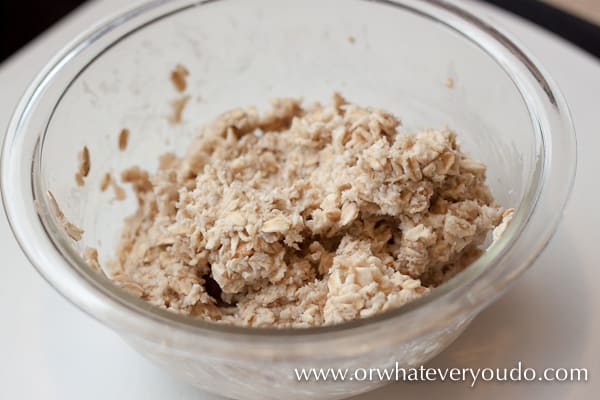
While you do that, mix 1 cup of boiling water with 1 ½ cups of rolled oats. Mix it up and let it sit while your yeast proofs.
After your yeast is proofed and your oats are soft, mix 1 ½ cups of buttermilk, ½ cup canola oil, and ½ cup brown sugar together. Also get together 2.5 cups of bread flour, and 2.5 cups of whole wheat flour.

Toss all of this into your mixer with the dough hook attached, and let it do its thing.
Let it run until the mixture is fully combined, or about 2 minutes.
When it has combined the ingredients, let the dough rest for 20 minutes inside the mixer. Come back, add 1 Tablespoon of salt, and turn the mixer on again, on medium speed, and let knead for an additional 15 minutes. Turn out into a well-oiled bowl, and turn to coat.

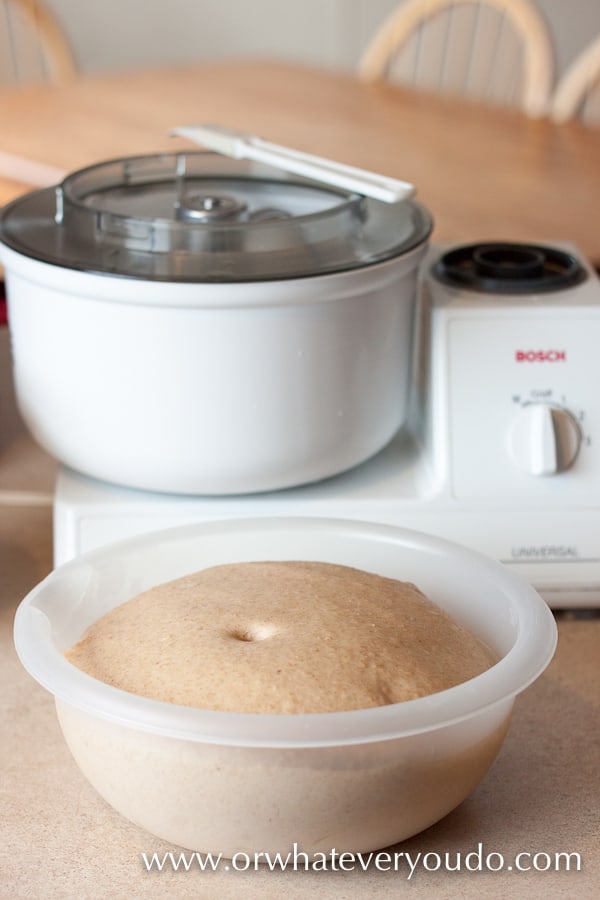
Cover your dough and let it rise until it is doubled in size in a warm, draft-free place. The inside of the oven can be a great place for this.
I have a gas oven, and often times to rise bread I will turn on the oven, let it light, then immediately turn it off again. It gives a bit of warmth inside the oven without making it TOO warm.
See the indentation on the dough below? That's a good indication of a good rise. You want the poke to stay there.
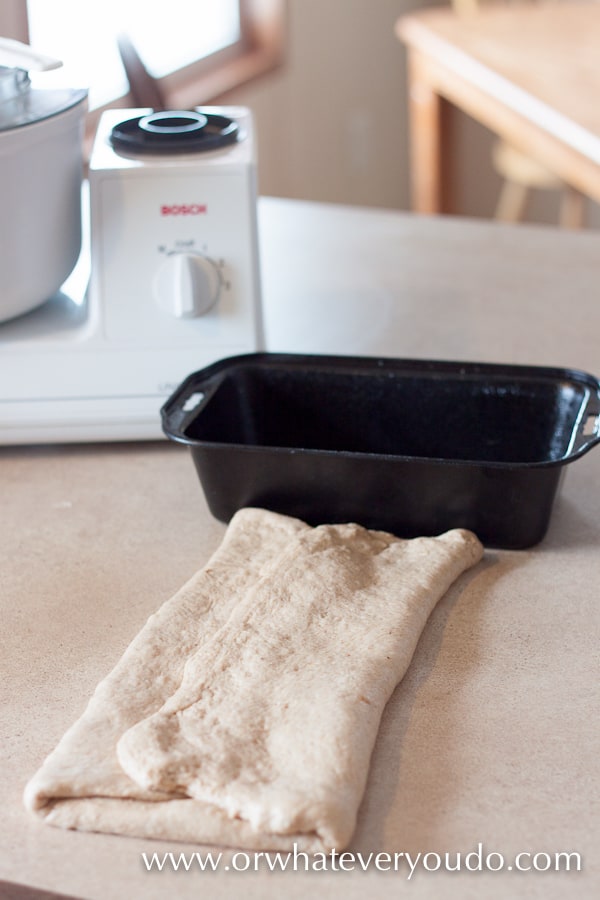
Once it has risen, split the dough in half and place it on a lightly floured surface. Flatted it out a bit into a rectangle shape, and then roll it out to about ½ an inch in thickness.
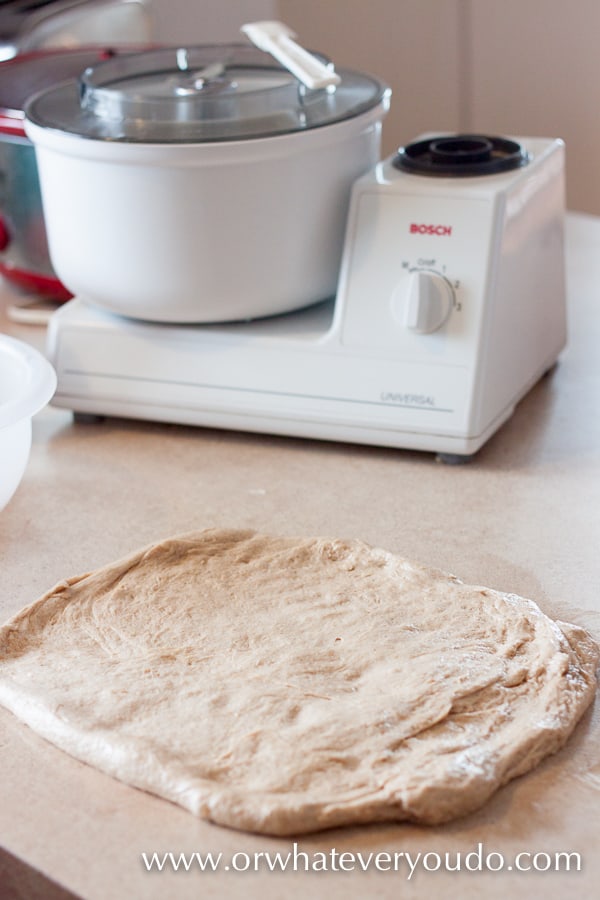
It doesn't have to be perfect, but you want it to be a little shorter than your loaf pan when you fold it in thirds, like shown below.
After it is folded, roll it up, jelly roll style.
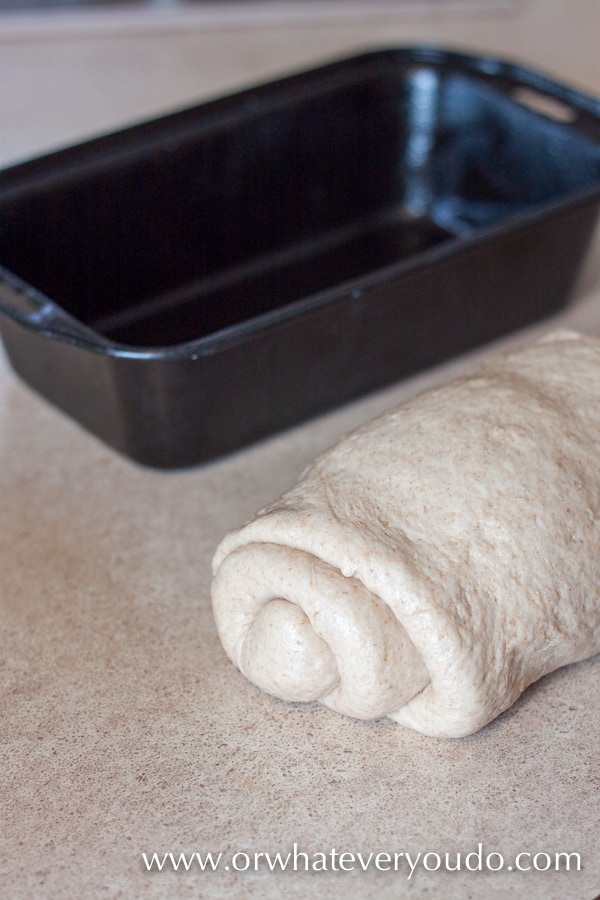
Pinch the sides closed by pushing in the middle twirl with your fingers, and the pulling the outsides together and sealing.
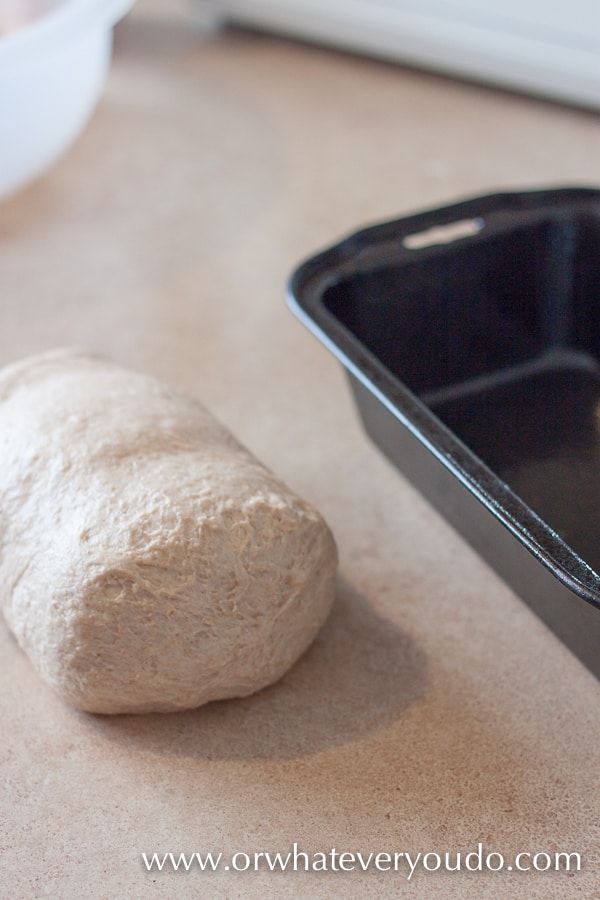
Place in your prepped loaf pan (I sprayed mine with cooking spray lightly).
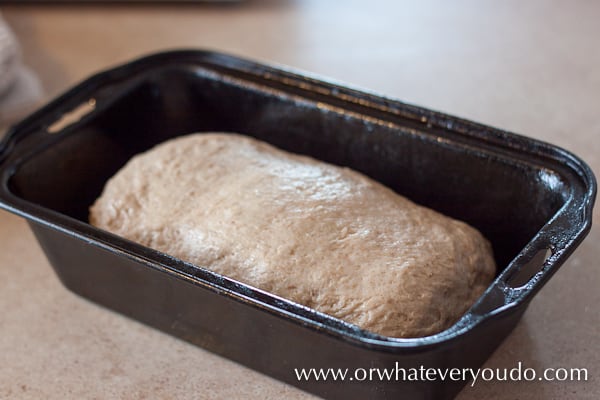
Lightly brush the top with water, and then sprinkle with more oats.
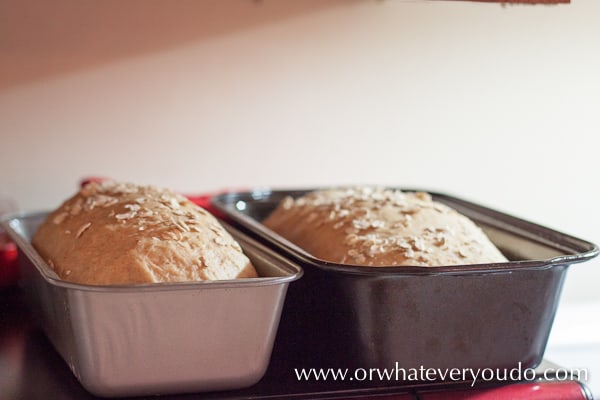
Let these rise for about 30 minutes to an hour. They will come up out of the pan quite a bit. The picture below is about 20 minutes before I felt they had risen enough. They came up another ½ inch or so.

Put the loaves into a preheated 375℉ oven. Bake for 30-45 minutes, or until the tops are brown and the internal temperature of the bread is between 190-200℉ degrees. If the bread looks to be getting too browned and it is only 190℉, pull it. If you think it can last a while longer before getting too dark, shoot for closer to 200℉. I was amazed by how high these loaves got! So pretty!
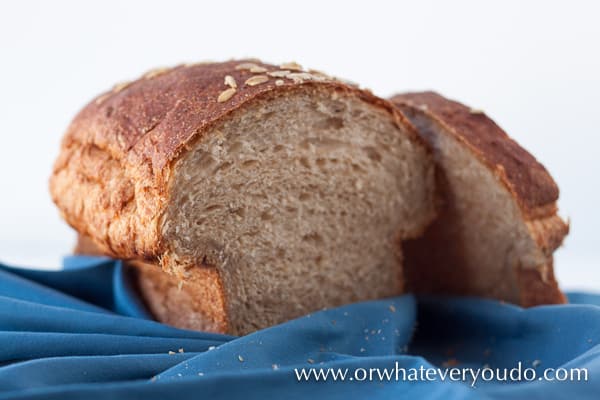
Let it cool for 10 minutes in the pan, and then turn out to cool on a wrack. Store in a plastic bag on the counter. Best if eaten within 2 days, but you can freeze this as well!
Pin for later!
Buttermilk Oatmeal Bread
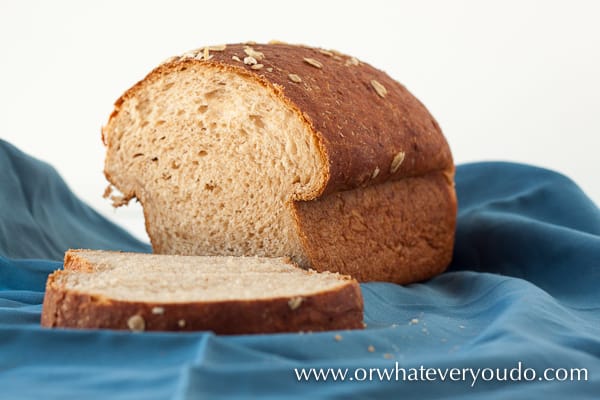
This big hearty load of buttermilk oatmeal bread is one of my favorite kinds of loaves to make.
Ingredients
- 2 teaspoons yeast
- ⅓ cup warm water
- 1 ½ cups rolled oats
- 1 cup boiling water
- 1 ½ cups buttermilk
- ½ cup canola oil
- ½ cup brown sugar
- 2 ½ cups whole wheat flour
- 2 ½ cups bread flour
- 1 tablespoon salt
Instructions
- Proof the yeast and ⅓ cup of warm water. In a separate bowl combine the oats and the boiling water. Let both mixtures sit for about 10 minutes. The yeast will look foamy and creamy.
- Place all the ingredients except the salt into the mixer. Knead with the dough hook for 2-3 minutes, and then let rest for 20 minutes. Come back, add salt, and knead with your mixer on medium for 15 minutes.
- Turn dough out into a well oiled bowl, turn to coat the dough, and then cover and let rise for about 1 hour, or until doubled.
- Punch down the dough and cut in half. Take one half, place on a lightly floured surface, and press into a rectangle. Now roll out into a larger rectangle. Fold into thirds, letter-style, then roll up. Pinch the seams closed and place seam side down into your prepped loaf pan. Repeat with other half of the dough.
- Lightly brush with water and sprinkle a few additional oats onto the dough. Let rise in a warm place for an additional 30-60 minutes.
- Bake in a preheated 375 degree oven for 30-40 minutes, or until the crust is browned and the internal temp reaches 190-200 degrees.
Nutrition Information:
Yield:
12Serving Size:
1Amount Per Serving: Calories: 350Total Fat: 11gSaturated Fat: 1gTrans Fat: 0gUnsaturated Fat: 9gCholesterol: 1mgSodium: 592mgCarbohydrates: 55gFiber: 5gSugar: 9gProtein: 9g
Nutrition data provided here is only an estimate. If you are tracking these things for medical purposes please consult an outside, trusted source. Thanks!


This recipe looks delicious. Your photos are fabulous. So glad I saw this on the Tasty Tuesdays blog hop.
Thank you so much! I hope we see you again soon! ~Nicole
Looks good
the dough is very soft and sticky before the first rise. Is that right or do I need to knead more?
You might need to knead a little more, or add a bit more flour to the mix. The amount of flour you will need will vary depending on a bunch of different factors. The dough is meant to be pretty sticky (it is hard to hand knead for that reason), but should still come out well even if you need to incorporate a bit more flour.
I’m making these loaves again as I write! The first batch was so tasty and tender, even though I didn’t quite put the dough “seams” in the right place. I like that the mixer does most of the work! Great recipe!
Awwww thanks so much Sharon! I really love them too. Glad you enjoy them!
I have been looking for a whole wheat oatmeal buttermilk bread recipe. Yours looks really good, but 1/2 cup oil seems like a lot. Can this be reduced?
Sure! I haven't tested it with reduced oil, but I'd be interested to know how it comes out!
No loaf pan size is given.
A standard loaf pan is what I used. https://amzn.to/2RUOdaT
@Nicole Johnson, there are 2 “standard” loaf pans. You link goes to the larger one (9x5). Also, NO WHERE in your recipe does it say it makes two loaves! I would love to make just one next time (I spent 45 minutes cleaning my KitchenAid with toothpicks). Do I just halve all the ingredients? That would mean only o e teaspoon of yeast. Is this correct?
Hey Barbara - there are references to "loaves" (plural) and "two loaves" multiple times in the post. There are also several photos of two loaf pans with bread dough in both of them. The recipe describes splitting the dough in half, forming the loaf, and then repeating with the other half. I don't know how much clearer that can be.
You can split this recipe if you only want to make one loaf. The loaf pan I linked in the comments is the most common size. You could use the slightly smaller 8 1/2 x 4 1/2 inch pan if you'd like and it'll still come out great.
I have a Bosch (also pictured), so I can't comment on how much dough your specific KitchenAid mixer can accommodate, but I'd recommend not proofing with the attachments on or removing from the mixer before proofing if you are having trouble.
@Barbara, I think that perhaps you typed while frustrated. This is a very good recipe with a lovely result. Give it another try. The outcome is delicious.
This recipe is absolutely amazing!
Thank you! I'm so glad you liked it!!