

Sure, that was a mouthful, and THREE different (paid) apps is a lot of apps to use, but if time is an issue for you and is preventing you from showing your love and appreciate for the content that you admire and want to share with your readers, these apps plus 20 minutes of your time – weekly, will leave you with a full sharing schedule.


How long will this take?
First things first, if you already have a Zapier, Feedly, and CoSchdule account this will be a snap. You can go ahead and skip to the good parts now.
If you don’t have those apps yet, now is the time. The setup is going to be a little more significant, but still shouldn’t take longer than 30 minutes to be up-and-running.
What do you need?
There’s a lot of things working together here, so don’t let this list (or the length of this guide) deter you. Once it is set up, it’ll pay off.
- CoSchedule subscription
- bonus points for having a social template set up specifically for this purpose
- Zapier (the free account will probably be fine)
- Feedly (Pro account needed)
- Feed with your blogging favorites added to it
What is CoSchedule & Why do I use it?
CoSchedule is a drag-and-drop editorial calendar that integrates with WordPress. It does publishing, team managment, project management, social media scheduling and sharing, and a lot more.
For this particular task, you’ll need the Zapier integration. It is included with the Basic Integrations. If you are a team of one, you can get started for $29/mo. If you have a larger team, those plans start at $54/month.
You can sign up here for a two-week trial. If that isn’t enough time, give them an email a few days before your trial expires and they are usually happy to work with you to extend that a bit.
I used to work for CoSchedule, but I was a user before I was an employee. It has been a game-changer for me as far as organization is concerned, and it just keeps getting better. This is just the icing on the cake, for me. I also use it for managing ghostwriters, planning my entire editorial calendar, and sharing to Facebook and Twitter. It has capabilities outside of that including Pinterest and Instagram sharing, but I don’t currently use those features. Your milage may vary.
So if you already have a CoSchedule account, you are all set. If not, sign up now and get the WordPress plugin installed and connected so you’re ready for action in a few minutes.
What about Zapier?
Zapier is coding and automation for non-coders. It allows you to automate tasks that would otherwise be tedious or time consuming.
I had never heard of Zapier pre-2016 when my boss told me it could make my worklife WAY easier.
Then I spend the next 3 weeks in a Zapier hole learning all about it and automating all.the.things.
Zapier has a free version that allows you to have 5 zaps and 100 “tasks” a month, so if you want to get your feet wet you can do so without charge. That might be enough for what you want it to do, ultimately, so some people I’m sure could get away with a free account here for quite a while.
Feedly – RSS + More
Feedly comes into the picture when you want to grab all the new content from the blogs you love, automatically. An RSS feed typically lets readers stay caught up on their favorite sites, but in this case it is the perfect way for the computers to work together.
You only need the Feedly Pro plan to integrate with Zapier, and that comes in at just $5 a month. You can see all of the pricing options here.
I organize my feeds into a few different categories. One is my “Favorites” feed. That is for sites where I want to share everything, automatically. No pre-approval needed, I want their content spread across my social channels, no questions asked.
As you can imagine, that list is short.
I also have a feed called “Sharable”. These are sources that routinely put out AMAZING content, but maybe not all of it is 100% right for my audience. This allows me to easily schedule shares for their content that works for my audience without having to copy and paste a bunch of stuff, upload images, or any of that funny (time consuming) business.
If you don’t have feeds set up, you can go and do that part now!
How to set up the AUTO SHARE for your FAVORITES list
This is the good part. Since Zapier now lets you SHARE YOUR ZAPS, all you need to do is click the button below.
This is going to take you to Zapier and create a new Zap for you. Now all you have to do is customize it.
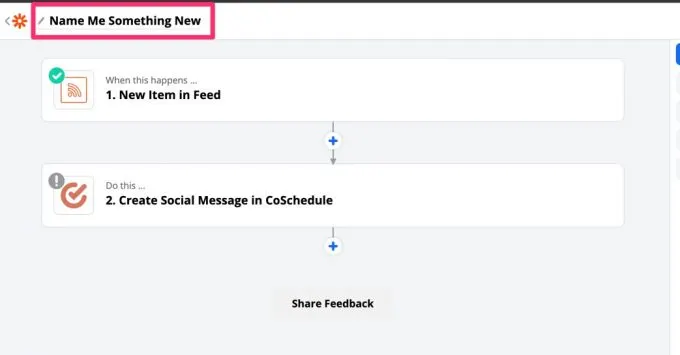
How to customize your Zap
First, rename the zap here:

Next, click on the first item, “New Item in Feed”.
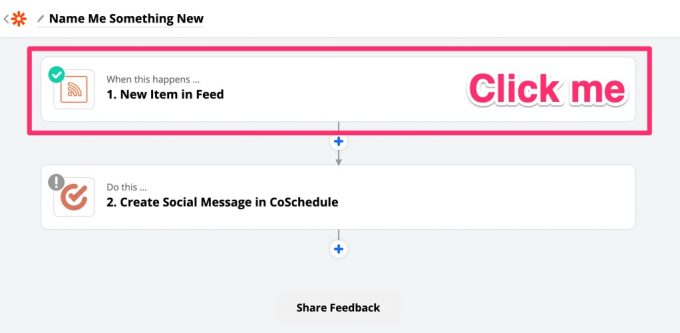
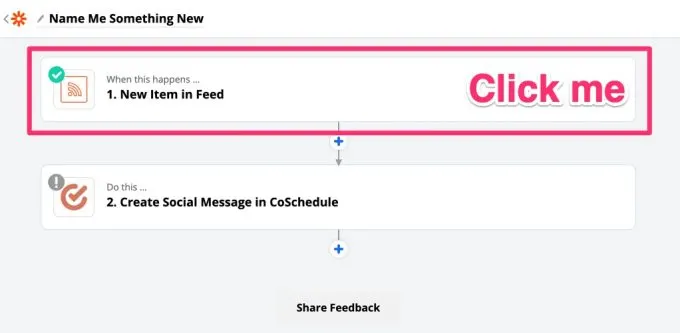
The App & Event should already be pre-selected, so just leave those alone.

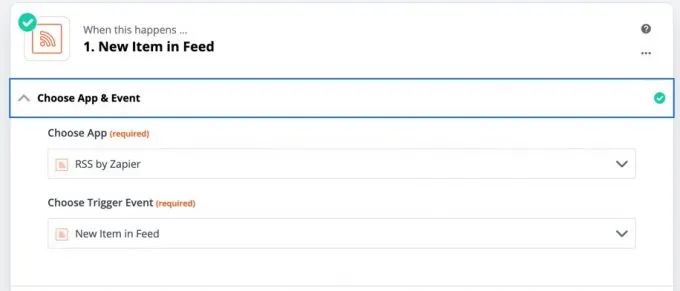
The next step is important, so take care!
This is the part that you need to have your friend’s RSS feed URL. For autoshares, I don’t use Feedly. The Feedly feed is for the shares that require some level of approval first.
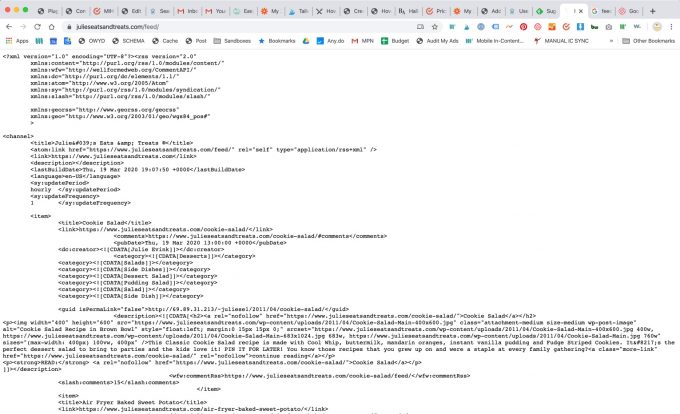
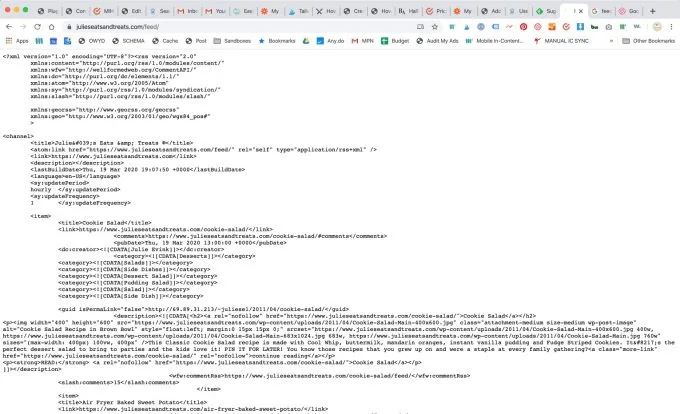
If you don’t know their feed url, you can usually just enter /feed to the end of their homepage URL and that’ll do the trick. You should get a bunch of text and code when you do that. That means it is working.
Now that you know the feed URL, just plug it into the Feed URL area of the Zap and you’ll be set.
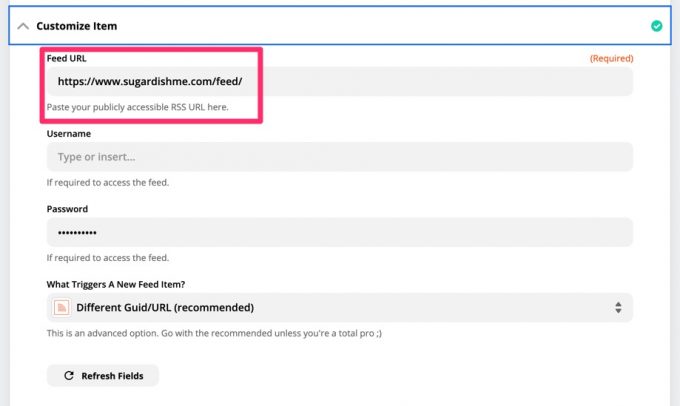
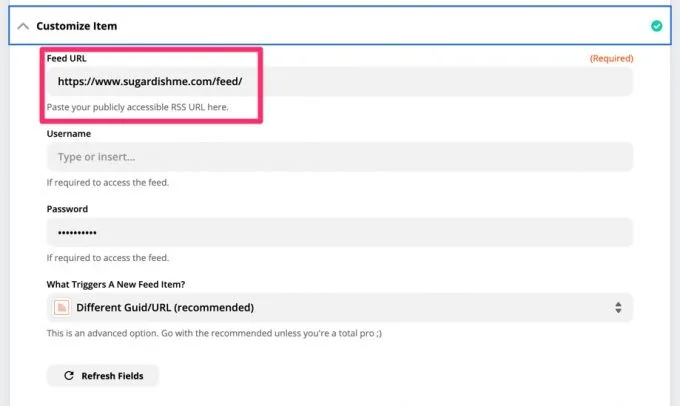
Most feeds don’t require a username or password, and I advise just leaving the “What Triggers A New Feed Item?” as the standard recommended setting.
Now hit CONTINUE and you’ll come to this screen:

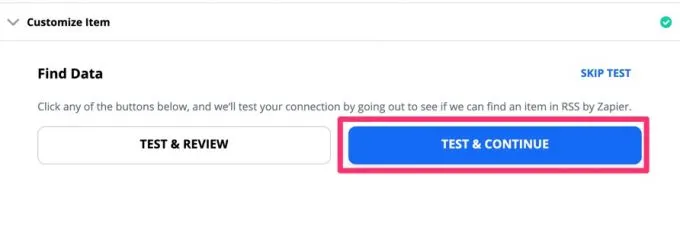
This is going to pull in some samples so you can check them to make sure you are getting what you expect. If you want to review the data first, click the “Test & Review” button. “Test & Continue” takes you to this point:
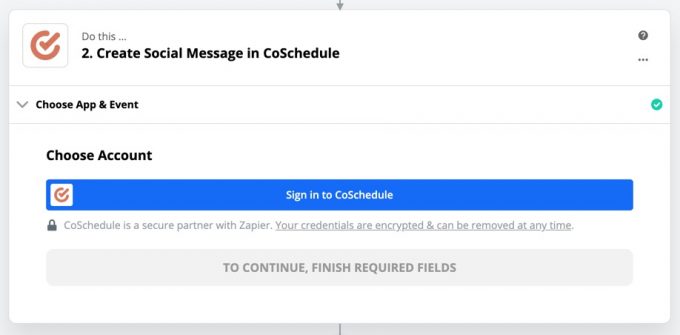

After you sign in, you’ll come to the screen below that asks you for API credentials for CoSchedule. The computers can’t talk to each other without this secret password, so don’t share it!
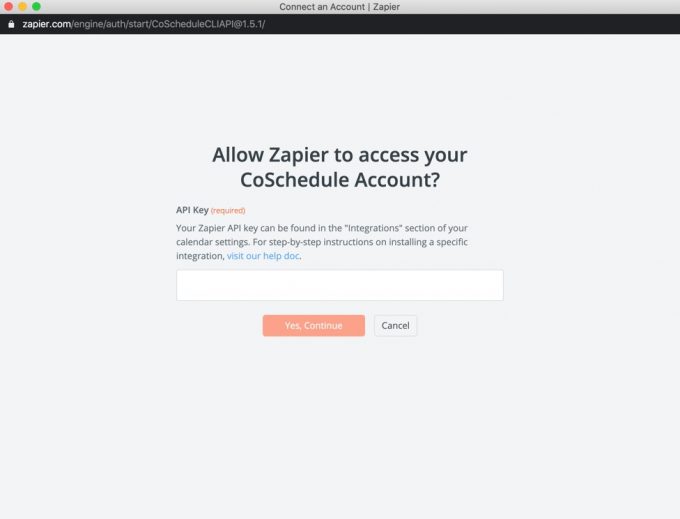
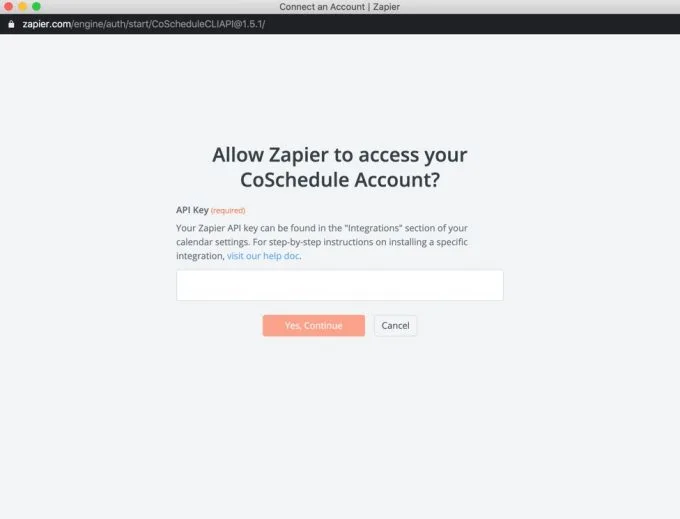
These can be accessed in your CoSchedule calendar settings, in the Integrations menu. Scroll down to Zapier, and then copy the key.

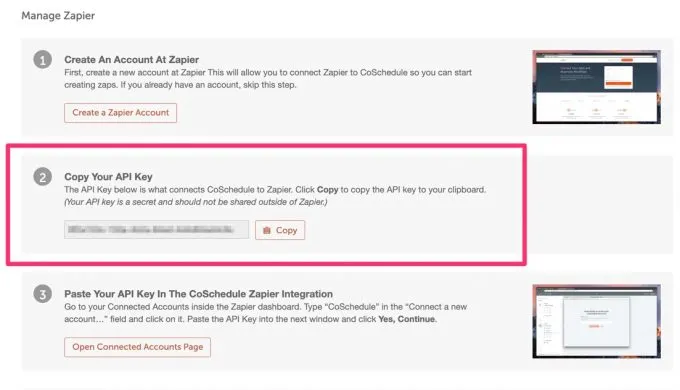
Paste it into the API key area in the Zap and continue on.
The next part of the process is setting up how your messages will actually be sent. You can pull any of the fields that sync to Zapier. I like to use the Title field, but you could also use the description if you wanted.
Here is a video that shows how I do this. You can choose other options, and then test it and see how it turns out.
How to set up MODERATED shares
Moderated shares let you get all the data you need onto your CoSchedule calendar without doing it manually.
This is accomplished with a Feedly feed set up and linked to your CoSchedule calendar via Zapier.
First, you’ll need to click the link above which will import the zap into your account. Next, click on the first step and sign into Feedly.
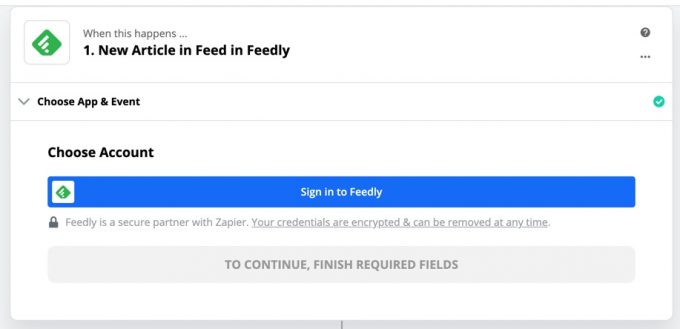
Once you are connected and you choose which feed you want to pull from, you’ll need to create the project in the CoSchedule section. If you haven’t linked Zapier and CoSchedule yet, refer to the section above for help on inputting your API key. It is pretty straight-forward though!
(Pro tip: A “project” in CoSchedule is basically just a calendar item. You can make it whatever you want it to be.)
How to customize your CoSchedule Project in Zapier
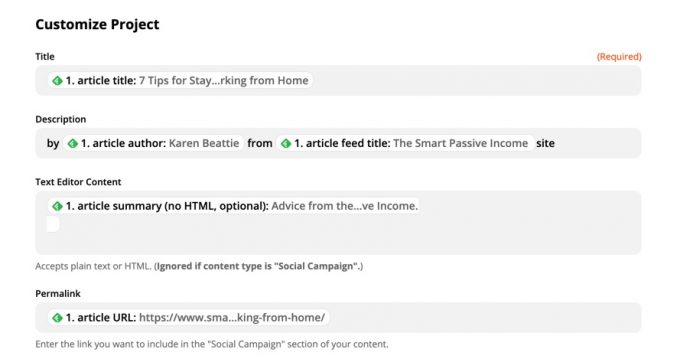
The first set of options all deal with the content you are pulling IN.
In all of these areas, the goal is not to type in a value, the goal is to choose from one of the available values. This will be different for every feed item. If what is in the ap by default doesn’t work for you, click on it and you can see all of the available options.
I like to keep the Title field as the title of the post/feed item. The other information that we add will help to schedule the shares as well. Don’t forget the “permalink” area that’s going to make your life a lot easier.
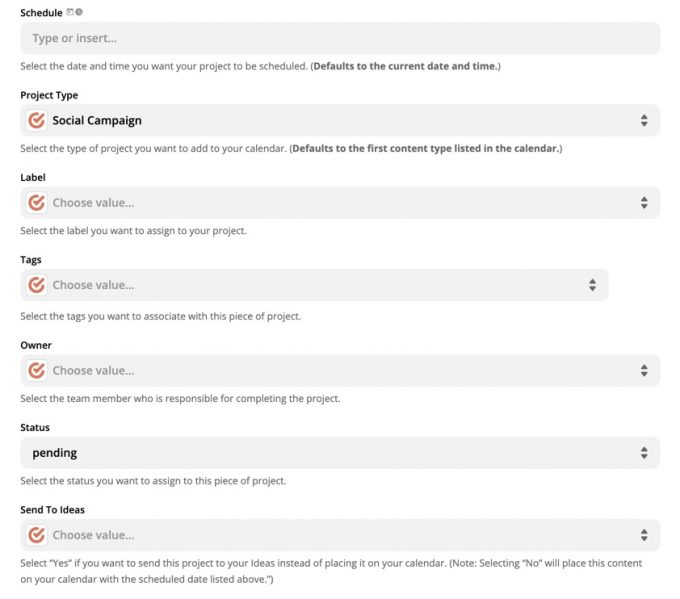
The next set of settings deals with HOW these show up on your calendar.
For the Schedule setting, I like the items to show up the same time they are published, so I leave it blank.
For the Project Type setting, I choose Social Campaign because that works best for my workflow.
You can also apply a label or tags if you filter calendar items in that way.
If you have a VA that will be handling the scheduling here, you can assign them as the Owner.
The project STATUS being set to “pending” means that I can still drag and drop things around the calendar as much as I want. This is helpful for when I get a bit behind and need to grab posts that have been published over the last month and schedule them out to be shared over the next month.
Send to Ideas is new and isn’t actually working for me. This feature should send these projects into your “ideas” area. I use that area personally for recipe ideas, so that wouldn’t be ideal for me, but it might be for you!
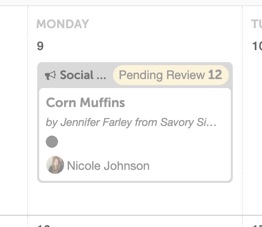
Once it actually gets to your CoSchedule calendar it’ll look something like this, depending on the settings you choose.

How to schedule shares in CoSchedule
When I schedule, I do it in bulk several times a month by dragging and dropping these pending Social Campaigns onto dates on my calendar that are in the future.
Make sure there is one or two a day on the calendar, and then go into each one individually to set up the actual share.
It is a good idea to actually read your RSS feed and keep up-to-date with the content you are sharing, but I know that isn’t always feasible. That’s why the Project itself should give you all the info you need to write up a legit custom share.
To be super efficient at this, you’ll want to have a Social Template set up. These are custom and amazing and let you make a template for shares to make them as fast as they can be while still being hand-made. I have a tutorial for that here. The screenshots in that post are a bit outdated and I haven’t had time to update, but CoSchedule has awesome tutorials on that feature as well, and their support team is around to help if you run into any snags.
Setting up the share itself is easy. Here’s a video demo on how I do it! The basics are:
- Schedule the project to go “live”. That doesn’t mean it is publishing on your website, just that the project is live and active on your CoSchedule calendar.
- Apply your Social Template and write your custom share.
- Repeat with the rest of the calendar items you moved around.
- Go have a glass of wine and revel at your good (efficient) work.
What about decreased reach?
Honestly, that isn’t a thing that I really think about, so definitely take that into consideration if you get significant amounts of traffic from any of the platforms you’ll be publishing to regularly using these method. I do not. I also do not claim to be an expert on Facebook/Twitter social media strategy.
In fact, I get almost no significant traffic to my site from Facebook. Much of that has to do with the fact that I mostly share other people’s content on those platforms right now.
Without tools to automate things, I wouldn’t have any content going out on these channels, so I’d have NO traffic from them and they would look abandoned and dead for the last 4 years.
Using tools like these and automation allows me to at least get things out there, which helps my pages/profiles stay active-looking and grow (slowly).
Could I get better results if I did it all by hand?
Almost certainly yes.
But I have a full time job and seven kids and a hobby. I don’t have that kind of time, and when I’m tried investing more time and money into it I haven’t seen the returns on it so the money wasn’t super well spent.
The pro versions of these tools cost about as much as a couple of hours of VA work. Save your VAs for the stuff that really requires human eyes and not the stuff that can be handled in a faster way.
Questions?
Let me know in the comments below. I can’t troubleshoot issues with these apps, you’ll need to contact their respective support departments for any app-specific issues. I can help with process questions, and clarify about the different ways I personally use these fabulous tools to make my blogging life WAY easier.
Nicole Johnson
Nicole Johnson, a self-taught expert in grilling and outdoor cooking, launched Or Whatever You Do in 2010. Her blog, renowned for its comprehensive and creative outdoor cooking recipes, has garnered a vast audience of millions. Nicole's hands-on experience and passion for grilling shine through her work. Her husband, Jeremiah Johnson, also plays a pivotal role in recipe development, adding his culinary flair to the mix. Together, they form a dynamic duo, offering a rich and varied outdoor cooking experience to their followers.