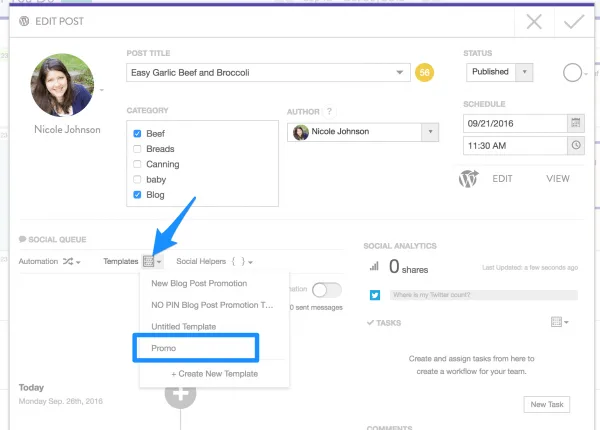
Now get yourself to one of your blog posts on your CoSchedule calendar that you’d like to promote, and click on the Templates button, and click on the template you just created.

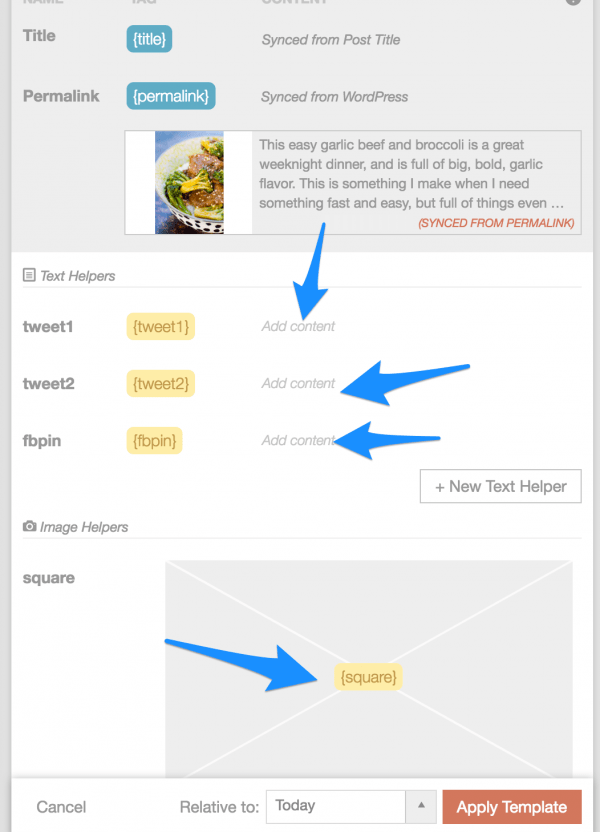
Now you need to fill in those blank social helpers with relevant information that pertains to the post you are promoting.

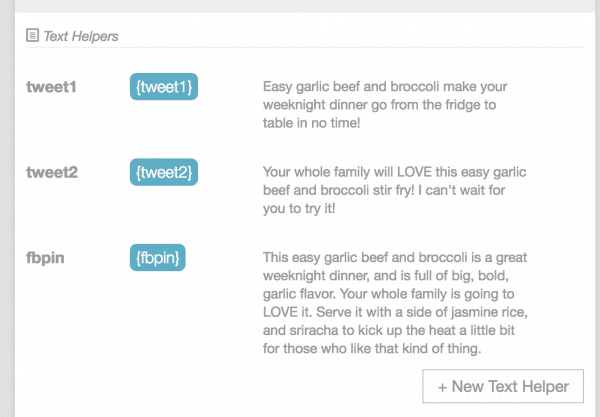
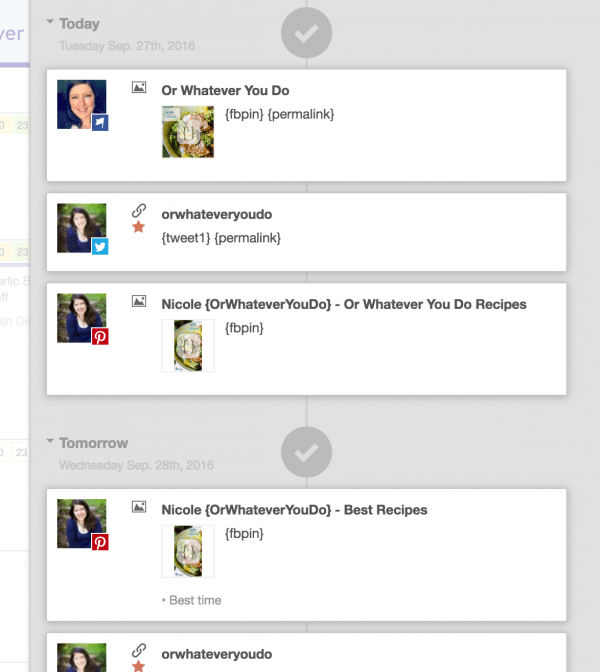
It should look something like this when you are finished.

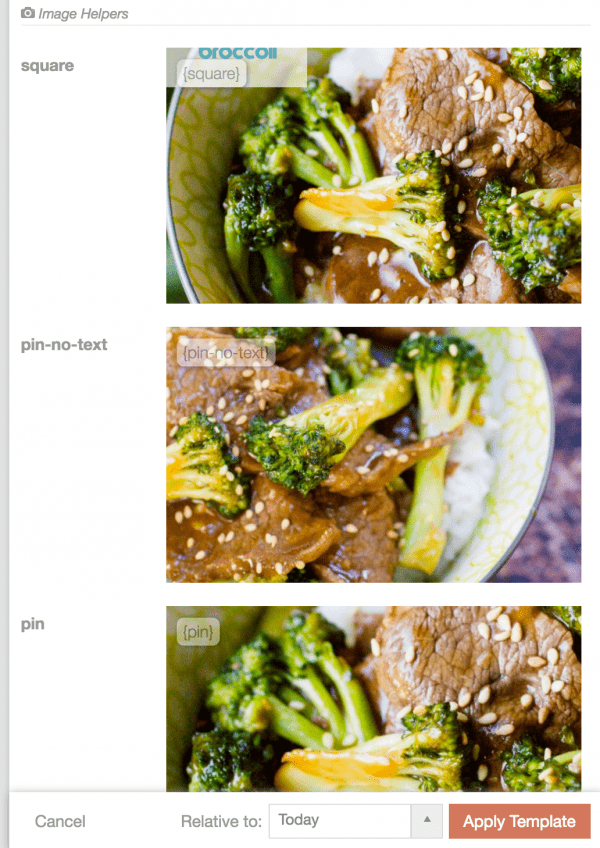
Now onto the Image Helpers. These are my favorite. You can either arrow through and choose an image from your blog post, or you can upload one. I don’t tend to include my square crop in post, but I always promote it on Facebook by uploading it here.
For my other images, they are already inserted into the blog post so I can just arrow through, select the right one, and click save.

Now you can scroll through and see the messages before you apply the template. They are still going to be in their raw state using the helpers. This is especially helpful if you have multiple templates and have not named them well and forget which one you are working with. Not that I’ve ever done that.

Now just apply! You can even choose which day to apply the template relative to. So if you don’t want this magic to start happening until the day after tomorrow? You can totally do that.
I want it to start RIGHT NOW THIS VERY SECOND so I’m going to pick Today, and watch the awesomeness unfold.

That is it. That’s what I do for every new post. The hard work is creating the template, and even that takes me about 10 minutes.
Applying it takes about 2 minutes, and you have ALLLLL the social media scheduled.
Nicole Johnson
Nicole Johnson, a self-taught expert in grilling and outdoor cooking, launched Or Whatever You Do in 2010. Her blog, renowned for its comprehensive and creative outdoor cooking recipes, has garnered a vast audience of millions. Nicole's hands-on experience and passion for grilling shine through her work. Her husband, Jeremiah Johnson, also plays a pivotal role in recipe development, adding his culinary flair to the mix. Together, they form a dynamic duo, offering a rich and varied outdoor cooking experience to their followers.